16
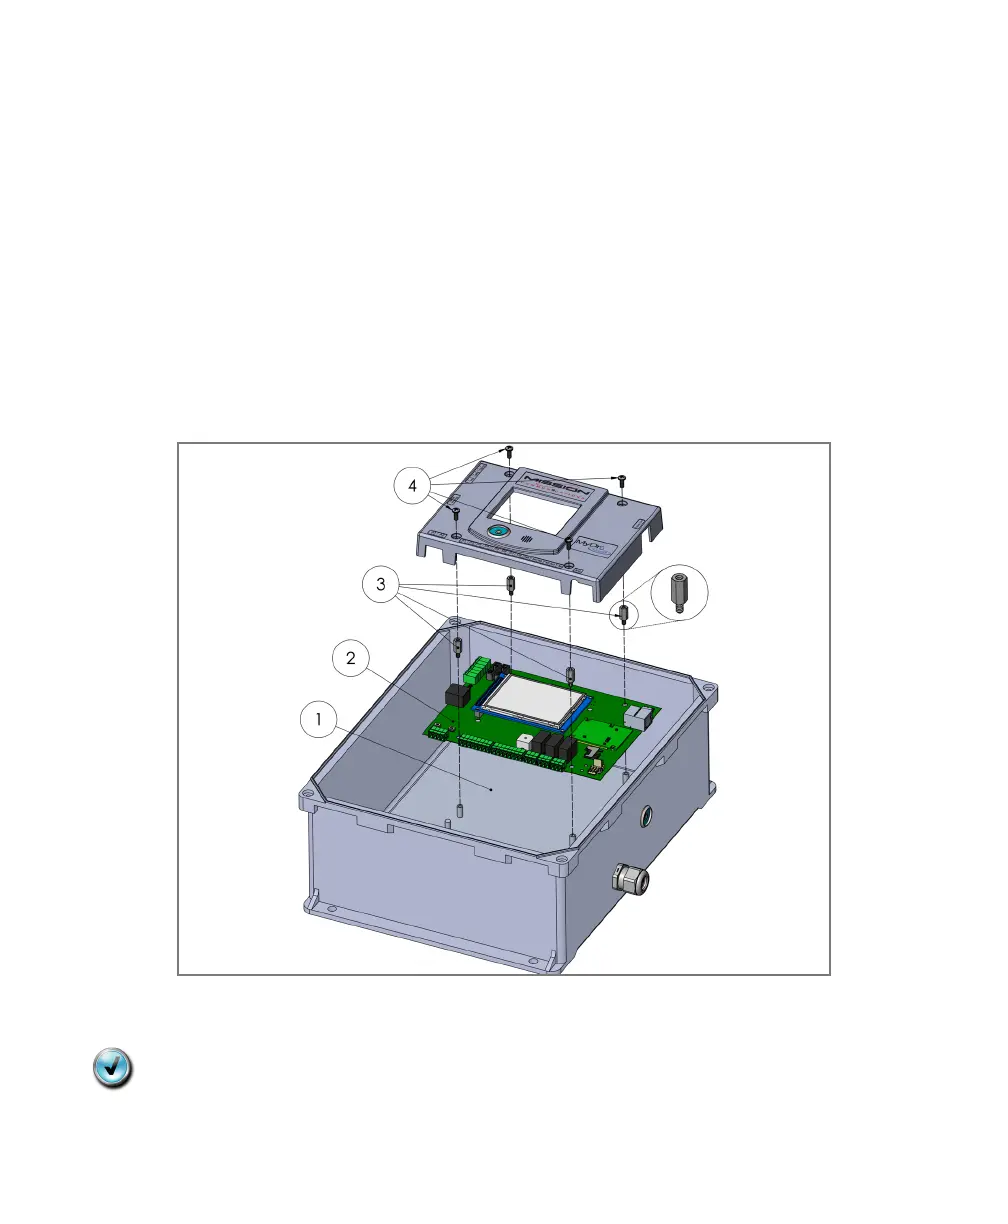
NEMA 4 Retrot (see Figure 6)
1. Remove Legacy PCB hardware from existing NEMA 4 enclosure.
2. Install MyDro mainboard on existing standoffs in enclosure.
3. Use the included standoffs (1/2” x #6–32) to secure the PCB to enclosure
backplate.
4. Place the MyDro cover over the PCB, and use the four #6–32 screws to
secure cover.
5. Replace lid with new one supplied when installation and testing is complete.
Put silicone on the thread of the new key reader.
Note: If you are upgrading a solar RTU, place the (4) additional standoffs
before installing the mainboard.
Figure 6:
NEMA 4 Retrot
 Loading...