15
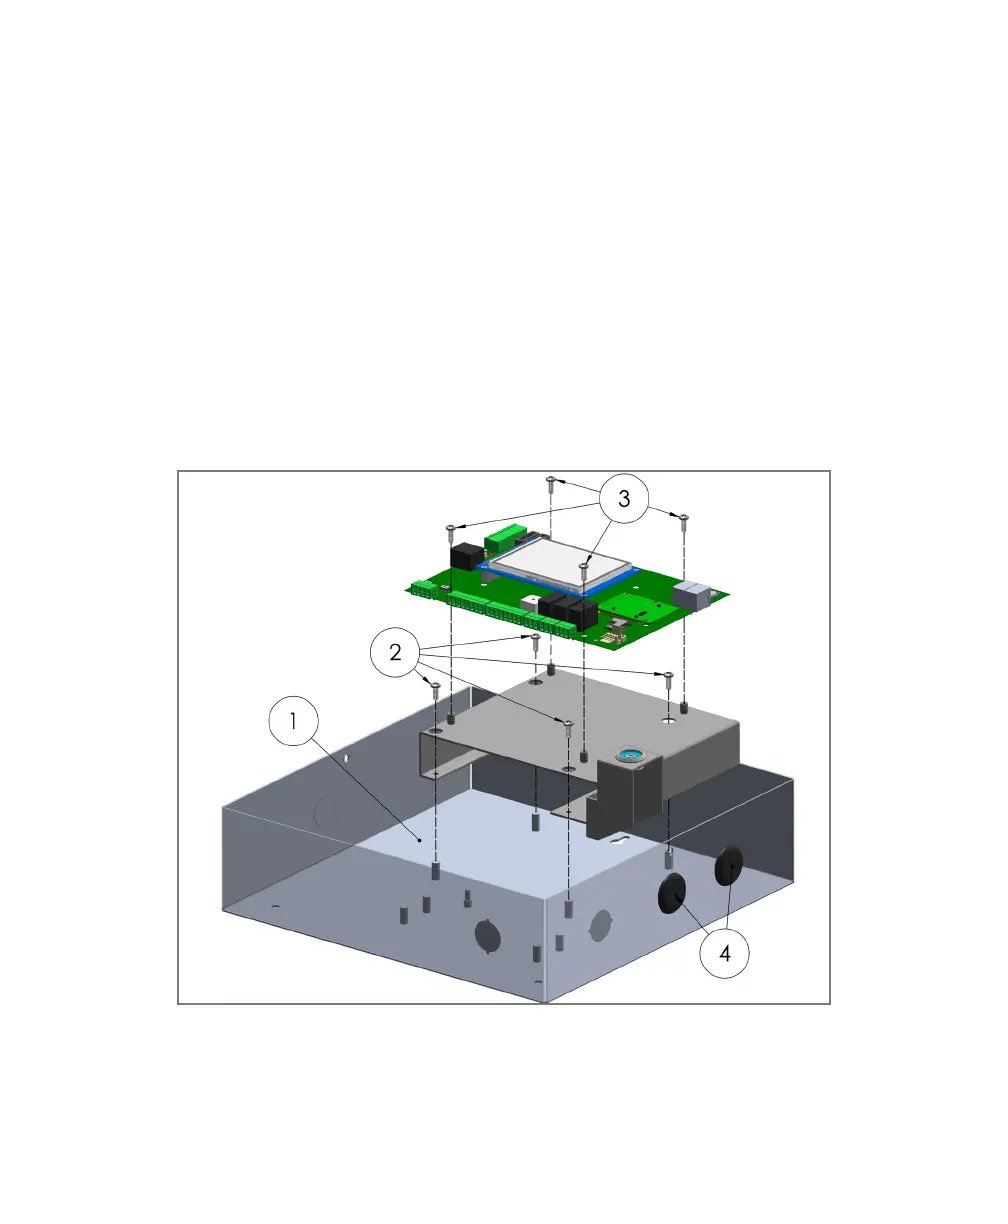
NEMA 1 Retrot (see Figure 5)
1. Remove Legacy PCB hardware from existing NEMA 1 enclosure.
2. Install adapter bracket onto existing standoffs with the four #6–32 screws
supplied. Use the holes for screwdriver access.
3. Install MyDro mainboard on adapter bracket. Secure with existing #6–32
screws.
4. Remove existing key reader and noisemaker and replace with knockout
plugs. Terminate the new key reader at the bottom right side of the PCB.
5. Replace lid with new one supplied when installation and testing is complete.
Figure 5:
NEMA 1 Retrot
 Loading...