57
11
DISASSEMBLY PROCEDURE
<Preparation for the repair service>
●Preparethepropertools.
●Preparetheproperprotectors.
●Provideadequateventilation.
●Afterstoppingtheoperationofthehydroboxandoutdoorunit,turnoffallthepower-supplybreaker.
●Dischargethecondenserbeforetheworkinvolvingtheelectricparts.
●Allowpartstocool.
●Donotexposetheelectricpartstowater.
●Whenreplacingorservicingwatercircuitparts,drainsystemfirst.
Checkindividualillustrationsandpositionsofthepartsbyreferringtothepartscatalog.
SomeleadwiresandpipesarebundledwithBands.Cutthebandstoundothefastenedpipesandleadwiresifnecessary.
Whenbundlingtheleadwiresandpipesagain,usenewcommerciallyavailablebands.
Whenremovingthepartsassociatedwithwaterpipework,drainthehydroboxasnecessary.(Referto"DrainingtheHydrobox"
onpage20.)
Whendrainingthehydrobox,keepwaterfromsplashingontheinternalparts(mainlyelectricpartsandinsulations).
DISASSEMBLY PROCEDURE
Photo 1-1
Photo 1-2
Photo 2-2 Photo 2-3
Photo 2-1
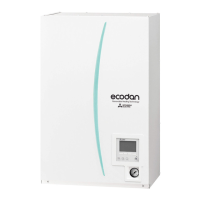
1. How to remove the front panel
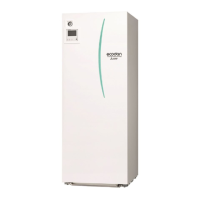
(1)Removethe2screwsatthebottomofthehydrobox.
(Photo1-1)
(2)Slightlyliftandpulloutthefrontpanelfromthehydrobox.
(Photo1-1)
(3)Disconnecttherelayconnectorconnectingfromthemain
remotecontroller.(Photo1-2)
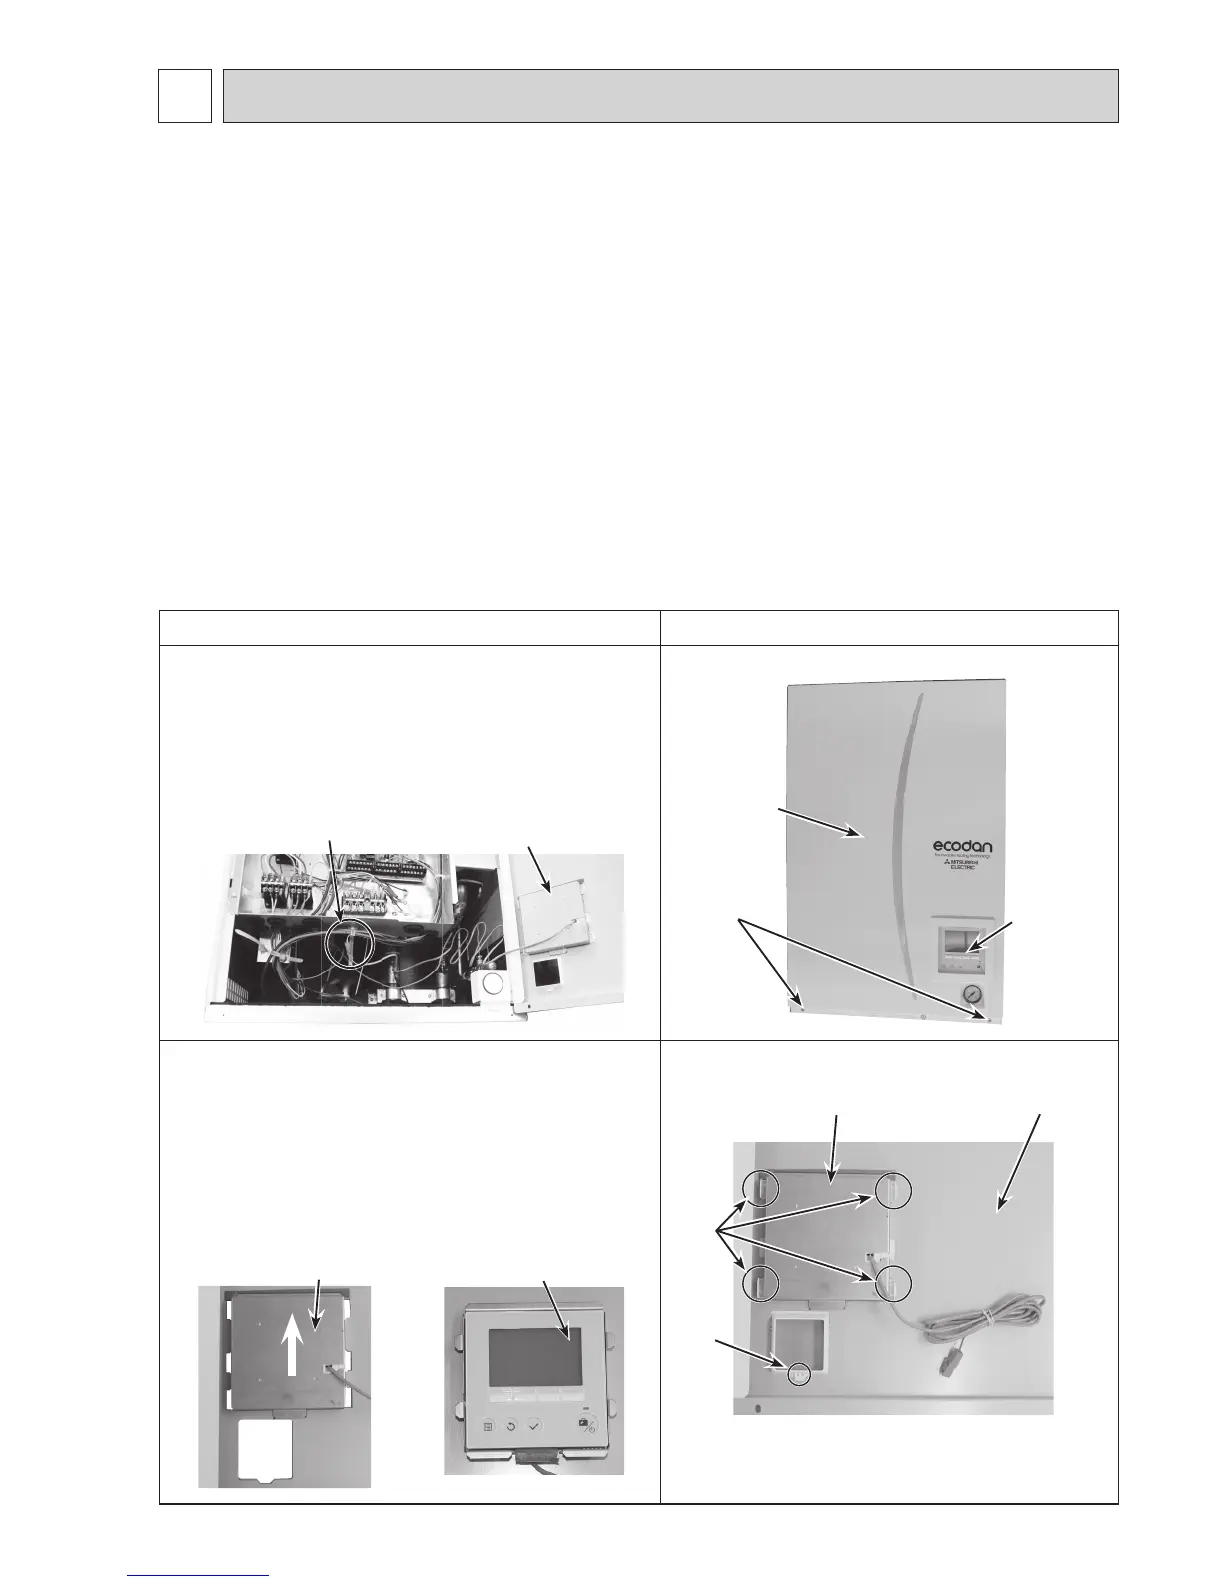
2. How to remove the main remote controller
(1)Removethefrontpanel.(RefertoProcedure1).
(2)Turnthefrontpaneloverandremovethe5clawsatthe
whiteframe.(Photo2-1)
(3)
Slidethemainremotecontrollersupportupward,thenremove
ittogetherwiththemainremotecontroller.(Photo2-2)
(4)Separatethemainremotecontrollerfromthemain
remotecontrollersupport.(Photo2-3)
Frontpanel
Main remote
controller
Connector
Frontpanel
Main remote
controller support
Claws
Screws
Claw
Main remote
controller support
Main remote
controller
Main remote controller
PHOTOS
 Loading...