Chapter 1
Tune-up and routine maintenance l-29
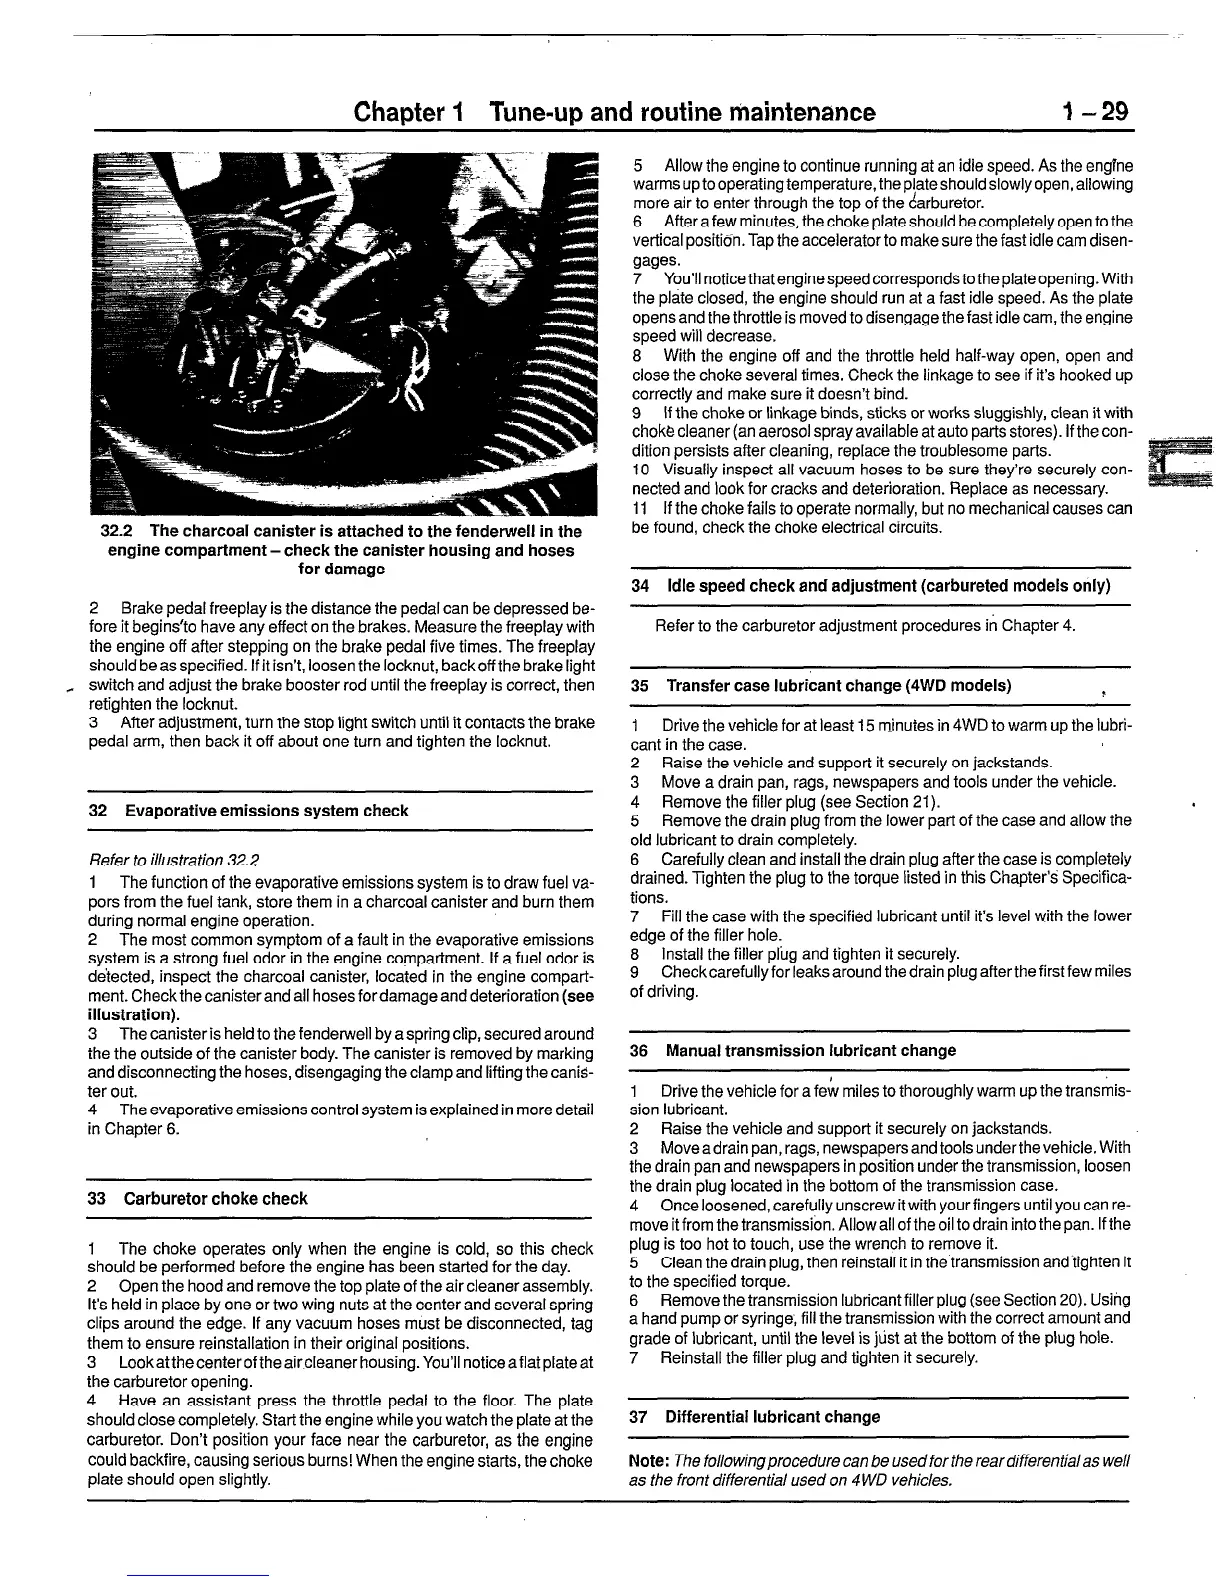
32.2 The charcoal canister is attached to the fenderwell in the
engine compartment-check the canister housing and hoses
for damage
2 Brake pedal freeplay is the distance the pedal can be depressed be-
fore it begins’to have any effect on the brakes. Measure the freeplay with
the engine off after stepping on the brake pedal five times. The freeplay
should be as specified. If it isn’t, loosen the locknut, backoff the brake light
e
switch and adjust the brake booster rod until the freeplay is correct, then
retighten the locknut.
3 After adjustment, turn the stop light switch until it contacts the brake
pedal arm, then back it off about one turn and tighten the locknut.
32 Evaporative emissions system check
Refer to illustration 32.2
1 The function of the evaporative emissions system is to draw fuel va-
pors from the fuel tank, store them in a charcoal canister and burn them
during normal engine operation.
2 The most common symptom of a fault in the evaporative emissions
system is a strong fuel odor in the engine compartment. If a fuel odor is
detected, inspect the charcoal canister, located in the engine compart-
ment. Check the canister and all hoses for damage and deterioration (see
illustration).
3 The canister is held to the fenderwell by a spring clip, secured around
the the outside of the canister body. The canister is removed by marking
and disconnecting the hoses, disengaging the clamp and lifting the canis-
ter out.
4 The evaporative emissions control system is explained in more detail
in Chapter 6.
33 Carburetor choke check
1 The choke operates only when the engine is cold, so this check
should be performed before the engine has been started for the day.
2 Open the hood and remove the top plate of the air cleaner assembly.
It’s held in place by one or two wing nuts at the center and several spring
clips around the edge. If any vacuum hoses must be disconnected, tag
them to ensure reinstallation in their original positions.
3 Lookat the center of the air cleaner housing. You’ll notice a flat plate at
the carburetor opening.
4 Have an assistant press the throttle pedal to the floor. The plate
should close completely. Start the engine while you watch the plate at the
carburetor. Don’t position your face near the carburetor, as the engine
could backfire, causing serious burns! When the engine starts, the choke
plate should open slightly.
5 Allow the engine to continue running at an idle speed. As the engfne
warms up to operating temperature, the plate should slowly open, allowing
more air to enter through the top of the carburetor.
6 Aft era few minutes, the choke plate should be completely open to the
vertical position. Tap the accelerator to make sure the fast idle cam disen-
gages.
7 You’ll notice thatenginespeed corresponds to theplateopening. With
the plate closed, the engine should run at a fast idle speed. As the plate
opens and the throttle is moved to disengage the fast idle cam, the engine
speed will decrease.
8 With the engine off and the throttle held half-way open, open and
close the choke several times. Check the linkage to see if its hooked up
correctly and make sure it doesn’t bind.
9 If the choke or linkage binds, sticks or works sluggishly, clean it with
choke cleaner (an aerosol spray available at auto parts stores). If the con-
dition persists after cleaning, replace the troublesome parts.
10 Visually inspect all vacuum hoses to be sure they’re securely con-
nected and look for cracks and deterioration. Replace as necessary.
11 If the choke fails to operate normally, but no mechanical causes can
be found, check the choke electrical circuits.
34 Idle speed check
and
adjustment (carbureted models only)
Refer to the carburetor adjustment procedures in Chapter 4.
35 Transfer case lubricant change (4WD models)
t
1 Drive the vehicle for at least 15 minutes in 4WD to warm up the lubri-
cant in the case.
2 Raise the vehicle and support it securely on jackstands.
3 Move a drain pan, rags, newspapers and tools under the vehicle.
4 Remove the filler plug (see Section 21).
5 Remove the drain plug from the lower part of the case and allow the
old lubricant to drain completely.
6 Carefully clean and install the drain plug after the case is completely
drained. Tighten the plug to the torque listed in this Chapter’s Specifica-
tions.
7 Fill the case with the specified lubricant until its level with the lower
edge of the filler hole.
8 Install the filler pliig and tighten it securely.
9 Checkcarefully for leaks around the drain plug after the first few miles
of driving.
36 Manual transmission lubricant change
1 Drive the vehicle for a few miles to thoroughly warm up the transmis-
sion lubricant.
2 Raise the vehicle and support it securely on jackstands.
3 Moveadrainpan, rags, newspapersandtoolsunderthevehicle. With
the drain pan and newspapers in position under the transmission, loosen
the drain plug located in the bottom of the transmission case.
4 Once loosened, carefully unscrew it with your fingers until you can re-
move it from the transmission. Allow all of the oil to drain into the pan. If the
plug is too hot to touch, use the wrench to remove it.
5 Clean thedrain plug, then reinstall it in the transmission andtighten it
to the specified torque.
6 Remove the transmission lubricant filler plug (see Section 20). Using
a hand pump or syringe, fill the transmission with the correct amount and
grade of lubricant, until the level is just at the bottom of the plug hole.
7 Reinstall the filler plug and tighten it securely.
37 Differential lubricant change
Note:
The followingprocedure can be used for the reardifferentialas well
as the front differential used on 4 WD vehicles.
 Loading...


