Chapter 11 Body
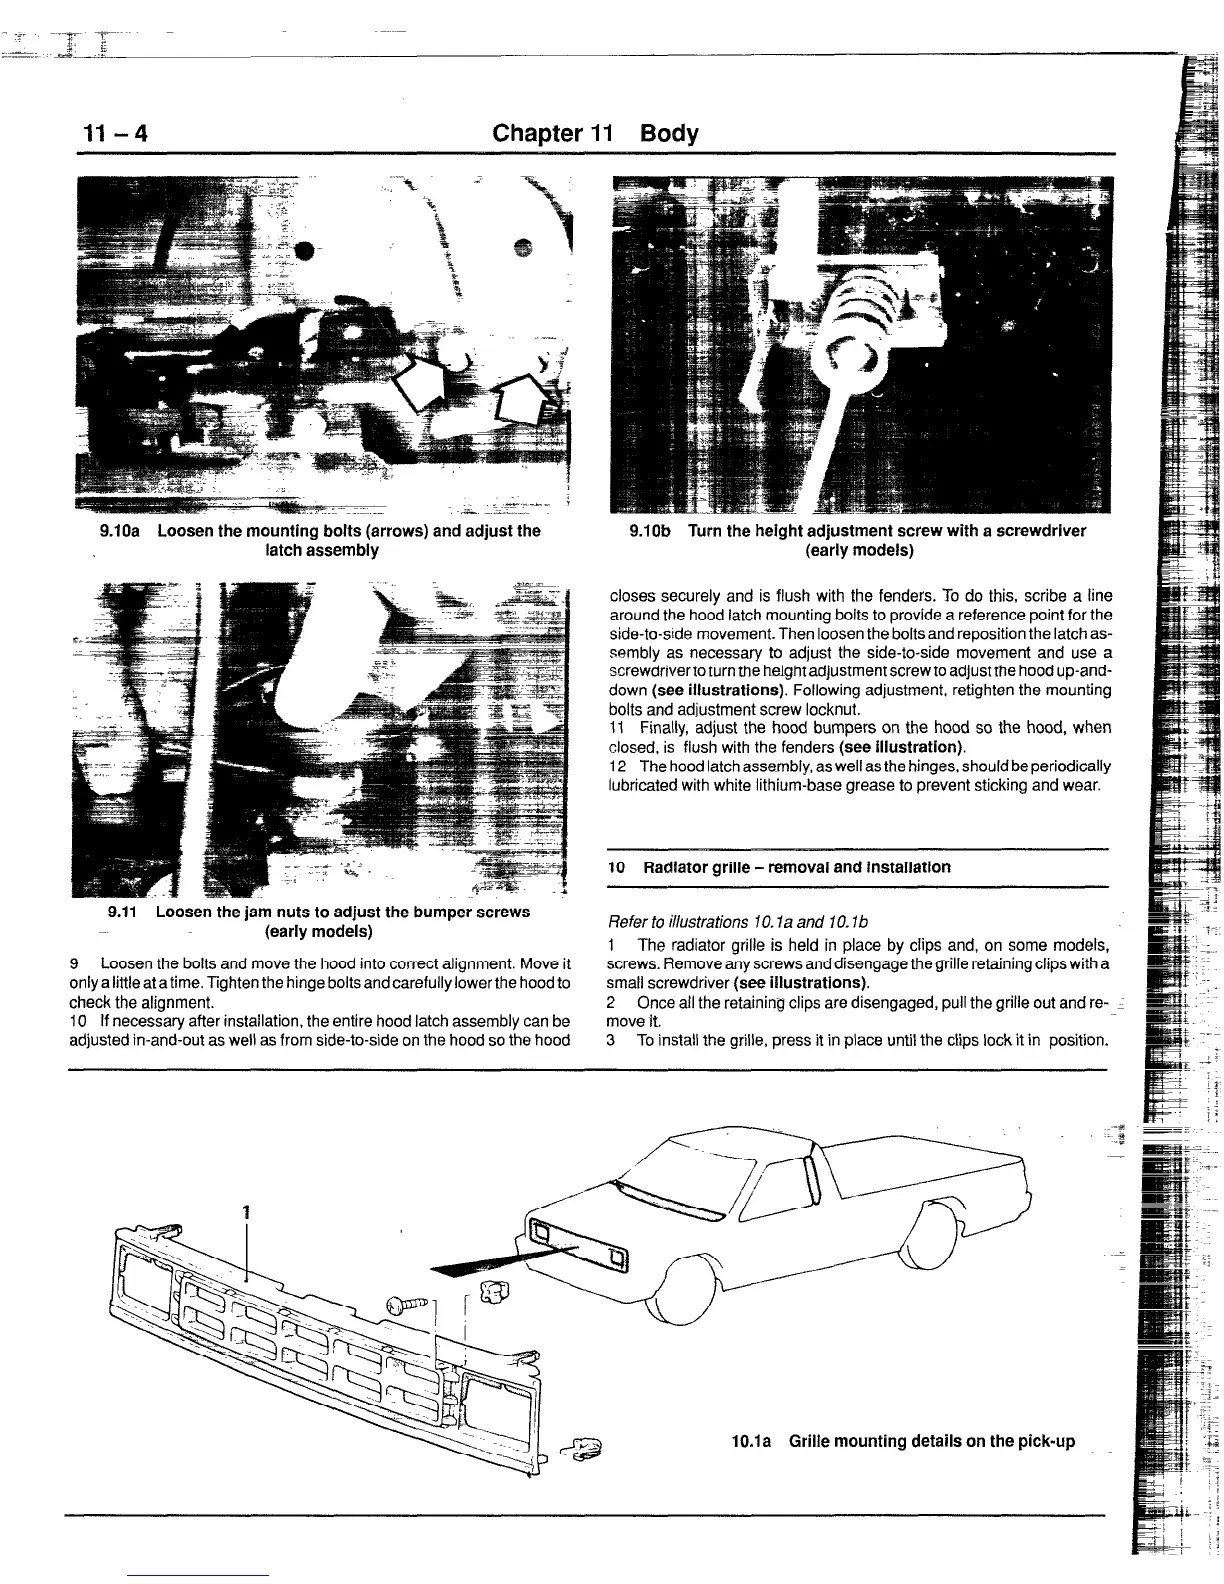
9.10a Loosen the mounting bolts (arrows) and adjust the
latch assembly
9.10b Turn the height adjustment screw with a screwdriver
(early models)
closes securely and is flush with the fenders. To do this, scribe a line
around the hood latch mounting bolts to provide a reference point for the
side-to-side movement. Then loosen the bolts and reposition the latch as-
sembly as necessary to adjust the side-to-side movement and use a
screwdriver to turn the height adjustment screw to adjust the hood up-and-
down (see illustrations). Following adjustment, retighten the mounting
bolts and adjustment screw locknut.
11 Finally, adjust the hood bumpers on the hood so the hood, when
closed, is flush with the fenders (see illustration).
12 The hood latch assembly, as well as the hinges, should be periodically
lubricated with white lithium-base grease to prevent sticking and wear.
10 Radiator grille - removal and Installation
9.11 Loosen the jam nuts to adjust the bumper screws
(early models)
9 Loosen the bolts and move the hood into correct alignment. Move it
only a little at a time. Tighten the hinge bolts and carefully lower the hood to
check the alignment.
IO If necessary after installation. the entire hood latch assembly can be
adjusted in-and-out as well as from side-to-side on the hood so the hood
Refer fo illustrations IO. la and 10. lb
1 The radiator grille is held in place by clips and, on some models,
screws. Remove any screws anddisengage the grille retaining clipswith a
small screwdriver (see illustrations).
2 Once all the retaining clips are disengaged, pull the grille out and re-
move it.
3 To install the grille, press it in place until the clips lock it in position.
lO.la Grille mounting details on the pick-up
 Loading...


