5
No. 99MAC002A
5 Basic Usage
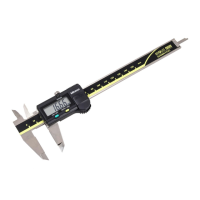
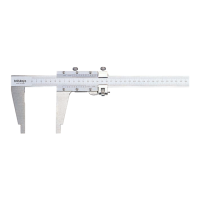
■ Using the caliper/depth gage
For caliper
Grasp the beam lightly with your right hand, put your right thumb on the slider
finger rest, and move the slider horizontally to measure.
For depth gage
With one hand, bring the base into close contact with the workpiece, and move
the beam vertically with the other hand for measurement.
Tips • For the measuring method details, refer to "7. Measurement
Method".
• For fine-adjustment models, tighten the fine-adjustment clamp and
turn the fine-adjustment for fine motion of the slider (caliper) or
beam (depth gage).
■ Fixing the slider/base
The main scale and vernier readings are usually taken with the workpiece
clamped (or in close contact). However, depending on the measuring location,
the orientation during measurement and so on, it may be difficult to get a reading
in this position. In this case, tighten the slider clamp screw (caliper) or the
clamping screw (depth gage), move the caliper/depth gage carefully away from
the workpiece, and read the graduations.
Tips For calipers with automatic clamp, the finger rest acts as the
automatic clamp. Push the rest in the beam direction to release the
clamp and allow the slider to move. Release the rest to fix the slider
in that position.
■ Reading the graduations
Read the main scale and vernier graduations from the front.
• There is a slight level difference (H)
between the main scale and the vernier.
Therefore, if the graduations are read at
an angle, parallax will cause measurement
error (ΔL).
H
• If viewing at an oblique angle is
unavoidable, we recommend a dial type or
digital type without causing parallax.
ΔL
H
6 Confirmation before Measurement
■ Confirming Slider Movement
• Confirm that there is no irregular slider movement and that the slider moves
smoothly throughout the measurement range.
• Confirm that there is no play of the slider in the vertical direction against the
sliding surface.
■ Confirming Main Scale and Vernier Zero Graduation Line Alignment
• For the caliper, close the measuring face of each jaw and confirm that the
zero graduation lines are aligned.
• For the depth gage, use a surface plate, etc. to align the measuring face and
reference surface, and confirm that the zero graduation lines are aligned.
■ Confirming Clearance (Wear) between Measuring Faces of Caliper
• When the outside measuring jaws are closed and held to the light, confirm
that there is no slit observed between the jaws against the light, or that a faint
light is uniformly visible. As well, confirm that the jaw tips are not deformed.
• When the inside measuring jaws are closed and held to the light, observing
the jaws obliquely, confirm that a light is uniformly visible, and that the tips are
not deformed.
 Loading...
