6
No. 99MAC002A
7 Measurement Methd
■ Precautions when measuring
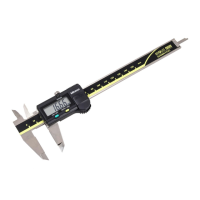
Do not measure the workpiece with the caliper if it is rotating, etc.
Measuring faces will be worn out.
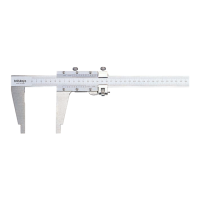
The measurement position of long-size vernier calipers should be
consistent if positional error is to be avoided. Measurements in vertical
positions may differ from those in horizontal positions.
■ Outside measurement
• Do not apply excessive force to the
workpiece.
Excessive measuring force will cause
measurement error because of the
positional deviations of the jaws.
OK
D
L1
D
L2
L1 < D
• Do not clamp the workpiece diagonally.
Measurement error will ensue if tilted.
OK
Clamp the workpiece as close to the
sliding surface as possible. Measurement
error is more likely to increase if clamped
near the outside measuring jaw tips.
OK
1
Insert the workpiece into the outside measuring jaws and bring jaws
into close contact with the workpiece, using appropriate and uniform
measuring force.
2
With the workpiece clamped, read the graduations.
■ Inside measurement
• Insert the inside measuring jaws as
deeply as possible into the workpiece.
OK
• For inner diameter measurement, bring
the measuring faces into close contact,
and read the value when the pointer
indicated value is maximum: a direct line
between the measuring faces passes
through the center of the cross-section.
OK
• For groove width measurement, bring the
measuring faces into close contact, and
read the value when the pointer indicated
value is minimum: a direct line between
the faces is perpendicular to the groove
inner wall.
OK
1
Insert the inside measuring jaws into the workpiece, and bring jaws into
close contact with the workpiece interior using appropriate and uniform
measuring force.
2
With the jaws inserted into the workpiece, take the reading.
 Loading...
