4
Printed in Japan
Date of publication: August 1, 2021 (1)
4
Basic Operations
4.1
Zero Setting
The current value of the Counter can be set to 0 at any point within the Linear
Gage measuring range. This section explains the operational procedure.
1
Press [ZERO] with the counter value displayed.
»
The counter value will be set to 0.
Tips
Also, you can set the current value of the Counter to 0 using the Preset
function. For details, see
"4.2 Preset" (page 4).
4.2
Preset
The current value of the Counter can be set to an arbitrary value at any point
within the Linear Gage measuring range.
Tips
• The factory default setting of the Preset value is 0.
Also, you can set the current value of the Counter to 0 using this
function.
• For details about the procedure for modifying the Preset value, see
"4.4 Setting the Preset Value and Tolerance Values" (page 4).
• When the gage type is set to "ABS", the effective Preset count / Zero
setting count is one million times each.
This section explains the operational procedure.
1
Press [P.SET] with the counter value displayed.
»
The current value
will be changed to the Preset value that was previously
set.
4.3
Tolerance Judgment
With the tolerance value (the upper limit and the lower limit) setting, the
3-step tolerance judgment will be performed as follows:
Tips
For details about I/O output, see "5 External Input/Output Function"
(page 5).
Judgment conditions
Tolerance judgment
indicator
I/O output
(PIN number)
Measurement result < Lower limit Amber indicator on -NG (4)
Lower limit ≤ Measurement result ≤ Upper limit
Green indicator on GO (3)
Upper limit < Measurement result Red indicator on +NG (2)
4.4
Setting the Preset Value and Tolerance Values
Perform the setting in setup mode in the order Preset value, tolerance value.
This section explains the operational procedure.
1
Set a Preset value.
1
Press [Fn] to switch to setup mode.
»
The P.SET indicator will turn on.
»
The previous Preset value will be
displayed. (The example on the right
shows the previous value as 0.)
2
Press [ZERO].
»
The input digit will shift to the right. (The
currently selected digit will blink.)
3
Press [P.SET].
»
The Preset value will be modified.
Tips
The
±
sign is also set at the most significant digit. To set the Preset
value to a negative value, repeatedly press [P.SET] until the Sign
indicator lights.
4
Repeat steps
2
and
3
until you have set the desired Preset value.
5
Press [Fn].
»
The Preset value will be applied, and
the lower limit of the previous tolerance
will be displayed. (The example on
the right shows the previous value as
-1.000.)
»
The Tolerance judgment indicator will light in amber.
2
Set tolerance values.
1
Press [ZERO].
»
The input digit will shift to the right. (The
currently selected digit will blink.)
2
Press [P.SET].
»
The tolerance value will be modified.
Tips
The
±
sign is also set at the most significant digit. To set the tolerance
value to a negative value, repeatedly press [P.SET] until the Sign
indicator lights.
3
Repeat steps
1
and
2
until you have set the desired tolerance value.
4
Press [Fn].
»
The tolerance lower limit will be
applied, and the upper limit of the
previous tolerance will be displayed.
(The example on the right shows the
previous value as 2.000.)
»
The Tolerance judgment indicator will light in red.
5
Set the tolerance upper limit using the same procedure in steps
1
to
3
.
6
Press [Fn].
»
The tolerance upper limit will be applied, and the Counter will return to the
Counter display.
Tips
Setting tolerance values other than lower limit ≤ upper limit results in an
error. Press [P.SET] to redo the input starting from the tolerance lower
limit.
4.5
Turning On or Off the Display
Press [ON/OFF] to turn on or off the Counter's display.
Tips
This operation is for turning on or off the Counter's display. When you
are connecting a Linear Gage or the I/O cable, remove the AC adapter.
This section explains the operational procedure.
1
Press [ON/OFF] while the Counter display is active.
»
The Counter's display will turn off.
2
Press [ON/OFF] again.
»
The Counter's display will turn on.
Tips
The display of the Counter differs depending on the type of the gage.
For ABS types, the value that was displayed when you turned off the
display will be displayed. For INC types, the current value of ID, etc., will
be displayed.
4.6
Optional Constant Value Setting
You can set an arbitrary multiplication factor for the counter value. If this
function is used, the accuracy cannot be guaranteed.
Tips
• Set the value of parameter number 16 to 3 (arbitrary value) in
advance.
• When an arbitrary constant is set, the decimal point will blink.
This section explains how to set an arbitrary multiplication factor.
1
Press and hold [Fn], and then press [P.SET].
»
The Counter enters Parameter mode.
(The set value of parameter number 00
will blink.)
Parameter number Set value
2
Press [P.SET] twice to set the value to 2.
»
The display appears as to the right.
Parameter number Set value
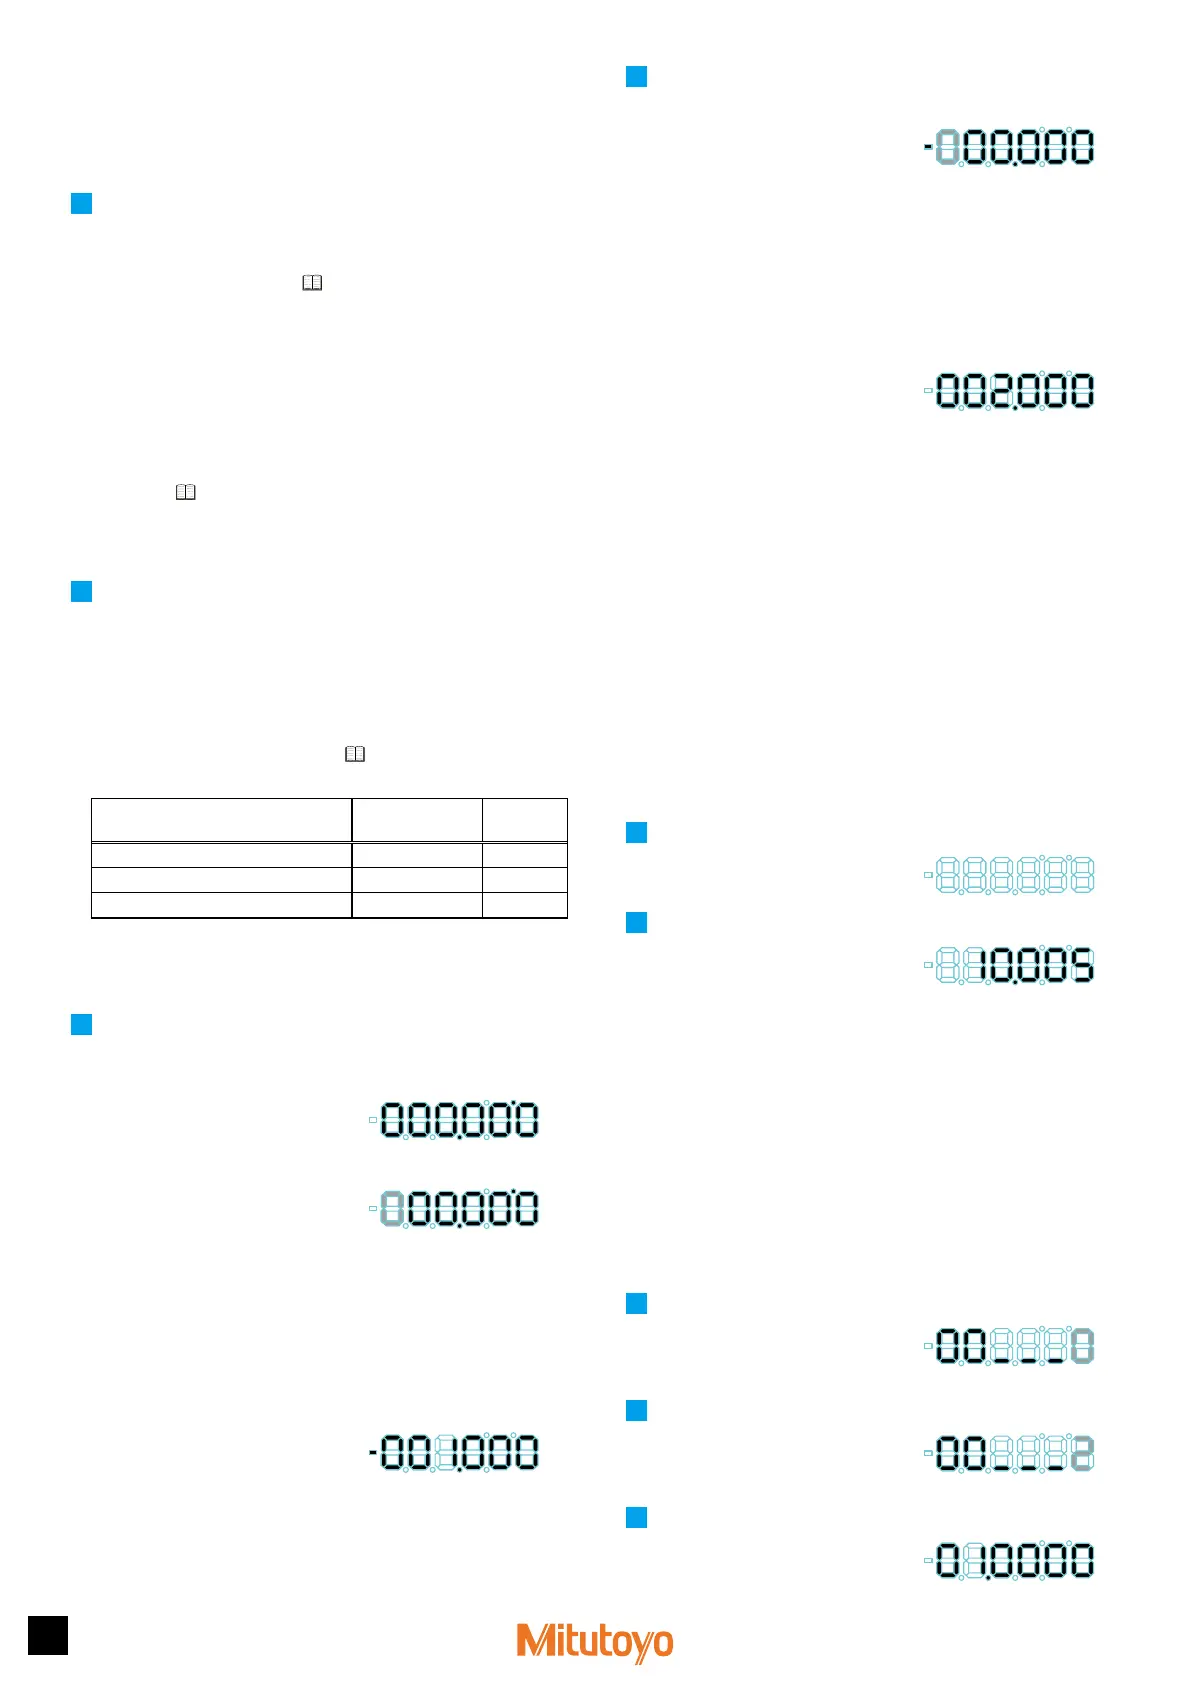
3
Press [Fn].
»
The previous multiplication factor will
be displayed. (The example on the right
shows the previous value as 1.0000.)
 Loading...