MOBIUS TRIMMER M108S USER GUIDE
16
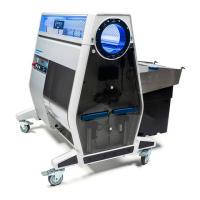
7. Pull up the hockey stick lever until the
top of the stick is ush with the top of the
separator to lock it in place
8. With the Trim Tote gasket seam facing
in, slide the Trim Tote onto the rails of the
separator
9. Swivel the latches forward and up to seal
the gasket and lock the trim tote in place
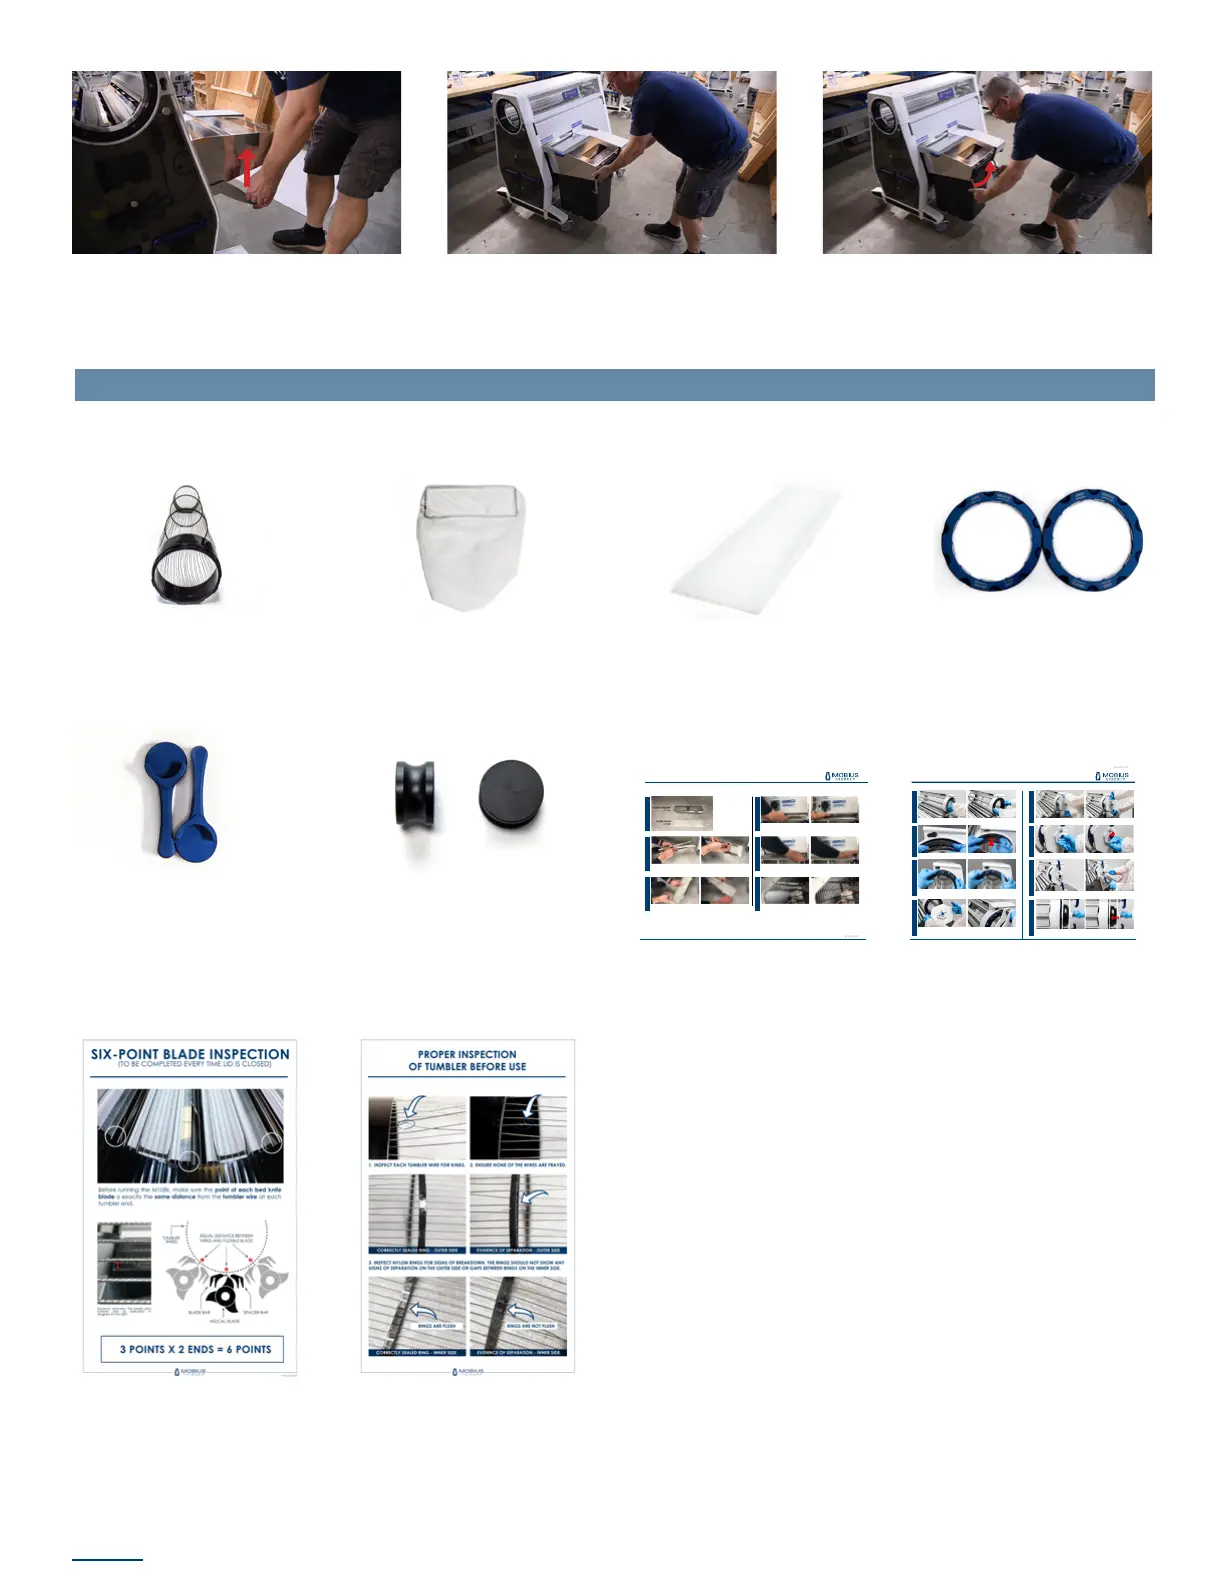
ADDITIONAL COMPONENTS
Inside the second Trim Tote you will nd:
2 AirThread Tension Tumblers 1 fan housing lter bag 2 replacement E-box lters
If you plan to run the M108S
in tandem, you’ll receive 2
tandem locks used to link
the 2 machines together.
2 blue tumbler retaining
rings
Black override pucks are
included if you plan to use
conveyors instead of the
hopper and chute.
6-Point Blade Inspection
Poster
Tumbler Inspection Poster
- 1 -
mobiustrimmer.com info@mobiustrimmer.com
M108S TUMBLER INSTALLATION
The M108S is built with our all-new Spring Tension Technology. It delivers the high trim quality that you depend on with a simplied, reliable workow.
On the infeed side of the lid, install the blue tumbler retaining ring. Ensure it is rotated
into the fully locked position. CAUTION: failure to fully lock can result in injury or
damage to the tumbler.
Insert the tumbler n on the infeed side into the slot as shown
Ensure the blue valve button on the Spring Compressor Tool is turned counter-
clockwise into the open position as shown (pointing towards the Schrader valve).
Insert the Spring Compressor Tool into the lid.
The lid must be open to complete the following steps. Lock the wheels, open the
lid and slide the tumbler (the end without the n) through the lid.
STEP 03. STEP 02.STEP 04. STEP 01.
Turn the valve button to the closed position (pointing away from the Schrader valve).
Apply compressed air into the Schrader valve. A hand pump will also work but with
compressed air, this will only take a few seconds. CAUTION: inate to MAX 90 psi.
As air is pumped in, the Spring Compressor Tool will expand and push on the blue
ring. Once the retaining ring is recessed inside the lid, the Spring Pack has been
fully compressed and the retaining ring on the outfeed side can be installed.
STEP 06.STEP 08.
Press rmly on the handles and wait for the air to ow out of the Spring Compressor
Tool. Once deated, rotate the handles inward into the locked position.
STEP 05.STEP 07.
- 1 -
mobiustrimmer.com info@mobiustrimmer.com
ELECTRICAL BOX FILTER INSTALLATION
Start by tucking the lter mesh strip into the lter holder. Work your way around
the edges until the lter mesh is seated at against the grate of the lter holder.
Before installing the lter, make sure the M108 is unplugged. Then simply push the
lter assembly up into the electrical box air intake located just below the power
plug. There are no tools required.
The lter assembly should just snap into place. Tuck the loose end of lter mesh
into the corner above the bolts.
We’ve removed the side panel from this unit so in this view, you can see what it
looks like from inside.
The assembly is comprised of
two components. The metal
piece is the lter holder. The
white strip is the actual lter
material, or lter mesh.
The electrical box lter assembly will help protect the electrical components in your Mobius Trimmer M108. The lter mesh should be checked before every trim session.
The left side of the lter holder and lter mesh should be ush, while the right side
will have a small strip sticking out.
STEP 01.
STEP 03.
STEP 02.
STEP 04.STEP 05.STEP 06.
The life of the lter depends on machine usage and environment.
Check it before every trim session, and replace when needed.
Replacement Filter Mesh (10pack) : 04-02-002179
E-box Filter Installation Guide Tumbler Installation Guide