79/132
Network And Power Connection
© MOBOTIX AG • Security-Vision-Systems • Made in Germany
www.mobotix.com • sales@mobotix.com
2.7.6 Camera Startup Sequence
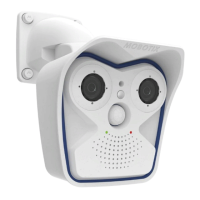
As soon as the power supply has been established, LEDs 2 and 4 will show the progress
of the startup sequence:
• Hardware test: After the power has been connected, LEDs 2 and 4 will light up for
about two seconds. The camera’s computer checks the camera hardware.
• Backup system test: The camera checks the operating system. In case of an error,
the camera will start using the backup operating system, allowing you to reinstall
the system software.
•
Unpacking the OS: The camera unpacks the operating system from the flash EPROM
and copies it to the camera’s memory (LEDs 2 and 4 light up for about ten seconds).
Starting the OS: The Linux operating system unpacks its data to the RAM disk and
initializes the system.
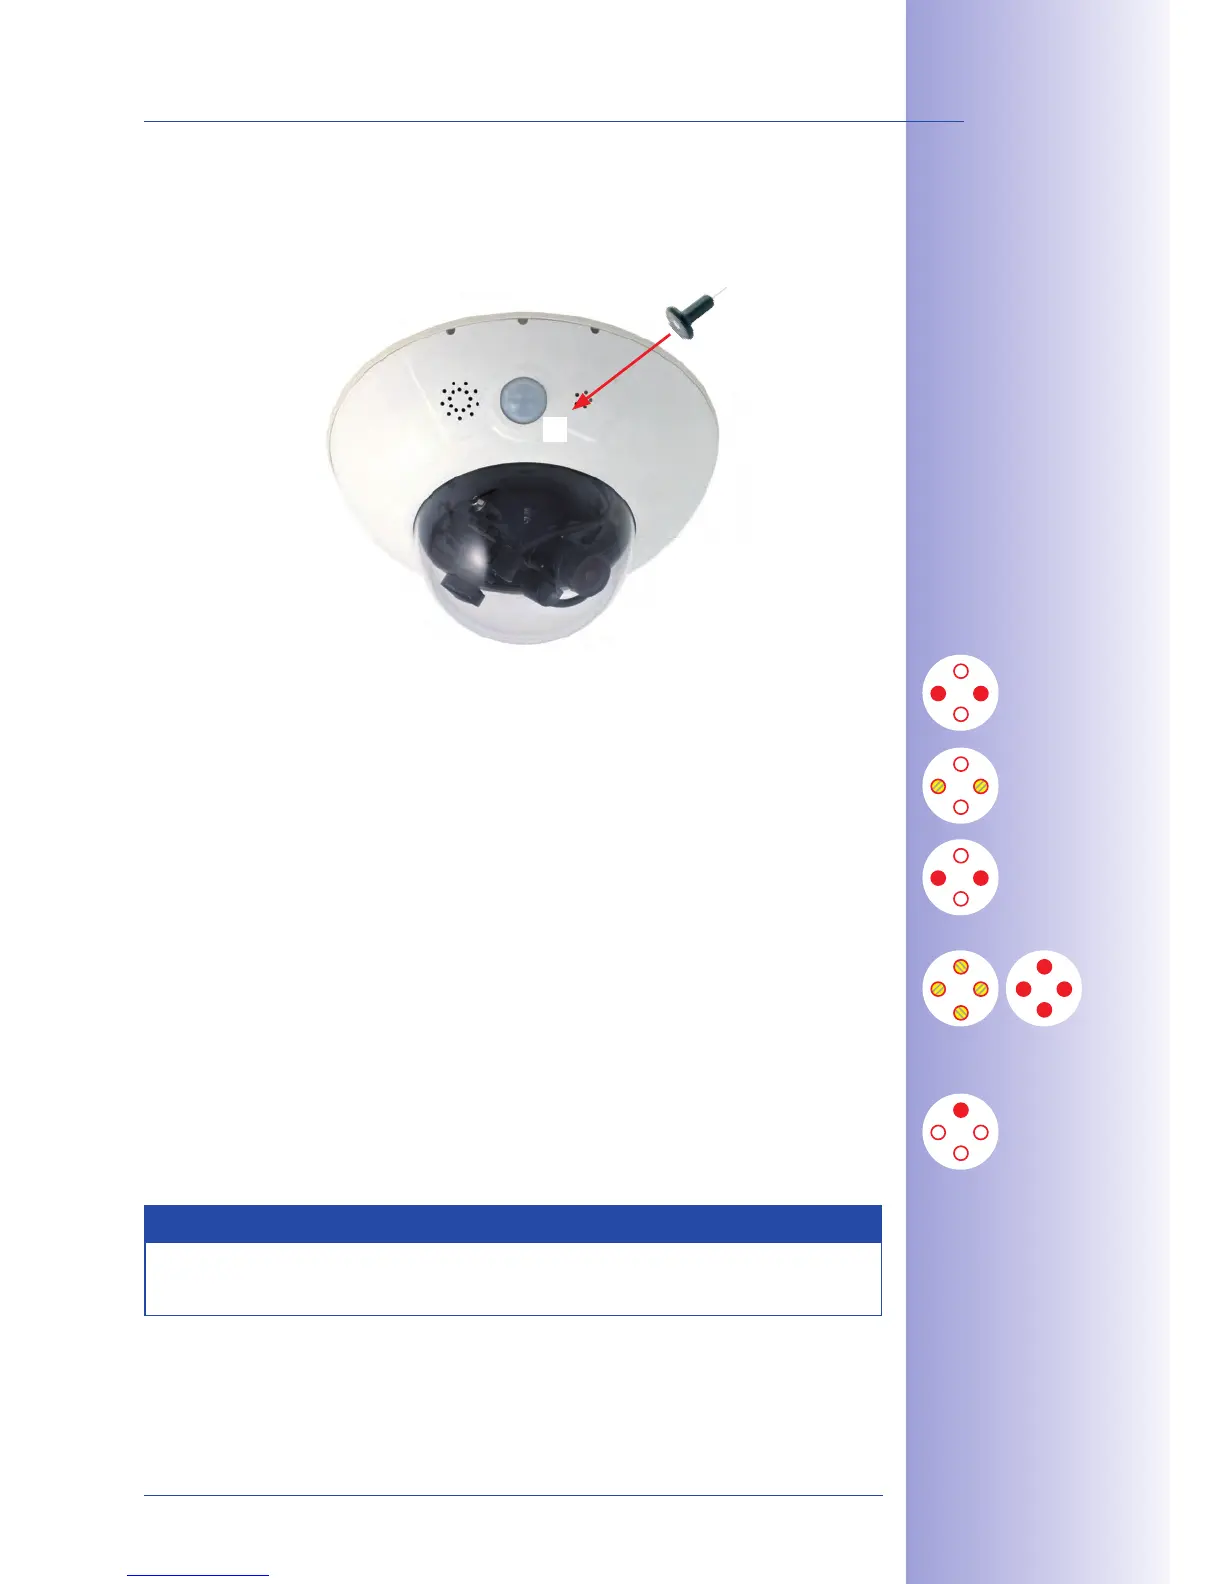
• Boot mode (factory IP address/DHCP): If the magnetic side of the custom tool is
pressed to the spot marked L, the camera starts either using its factory default IP
address (all LEDs flash) or with DHCP (all LEDs light up). See also Sections 3.2.5 and
3.2.6 of this manual. The flashing patterns only appear in the case of a hardware
reboot, that is, after the power supply has been interrupted.
• Starting the applications: Once the application software has been started, LED 1
will light up continuously (if it has not been switched o for this configuration). You
can now access the camera using your browser.
Note
During the startup sequence of the camera, the LEDs will always light up, even if they
have been deactivated in Admin Menu> LED Setup.
2
3
4
1
L