Do you have a question about the Mocka Brooklyn Bedside Table and is the answer not in the manual?
Lists all components and quantities required for assembly, including bolts, nuts, screws, and dowels.
Highlights the severe risk of furniture tipping and the necessity of anchoring the unit to a wall.
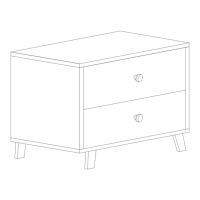
Attaching drawer slides to side panels and assembling the main frame using bolts, dowels, and locking nuts.
Sliding the back panel into grooves and securing the top panel with bolts, dowels, and locking nuts.
Assembling drawer components with side, back, front, and base panels using screws and bolts.
Mounting drawer rail components to the drawer sides and repeating the drawer assembly process.
Sliding the completed drawers into the cabinet rails and ensuring smooth opening and closing.
Securing the safety strap to the top rear of the bedside table unit.
Fastening the safety strap to the wall using a wall anchor and screw for stability.
| Brand | Mocka |
|---|---|
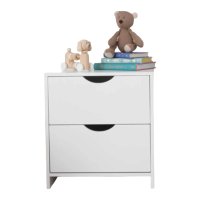
| Model | Brooklyn Bedside Table |
| Category | Indoor Furnishing |
| Language | English |