Page 11
q Slide the wing joiner into the wing panel up to the centerline mark, then quickly remove any excess epoxy, using a paper towel
and rubbing alcohol, and allow the epoxy to set up before proceeding.
q
After the epoxy has set up, test-t both wing panels together again to double-check that they still t together properly, then apply
a thin layer to the exposed half of the wing joiner, the inside of the wing joiner box in the second wing panel, and the entire surface
of BOTH root ribs. Make sure to use enough epoxy to ll any gaps.
q
Working with only one wing panel for now, apply a thin layer of 30 minute
epoxy inside the wing joiner mounting box and to only half of the wing joiner.
Make sure to cover the top and bottom, as well as the sides, and use enough
epoxy to ll any gaps.
WARNING Use only 30 or 45 minute epoxy to install the wing joiner
and to join the wing panels together. Do not use 5 minute epoxy. It
q Slide the two wing panels together and realign them. Quickly wipe away
any excess epoxy, using a paper towel and rubbing alcohol, and use pieces of
masking tape to hold the two wing panels aligned until the epoxy fully cures.
IMPORTANT It is of the utmost importance to the integrity of the wing
center-section joint that you apply a generous amount of epoxy to both
root ribs and the wing joiner. Not using enough epoxy can result in wing
failure during ight.
STEP 5: CHECKING THE WING CENTER-SECTION JOINT
q Once the epoxy has fully cured, remove the masking tape and double-check the center-section joint. If any gaps are present, mix
a small quantity of 30 minute epoxy and carefully ll any remaining gaps.
IMPORTANT Do not omit this procedure. The wing panels should t together tightly, but it's possible to have some small gaps
that appear after the epoxy has cured. To make the wing center-section joint as strong as possible, it's important to ll any gaps.
WING MOUNTING
YOU'LL NEED THE FOLLOWING PARTS FROM THE KIT:
YOU'LL NEED THE FOLLOWING TOOLS AND SUPPLIES:
q Thin and Thick C/A
q Flat Head Screwdriver
q Modeling Knife
q (1) Fuselage
q (1) Wing-Screw Doubler
q (2) Wing Mounting Bolts
q Straight Edge Ruler
q Pencil
q Masking Tape
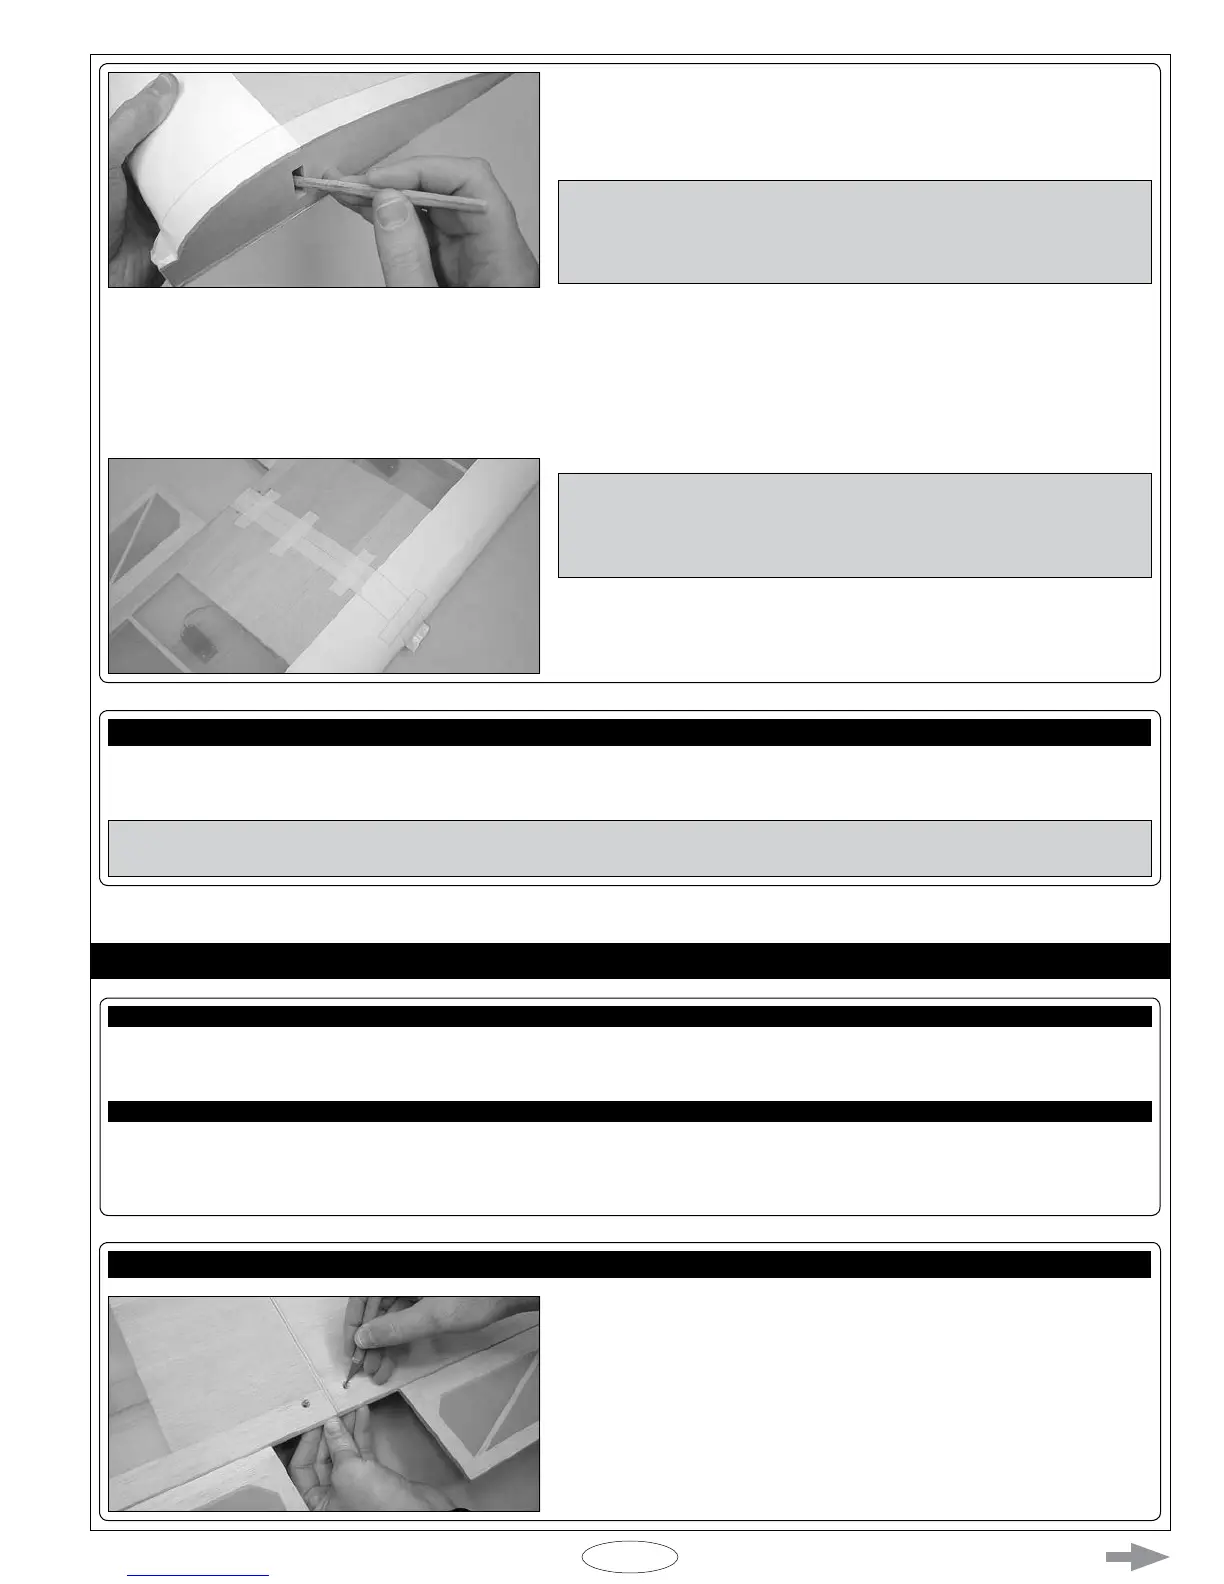
q Cut away the covering material from over the top and bottom of the two
predrilled wing-screw mounting holes in the trailing edge of the wing. The
holes are located 3/4" (19mm) in front of the trailing edge and 3/4" (19mm)
out from the center-section joint.
STEP 1: INSTALLING THE WING-SCREW DOUBLER