51
13. Programming the remote control
a) Programming the remote control
This product enables you to coordinate the drive, steering and switching functions of your model individually and to
permanently store the set values. Only a model set to suit the given driver will offer the most fun.
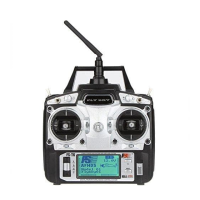
Information is entered into the product via the four function buttons located below the LC display. Hold down the
“PUSH” button (see Figure 3, Number 11) for about a second to switch the product on. The transmitter is in operating
display. Pushing and subsequent turning of the programming setting wheel (see Figure 3, Number 14) to switch to the
main menu where you can select, activate, adapt and save the individual functions in the main menu. Use the „Return“
button (see Figure 3, Number 10) to go back to the operating display.
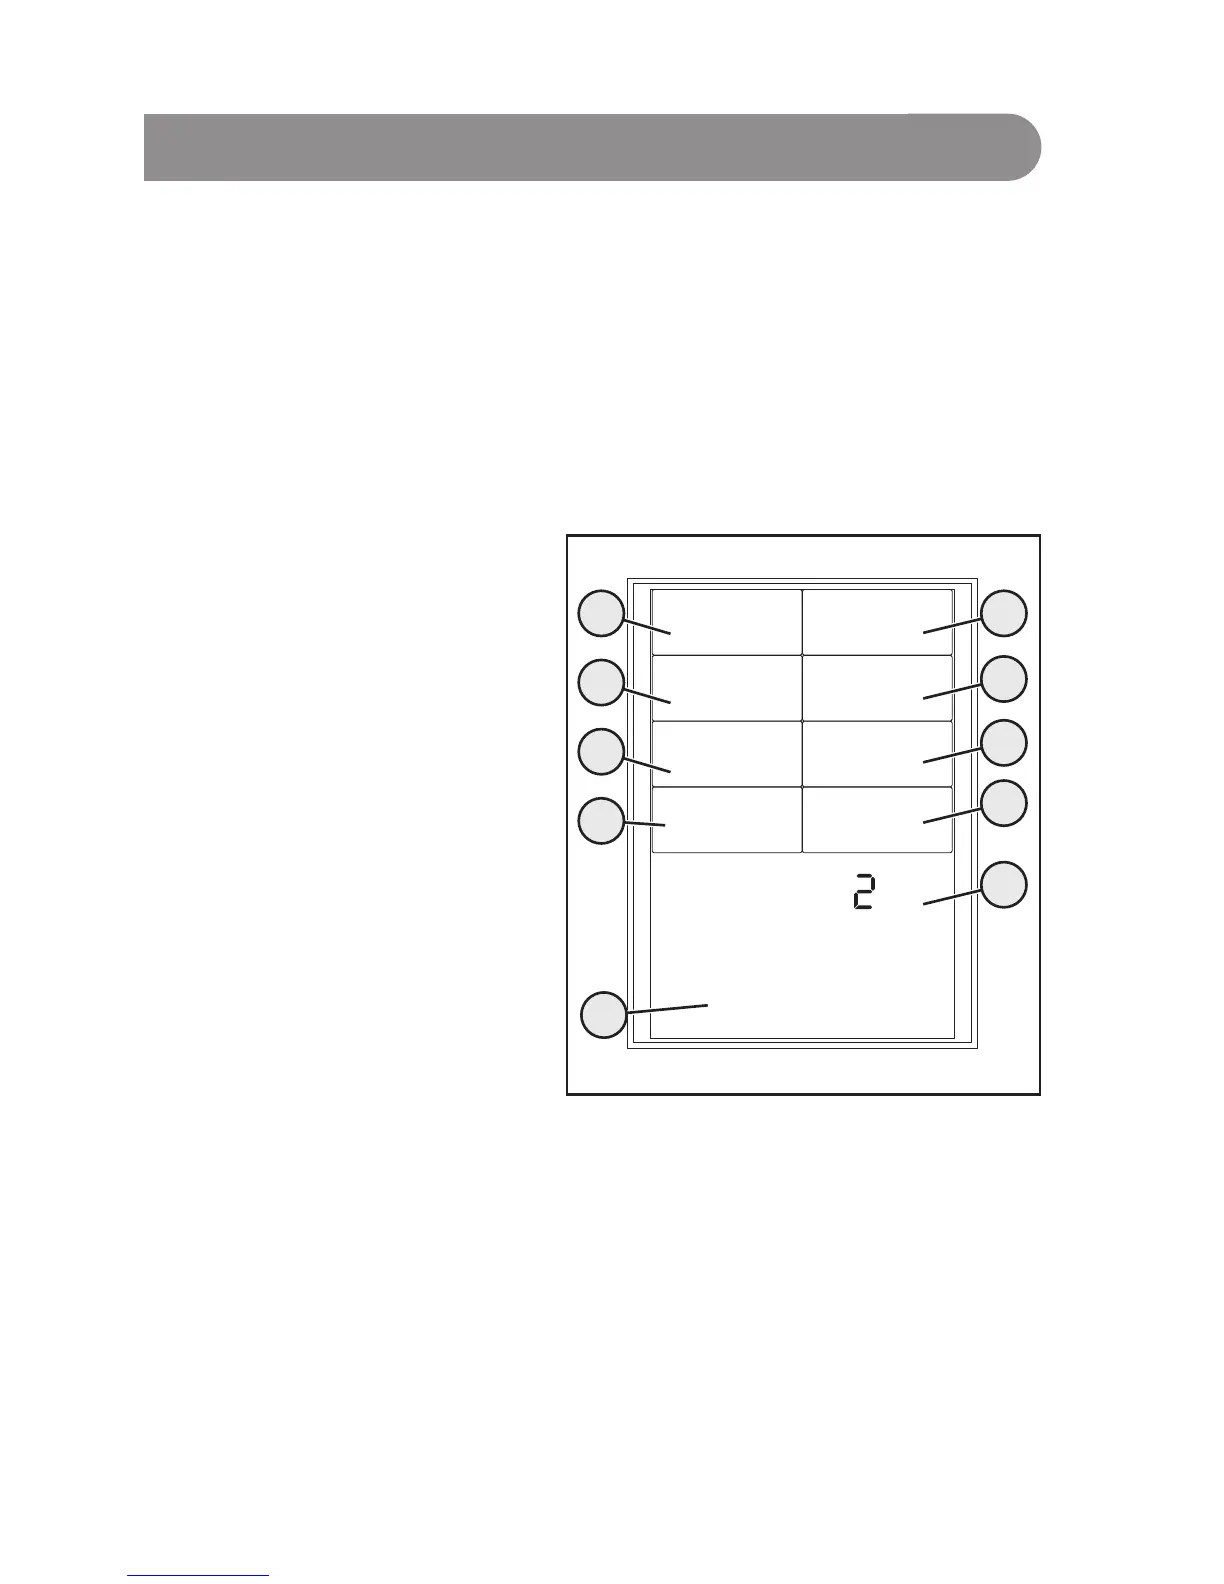
As soon as you switch on the product, the following information will be shown on the LC display.
1. “MODEL” (select model)
2. “NAME” (change the model name)
3. “REV” (servo reverse function)
4. “E.P.A.” (path setting of servo)
5. “TRIM” (digital trimming of the servo)
6. “D/R” (Dual Rate function)
7. “EXP” (exponential settings of the servo)
8. “ABS” (ABS brake)
9. Selected model
10. Name of the model memory / operating voltage
MODEL
Model select
NAME
Name edit
REV
Servo reverse
E.P.A.
End point adjuster
TRIM
Trim
D/R
Dual rate
EXP
Exponential
ABS
Autobrakesystem
MODEL NO.
5,2 V
51
2
3
4
6
7
9
8
10
Figure 13