Do you have a question about the Moen MOENTROL and is the answer not in the manual?
Provides phone numbers and website for installation help, parts, or replacements.
Lists essential tools recommended by Moen for safe and easy installation.
Lists all included parts with English, Spanish, and French names and diagrams.
Offers crucial advice for safely shutting off water and relieving pressure before removal.
Guides selection of 1-3/4" or 1-1/4" bracket screws based on wall finish.
Instructions for removing the plaster ground and mounting the escutcheon to the wall.
Details on installing standoff screws and the main escutcheon onto the valve.
Securing the mounting bracket to the escutcheon using appropriate bracket screws.
Ensuring correct cartridge stem orientation and installing the adapter onto the bracket.
Applying thread seal tape and assembling the shower arm flange and arm.
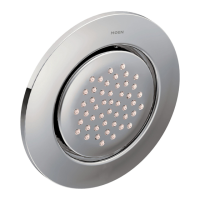
Attaching the shower head to the shower arm using thread seal tape and tightening.
Measuring tub spout pipe distance and installing the tub spout.
Installing the lever handle and adapter onto the valve assembly.
Securing the lever handle set screw and testing basic handle function.
Fine-tuning the temperature limit stop for desired hot water temperature.
Sliding and rotating the handle escutcheon for correct set screw orientation.
Tightening the lever handle setscrew and rotating the handle escutcheon to the correct position.
Installing the handle cap and insert onto the lever handle assembly.
Assembling the lever handle, screw, and cap to the handle assembly.
Explains warranty terms for homeowners and other purchasers, and how to make claims.
| Type | Shower Valve |
|---|---|
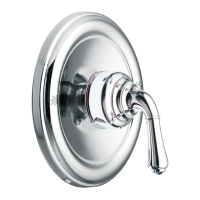
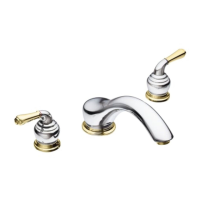
| Handle Type | Lever |
| Rough-In Valve Size | 1/2 inch |
| Maximum Pressure | 125 PSI |
| Warranty | Limited Lifetime Warranty |
| Compatibility | Moen M-PACT Common Valve System |
| Valve Type | Pressure-Balancing |
| Maximum Flow Rate | 2.5 GPM |
| Temperature Limit Stop | Adjustable |
| Finish Options | Chrome, Brushed Nickel |