Rev E 24/09/2013 BM06101 Molift MOVER 300 English Page 5 of 20
Assembly and disassembly
Unpacking
• The lifter comes in one cardboard box. Verify
that the box has no apparent damage. If dam-
aged, check the content and contact your deal-
er for assistance if components are damaged.
• The box contains one complete Molift Mover
300 lifter with hand control, battery and bat-
tery charger with mains cable.
Assembly
• The chassis should be rolled out of the box.
• Charge the battery, see page 10.
Note! The battery must not be in the battery
holder during assembly!
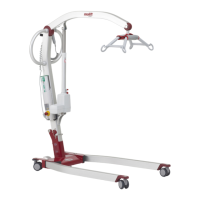
• Place the column in the attachment on the
chassis, and push the column down as shown
below. The screw in front of the column should
t in the slot inside the chassis.
• Make sure that the red arrow on the lower part
of the column corresponds with the lock han-
dle. Fix the column with the lock handle. If the
column is not placed correct the lifter will not
work.
• Fix the column by
pushing the lock han-
dle on the back all the
way down
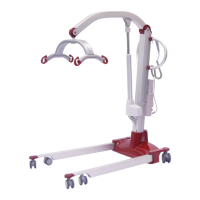
• Connect the hand control cable to the con-
tact on the underside of the battery holder. The
hand control has a hook that makes it possi-
ble to hang it on the drive handle or the plastic
hooks on the column.
• Place the battery in the holder with the con-
nectors facing down. Release the emergency
stop and run each function of the lifter to verify
proper function. (Always charge batteries be-
fore the lifter is ut into service).
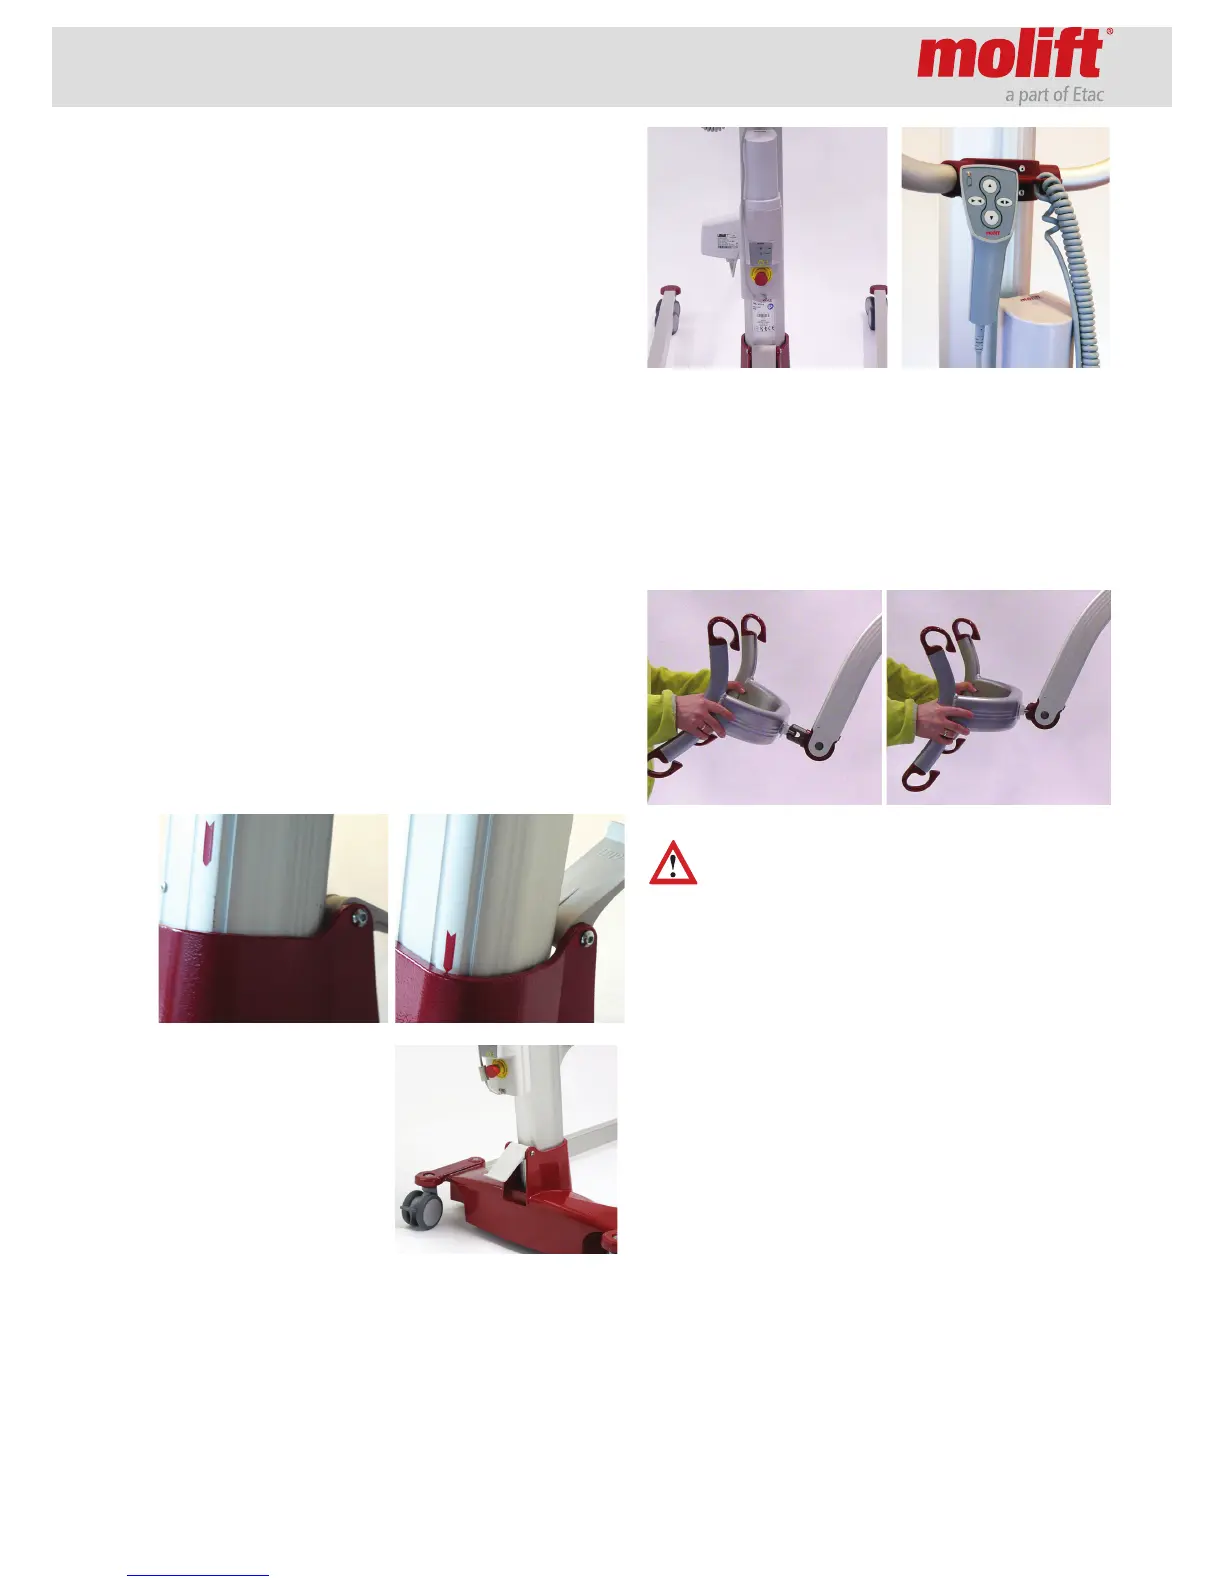
• Mount the suspension by turning the opening
in the end cover upwards, and slide the attach-
ment fork in place (as shown below).
Check that the lifter is mounted correctly with
no loose parts or damages. Ensure that the
suspension and lifting column are properly
fixed.
Checklist after mounting
• Check the lifter according to checklist before
use on page 7.