7
English
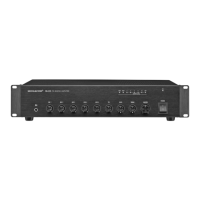
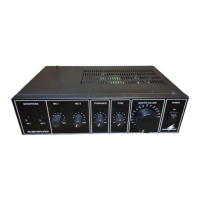
15 Support for the mains fuse
Always replace a blown fuse by one of the
same type.
16
Terminal strip for speakers to be switched
on all the time, i. e. for speakers not to be
switched on and off via the buttons ZONES
(7); always observe chapter 5!
17 Line level input EM INPUT (screw terminals)
for important announcements
As soon as a signal is present at this input,
the signals of the inputs INPUT2 to INPUT5
(11, 19, 20, 21) and of the MP3 player will
be faded out.
18 Control MUTE LEVEL to adjust the level of
volume attenuation (0 – 30 dB) for the inputs
INPUT 2 to INPUT 5 (11, 19, 20, 21) and for
the MP3 player when an announcement is
made via the input MIC 1 (2)
19 6.3 mm jacks (unbal.) of the inputs INPUT2
and INPUT3 for microphones; as an alter-
native to the XLR jacks (11) and the RCA
jacks (20)
20
RCA jacks of the inputs INPUT 2 and INPUT3
to connect audio units with line level output
(MP3 / CD player, radio, tape deck etc.); as an
alternative to the microphone inputs (11, 19)
21
RCA jacks of the inputs INPUT 4 and INPUT 5
to connect audio units with line level output
(MP3 / CD player, radio, tape deck etc.)
22
Line level output OUTPUT for the mixed sig-
nal to connect, for example, an additional
amplifier if more speakers are required than
the PA-312DMP can handle
minal strip ZONES OUTPUT (10) – refer to
fig.4. The maximum load of the amplifier by
the speakers must not exceed 120 W.
2. Connect 70 V or 100 V speakers to be
switched on all the time to the terminals 70 V
or 100 V and COM of the terminal strip OUT-
PUT (16) – refer to fig. 5 or 6. The maximum
load of the amplifier by the speakers must not
exceed 120 W.
3. The connection methods 1 and 2 may be com-
bined if a total load of 120 W is not exceeded
by the speakers connected.
4. Connect a speaker or a speaker group with
a total impedance of at least 4 Ω to the ter-
minals “4-16 Ω” and “COM” of the terminal
strip OUTPUT (16). The speaker is (the speak-
ers are) switched on all the time. Figures 7 to
10 show different methods to observe the
minimum impedance; however, there are also
other possibilities.
As a protection against contact, each speaker
terminal strip (10, 16) is provided with a trans-
parent cover. To connect the speakers, fold up
the corresponding cover.
WARNING
Always fold down the covers
of the speaker terminal strips
(10,16) before operation. Dan-
gerous high voltage is present at
the terminals; avoid any contact. Risk of elec-
tric shock!
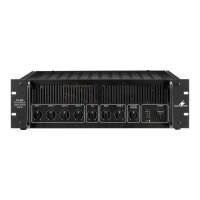
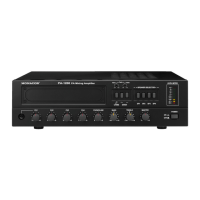
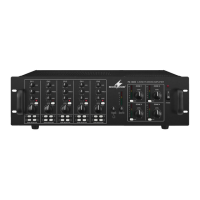
6 Specifications
Output power
Rated power: . . . . . . . 120 W
Music power: . . . . . . . 160 W
THD: . . . . . . . . . . . . . . . < 0.5 %
Outputs
Speaker: . . . . . . . . . . . 4 – 16 Ω, 70 / 100 V
LINE: . . . . . . . . . . . . . 0.775 V/ 600 Ω
Inputs
Sensitivity/impedance; connection
MIC 1: . . . . . . . . . . . . 5 mV/ 600 Ω;
6.3 mm jack, unbal.
INPUT 2, INPUT 3
MIC: . . . . . . . . . . . . 5 mV/ 600 Ω via
XLR, bal. or
2.5 mV/2 kΩ via
6.3 mm jack, unbal.
LINE: . . . . . . . . . . . . 750 mV/ 10 kΩ; RCA
INPUT 4, INPUT 5: . . . . 350 mV/ 10 kΩ; RCA
EM INPUT: . . . . . . . . . 775 mV/ 10 kΩ; screw
terminals, unbal.
Phantom power
for MIC 2 + MIC 3 (XLR):
⎓ 48 V, to be activated
Frequency range: . . . . . 50 – 16 000 Hz
Tone controls
BASS: . . . . . . . . . . . . . ±10 dB / 100 Hz
TREBLE: . . . . . . . . . . . ±10 dB / 10 kHz
S / N ratio
MIC: . . . . . . . . . . . . . . 66 dB
LINE: . . . . . . . . . . . . . 80 dB
Power supply: . . . . . . . . 230 V / 50 Hz
Power consumption: . . . 420 VA max.
Ambient temperature: . 0 – 40 °C
Dimensions: . . . . . . . . .
482 × 88 × 335 mm, 2 RS
Weight: . . . . . . . . . . . . 9.2 kg
Subject to technical modification.
All rights reserved by MONACOR
®
INTERNATIONAL
GmbH & Co. KG. No part of this instruction manual
may be reproduced in any form or by any means for
any commercial use.
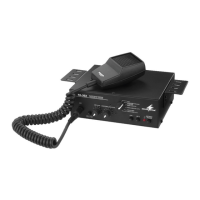
4.4 Infrared remote control
Power supply of the remote control (fig. 3) for
the MP3 player is provided by means of a 3 V
button cell. If the remote control is supplied with
the battery inserted, remove the protective film
(to protect the battery against discharge) from
the battery support: The remote control will then
be ready for operation. When you press a button
on the remote control, always point the remote
control at the amplifier. Make sure that there
are no obstacles between the amplifier and the
remote control.
If the remote control is not in use for a
longer period of time, always remove the bat-
tery to prevent damage due to battery leakage.
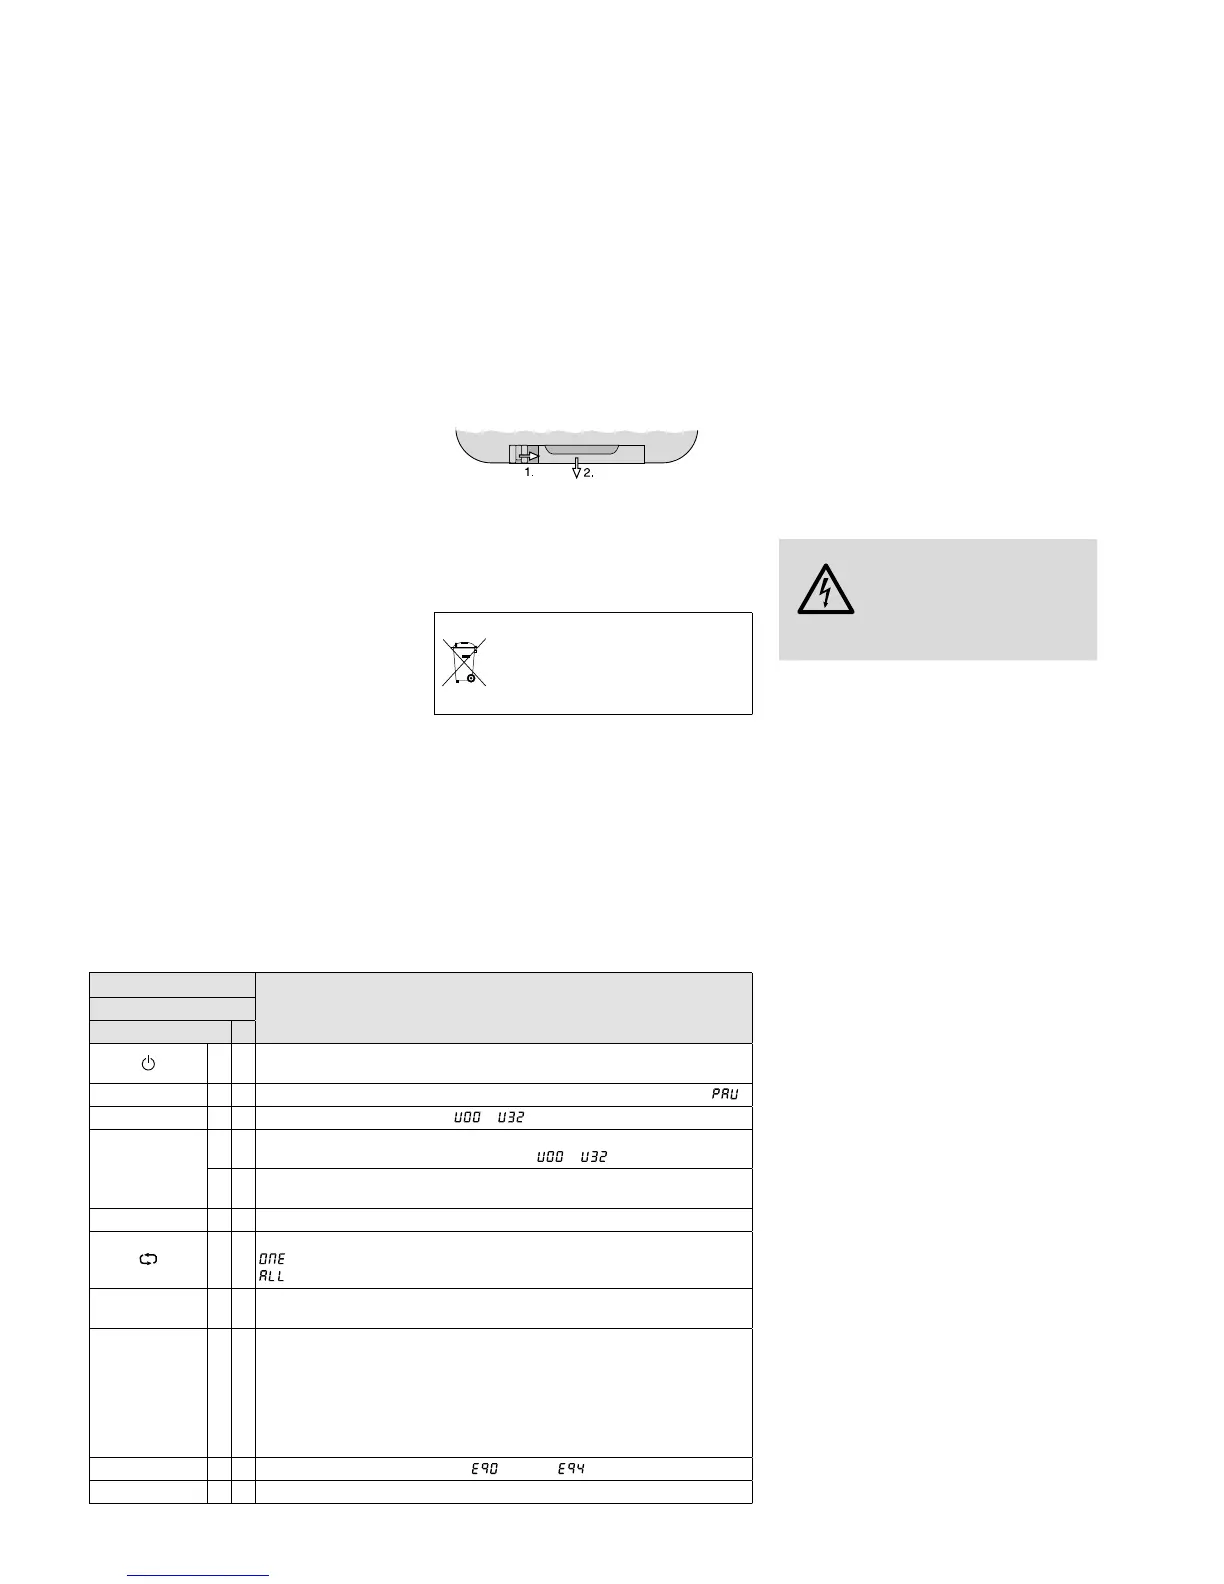
Replacing the battery
1) Push the latch of the battery support to the
right (arrow 1 in the figure below) and pull
out the support (arrow 2).
2)
Remove the discharged battery and insert
the new battery (3 V button cell of the type
CR 2025) into the support, positive pole fac-
ing up.
3) Push the support back into the remote con-
trol.
Never put discharged batteries in
the household waste. To protect the
environment, always take them to a
special waste disposal, e. g. collection
container at your retailer.
5 Important Notes:
SpeakerConnection
Only use one of the four connection methods
described below; otherwise, the amplifier may
be damaged! In case of overload, the protective
circuit will respond: The LED PROT (8) will light
up and the speakers will be muted.
1. Connect 100 V speakers to be switched on
and off via the buttons ZONES (7) to the ter-
4.3 MP3 player
Button
Function
on the remote control
on the unit
×
To switch on/off the MP3 player
After switching on, the title most recently replayed will start.
II
× ×
To switch between replay (indication of title number) and pause (indication )
VOL– VOL+ ×
To adjust the volume; indication …
I I
×
Press briefly for previous / next title
Keep pressed to adjust the volume; indication …
×
Press briefly for previous / next title
Keep pressed to skip backward / forward 10 tracks at a time
×
Fast reverse / fast forward (with sound muted)
×
Repeat function
= repeat of the title
= repeat of all titles
Control
MP3 LEVEL
×
To adjust the maximum volume of the MP3 player
1…9, 0
10+
×
Direct title selection, examples:
Title Button (s)
8 8
10 10+ or 1, 0
15 10+, 5 or 1, 5
97 9, 7
426 4, 2, 6
EQ ×
To select sound settings; indication (Eq 0) … (Eq 4)
MODE ×
No function
 Loading...