31
02/02
GENERAL MAINTENANCE
CAUTION:
BEFORE CHANGING KNIVES
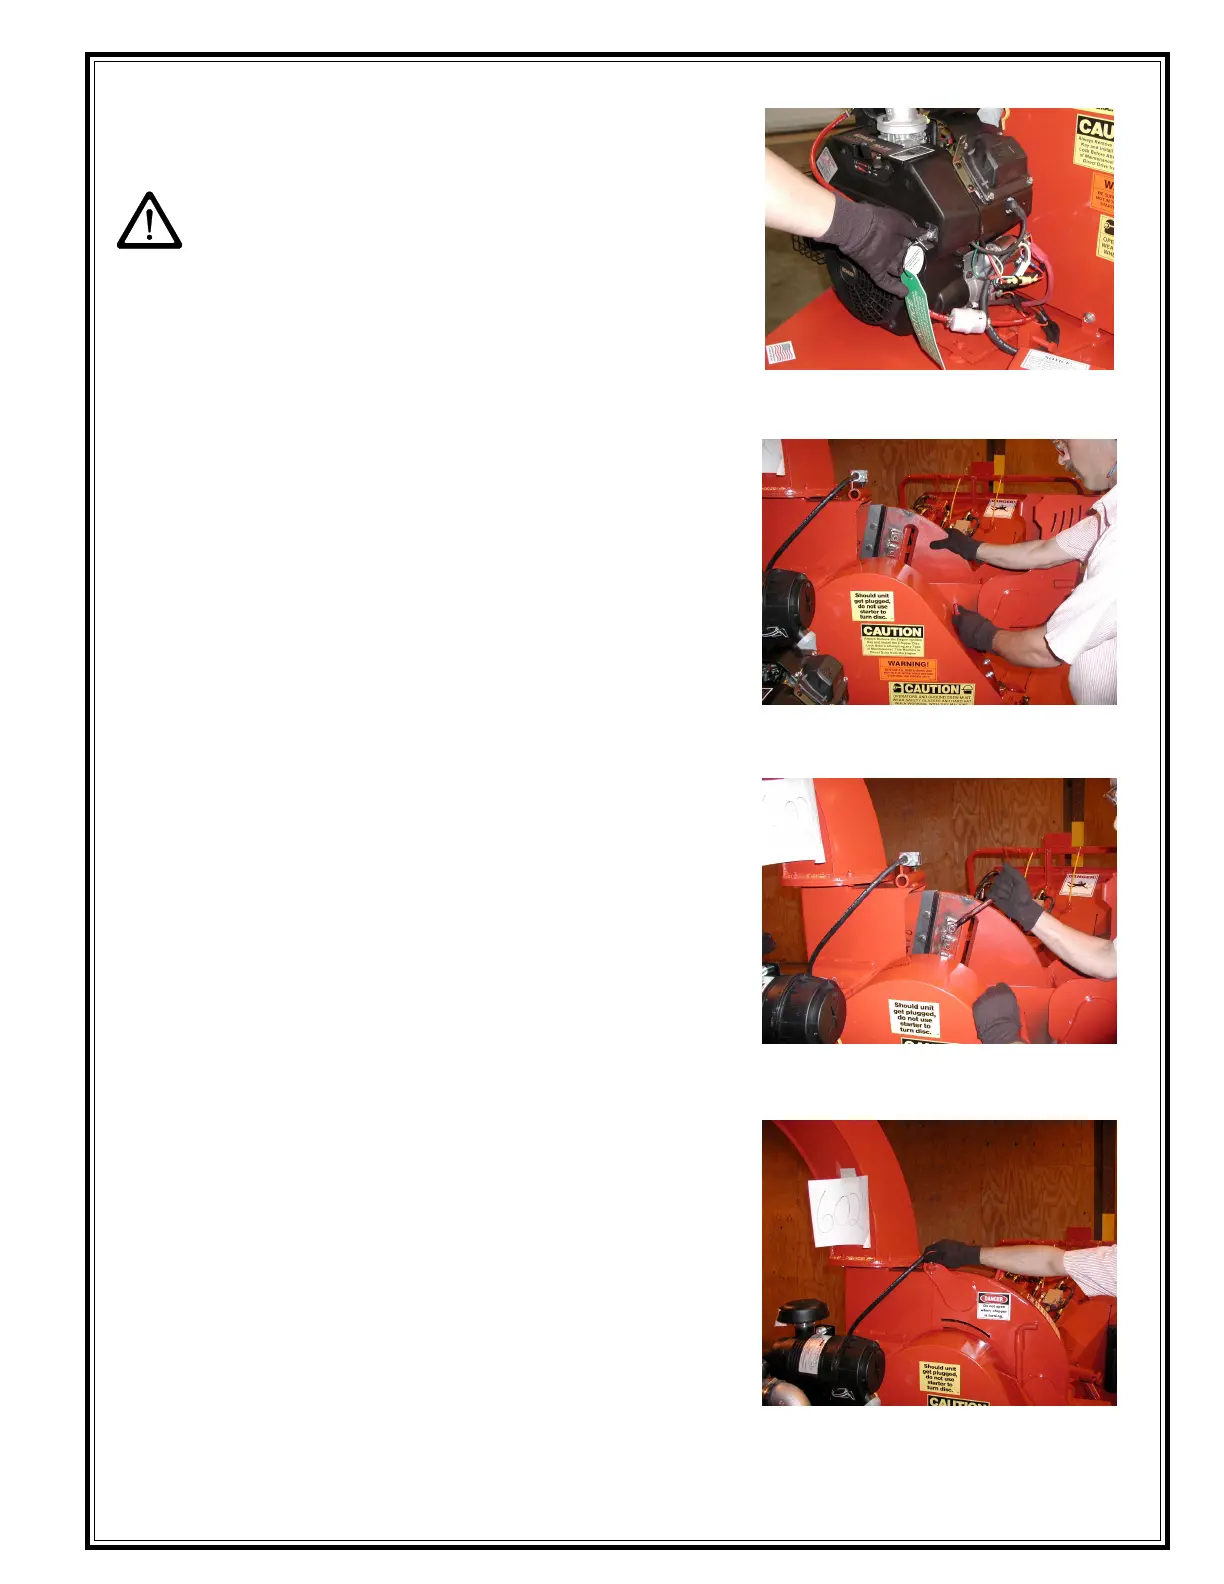
1. Always remove ignition key and coil wire (on
gasoline power units) and disengage clutch/clutch
table.
NOTE: ALWAYS USE LOCK OUT
PROCEDURES
2. Make sure the chipper disc has come to a
complete stop.
3. Remove the pin from the chipper hood and open
the chipper hood.
4. Rotate disc so knife is accessible.
5. Install the disc lock pin, rotate the disc until the pin
enters the access hole on the chipper disc.
6. Remove the (3) knife bolts.
7. Remove all dirt and chip particles from the
knife and knife pocket using a wire brush.
8. Reverse, grind or replace the knife.
9. Place the knife onto the knife pocket and insert
bolts. Before tightening slide the knife outward
and then proceed to torque bolts down.
NOTE: Torque 1/2"-13 knife bolts to specifications
listed in the torque chart on pg. 36
10. Remove disc lock pin.
11. Repeat this process for each knife.
12. After changing knives, close the chipper hood. Install
the chipper hood pin, and safety clip.
IMPORTANT! Always adjust anvil after each time you
replace or sharpen knives. (Refer to "Adjusting Anvil
Clearance) (page 32)
CHANGING CHIPPER KNIVES
Remove Ignition Key before attempting
any maintenance.
Rotate the Disc until the pin enters the
access hole on the Chipper Disc
Replace the Knives and tighten all of the
Knife Bolts.
Close the Chipper Hood, install the
Chipper Hood Pin, and Safety Clip.