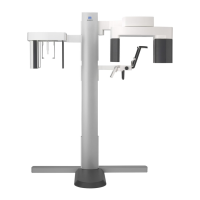
Check Panorama Operation
Insert the PAN/CEPH cassette into the cassette holder and press
the Dental Arch key.* Press the Ready key to enable X-ray
emission. Hold down the emission button and check that the
arm rotates, X-rays are emitted, the X-ray emission LED lights
up, and the audible signal sounds. Also check that after the
emission time has elapsed, X-ray emission stops and the arm
stops rotating.
Press the emission button again to return the arm to its patient
entry position.
* Cassette insertion is not required for panorama models.
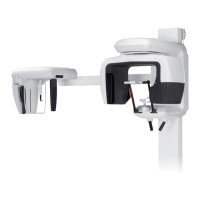
Check Cephalo Operation
Insert the PAN/CEPH cassette into the cephalo cassette holder
and press the LA key on the operation panel.
Completely close the temple stabilizers for panorama exposures
by turning the adjustment knob.
Press the Ready key to move the X-ray head and the arm into
their Cephalo positions. Check that the Ready LED on the Arm
Operation Panel or the control box is on. Hold down the
emission button and check that X-rays are emitted, the X-ray
emission LED lights up, and the audible signal sounds. Also
check that after the emission time has elapsed, X-ray emission
stops, the emission LED goes out and the audible emission
signal stops.
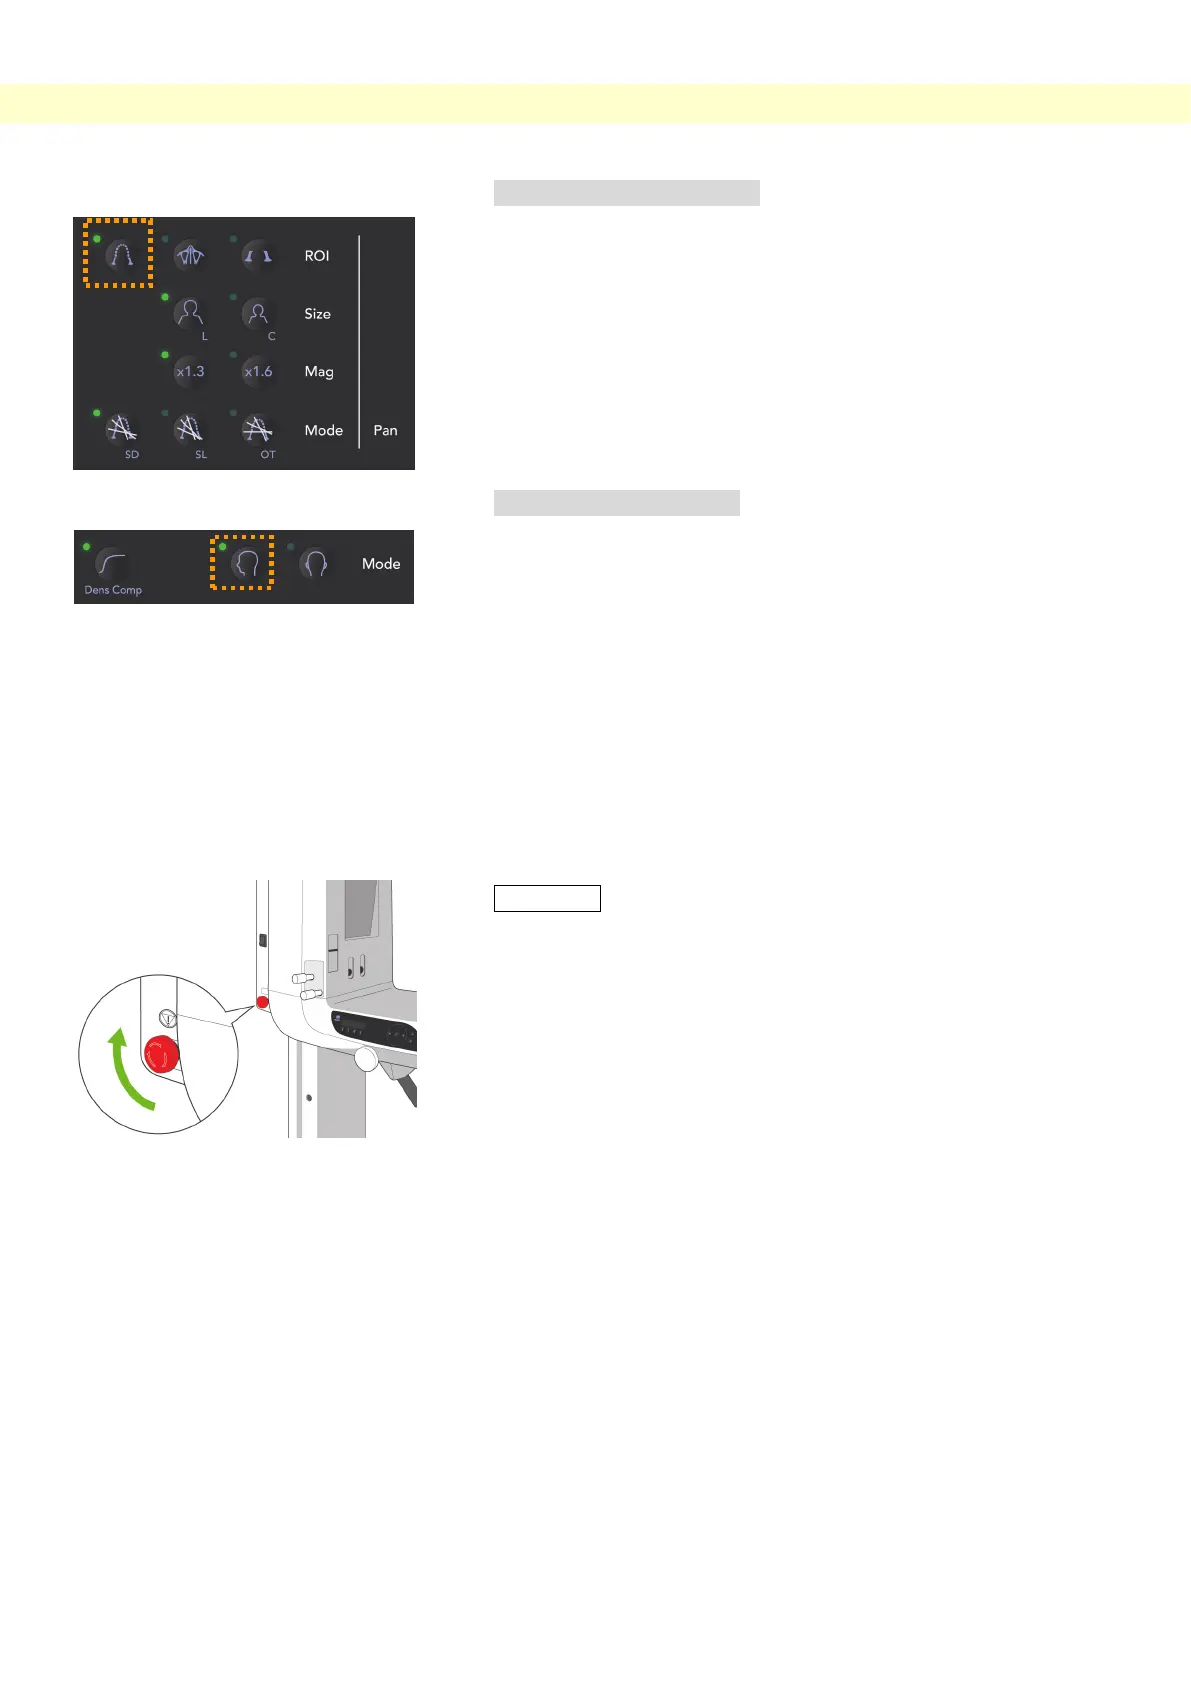
Usage Note
♦ The unit cannot be turned on if the Emergency Stop
switch has been accidentally pressed during cleaning etc.
Turn the switch in the direction indicated by the arrow to
release it.
 Loading...