(I) Preliminary Procedures
Turn the computer on and start the application software to
receive the image data read-in.
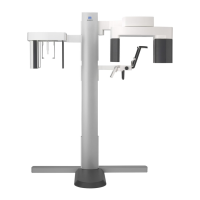
<For the i-Dixel application>
The i-Dixel application will start up automatically.
Select and display the Patient Page and then make the exposure.
(For new patients, first register the patient and then display the
new Patient Page.) The exposure will be automatically
transmitted to the i-Dixel application.
* For details refer to the user manual for the i-Dixel
application.
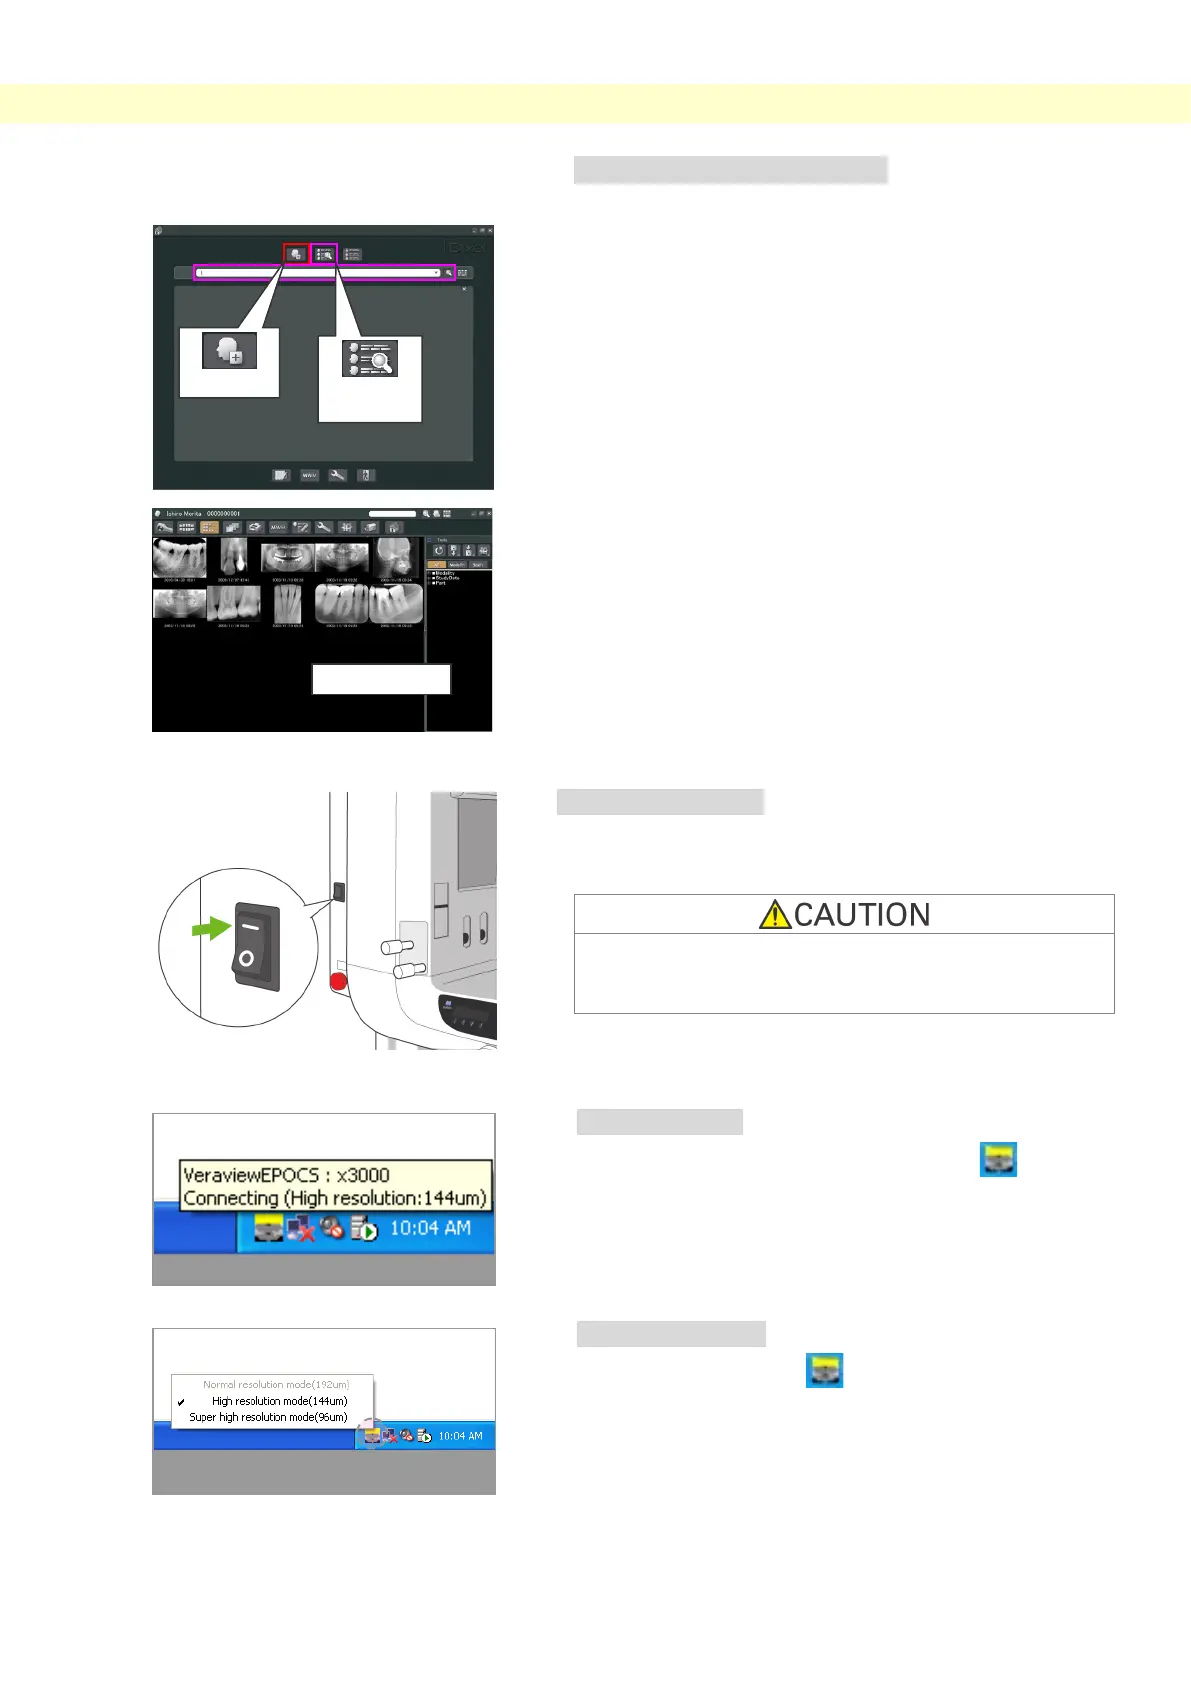
Turn Main Switch On
Press the top (
|
) of the main switch. The blue main LED will
light up to show that the unit is on.
Do not turn the main switch on if the patient is standing
near the unit. The arm will move and it could hit the
patient.
Check Resolution
Move the mouse cursor to the resolution icon ( ) on the
task tray at the lower right to display the presently selected
resolution.
Change Resolution
Click the resolution icon (
) on the task tray at the lower
right to select the resolution.
(Either High resolution or Super high resolution will be marked
with a check. To change the resolution, click the one without a
check mark.)
* Fine high-speed mode: High resolution mode
* Superfine mode: Super high resolution mode
Select
 Loading...