USER MANUAL | FOLDING WHEELCHAIRS – ADJUSTMENTS AND MAINTENANCE
NOTE: If you ignore these Warnings or fail to inspect or maintain your wheelchair as directed in the manual , you may fall, tip over or lose control of the wheelchair and seriously
injure yourself or others or damage the wheelchair.
26
8.10.7 MOVE CASTER HOUSING
– All four wheels should be touching the floor.
– Use a set square and place it on the ground and along the
caster housing.
– The housing should be parallel to the set square.
– If the housing is not parallel to the set square, loose screws (2)
(Fig. 31.1) sufficiently to remove the eccentric inserts (3) from
the caster housing (1).
– Rotate the caster housing to adjust the angle.
– Replace the eccentric inserts (4) into the housing and tighten
screws (2)
– Check again that the caster housing is perpendicular to the
ground by using the set square.
– Final tightening should be done manually.
8.10.8 VELOCE CASTER HOUSING
– All four wheels should be touching the floor.
– Use the integrated level on the fork housing.
– If the caster housing is not level, loosen the screws (1).
– Rotate the caster housing to adjust the angle until the bubble
is centered in the level.
– Tighten screws (1). This will hold the caster housing position.
– Check again the integrated level to make sure that the caster
housing is perpendicular to the ground.
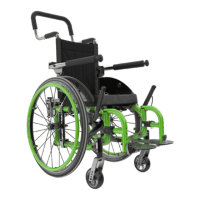
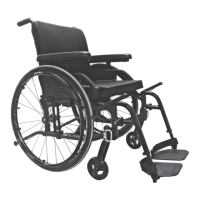
8.11 REAR WHEELS
8.11.1 ADJUSTING QUICKRELEASE AXLES
– Remove the rear wheel from the wheelchair.
– Behind the quick release button, there is a nut that adjust the
length of the axle.
– Hold the axle with a wrench at the other end (near the detent
balls) and turn the nut behind the quick release button to
change the length of the axle.
– Reinstall the quick release into the axle bushing on the
wheelchair
– Quick release detent balls should extend beyond the axle
bushing for a secure lock.
8.11.2 REPLACING/ADJUSTING HAND RIMS
– On the Newton one wheels the tire can stay in position.
– Use a plastic tire removal tool to take off the tire (1).
– Remove all nuts (2) inside the rim (3).
– Replace the handrim (4) with a new one and align the mounting
holes (5).
– Reinstall and tighten the nuts firmly.
– Reinstall the tire on the rim.
8.11.3 ADJUSTING THE REAR AXLE HEIGHT
– Loosen the nut holding the axle bushing. (3).
– Move axle bushing (1) along mounting plate (2).
– Reinstall the bushing in the desired mounting hole and
tighten nut (3).
8.11.4 REAR AXLE HEIGHT (MOVE,HELIO A6)
– Remove the nut (3) holding the axle bushing.
– Move axle bushing (1) along mounting plate (2).
– Reinstall the bushing in the desired mounting hole and tighten
the nut (3).
1
1
2
1