USER MANUAL | FOLDING WHEELCHAIRS – ADJUSTMENTS AND MAINTENANCE
NOTE: If you ignore these Warnings or fail to inspect or maintain your wheelchair as directed in the manual , you may fall, tip over or lose control of the wheelchair and seriously
injure yourself or others or damage the wheelchair.
28
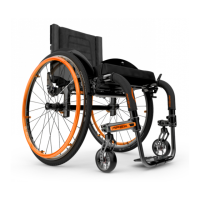
STANDARD AXLEPLATE (MOVE AND A)
– Remove the 4 bolts (1) on the Axle-Plate
– Move the axle plate to the desired position
– Reinstall the 4 bolts (1) on the Axle-Plate and torque to 7 Nm.
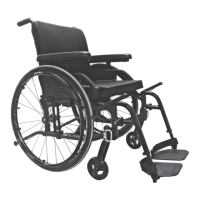
8.12 WHEEL LOCKS
8.12.1 REPLACING/ADJUSTING THE WHEEL LOCK
– Loosen screws (1).
– Slide the wheel lock to the desired position.
– Tighten screws (1) to a snug fit. Final tightening should be done
manually.
– Once engaged, the wheel lock should embed 3 mm into the tire.
8.13 LOCK EXTENSION
8.13.1 REPLACING/
ADJUSTING THE WHEEL LOCK EXTENSIONS
– Loosen screw (1).
– Align eyelet (2) with the mounting hole.
– Re-tighten screw (1) on the lock lever.
8.14 ANTITIPPERS
8.14.1 ADJUSTING THE HEIGHT OF THE ANTITIPPERS
WARNING
Both anti-tippers MUST be used with your wheelchair at all
times. Because anti-tippers are an option in some markets on
this wheelchair, Motion Composites strongly recommends to
order the anti-tippers as they are an important safeguard for
the wheelchair user. Always use anti-tippers.
– The anti-tippers should be between 1 in. and 2 in. (40 to 51 mm)
off the ground.
– Improper spacing may result in wheelchair hang ups over
obstacles or not preventing the wheelchair
from tipping.
– Press the push-button (1) and slide anti-tippers extensions
to desired length.
– Ensure the button snaps back into place.
INFORMATION
If you are unable to adjust the anti-tippers to the proper
height, contact your Motion Composites dealer to replace
your anti-tipper for another size.
8.14.2 TIPPERAIDS
– Assistant can tip the wheelchair more easily to navigate over
obstacles with a tipper-aid
– Hold the wheelchair by the push handles.
– Press the tipper aid with your foot and hold the wheelchair in
the tipped position until you have overcome the obstacle.
INSTALLATION
– Press the push-button on the anti-tippers to remove them
– Insert the tipper-aid lever by pressing the push-button and
sliding it in position.
MISE EN GARDE
Risk of overturning!
Always reinstall anti-tippers when the tipper-aid are not in
use.
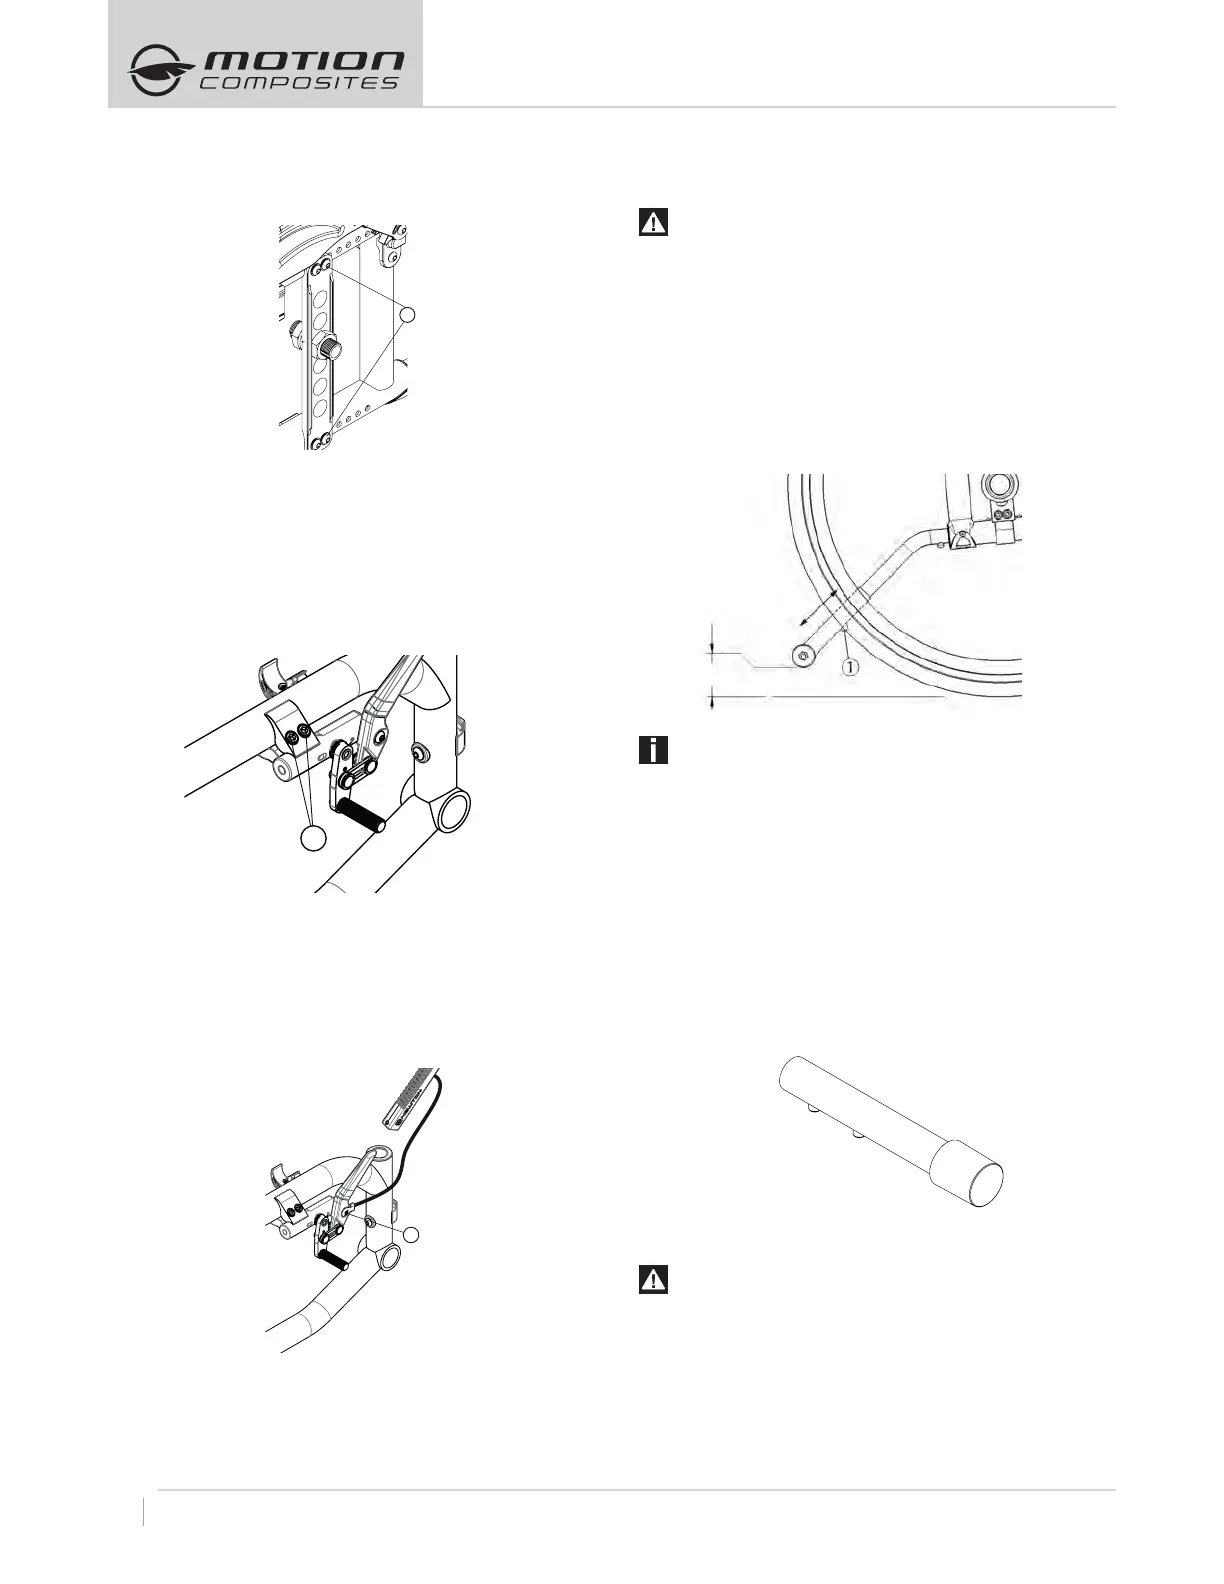
8.15. HEADREST KIT AND HEADREST SUPPORT
8.15.1 INSTALLING A HEADREST SUPPORT
– Must be installed only on HD push-handle
– Cut the end of the push-handle with a knife in order to be able
to see the inside of the push handle.
1
1

 Loading...