EasyManua.ls Logo

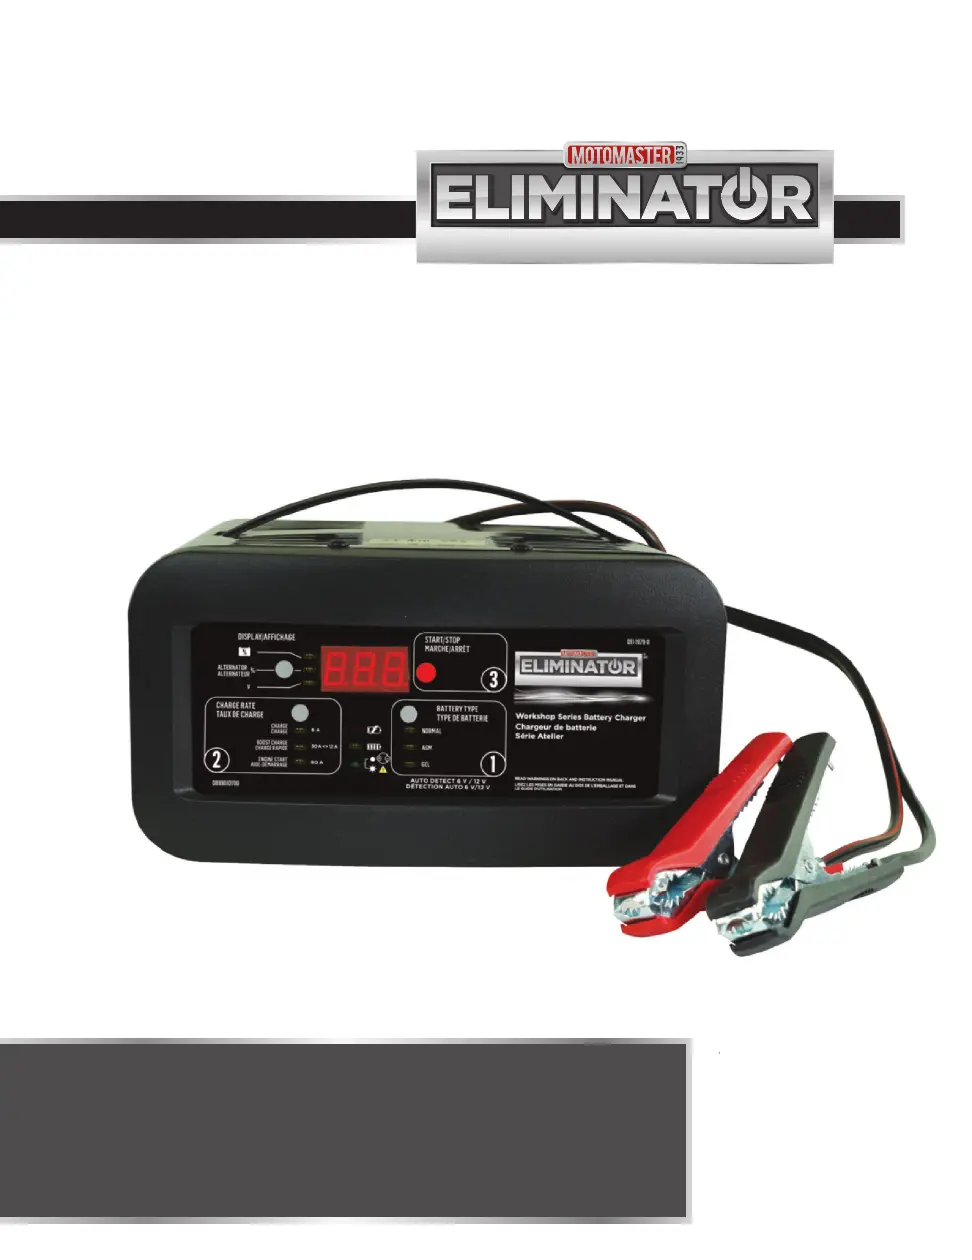
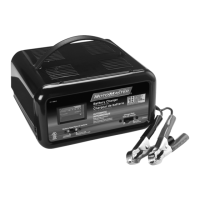
Motomaster ELIMINATOR WORKSHOP 011-1979-0 - User Manual

Motomaster ELIMINATOR WORKSHOP 011-1979-0
36 pages
Print Icon
To Next Page IconTo Next Page
Loading...
headline bars
continuation tabs
notes
warnings
headline bars
continuation tabs
notes
warnings
model no. 011-1979-0
IMPORTANT:
Please read this manual carefully before running this battery
charger and save it for reference.
®
MD
INSTRUCTION
MANUAL
WORKSHOP SERIES
Battery Charger
0099002119-00

Questions and Answers

  • R
    Ray FinleyAug 15, 2025
    How to fix Motomaster ELIMINATOR WORKSHOP 011-1979-0 that won't turn on?
    • S
      Sandra ThomasAug 15, 2025
      If your Motomaster Battery Charger will not turn on even when properly connected, check the following: ensure the AC outlet is active by checking the fuse or circuit breaker, verify that the power cord and any extension cords are securely plugged in, and test the battery to see if it is defective.
  • T
    Tristan StevensonAug 18, 2025
    What to do if Charging LED never lit on Motomaster Battery Charger?
    • B
      Bradley KramerAug 19, 2025
      If the Charging LED never lights up on your Motomaster Battery Charger, even when the battery is properly connected, the battery voltage may be too low. Press the Start/Stop button to start charging.
  • S
    samantha76Aug 21, 2025
    How to fix reversed connection on Motomaster Battery Charger?
    • K
      Kevin ColemanAug 21, 2025
      If the connections to the battery are reversed on your Motomaster Battery Charger, unplug the charger and reverse the connections to the battery.
  • J
    Jason KellyAug 27, 2025
    Why Motomaster ELIMINATOR WORKSHOP 011-1979-0 unable to reach full charge?
    • J
      John BondAug 27, 2025
      If your Motomaster Battery Charger is unable to reach the “full charge” voltage, it may be due to charging a large battery or bank of batteries on too low of a current setting. Try again with a higher current setting or have the battery checked or replaced.
  • W
    watkinsstaceyAug 30, 2025
    What to do if Motomaster ELIMINATOR WORKSHOP 011-1979-0 Battery Charger voltage is too low?
    • M
      Michael PruittAug 30, 2025
      If, after 2 hours of charging with your Motomaster Battery Charger, the battery voltage is still under 10 V (for a 12 V battery) or 5 V (for a 6 V battery), the battery could be bad. Have it checked or replaced.
  • P
    Patrick WhitakerSep 2, 2025
    How to troubleshoot Motomaster ELIMINATOR WORKSHOP 011-1979-0 not keeping battery charged?
    • C
      Charles TaylorSep 2, 2025
      If your Motomaster Battery Charger is unable to keep the battery fully charged in maintain mode, it may be because the battery won’t hold a charge. Make sure there are no loads on the battery. If there are, remove them. If there are none, have the battery checked or replaced.
  • J
    Joseph HillSep 5, 2025
    Why Motomaster ELIMINATOR WORKSHOP 011-1979-0 voltage drops too low during maintain mode?
    • L
      ledorothySep 6, 2025
      If the battery voltage drops too low during the maintain mode on your Motomaster Battery Charger, it may be caused by a drain on the battery or the battery could be bad. Make sure there are no loads on the battery. If there are, remove them. If there are none, have the battery checked or replaced.
  • L
    lawsonbrendaSep 8, 2025
    What to do if Motomaster ELIMINATOR WORKSHOP 011-1979-0 detects thermal runaway?
    • L
      Lawrence OwensSep 8, 2025
      If your Motomaster Battery Charger detects that the battery may be getting too hot (thermal runaway), have the battery checked or replaced.
  • C
    carla13Sep 12, 2025
    What to do if Motomaster ELIMINATOR WORKSHOP 011-1979-0 cannot desulfate?
    • K
      Karen FaulknerSep 12, 2025
      If the Motomaster Battery Charger cannot desulfate the battery, have it checked or replaced.
  • C
    Christopher YoungNov 23, 2025
    What to do if Motomaster ELIMINATOR WORKSHOP 011-1979-0 has short start cycle?
    • A
      Alejandra KentNov 23, 2025
      If you're experiencing a short or no start cycle when cranking the engine with your Motomaster Battery Charger, consider these potential causes: 1. Cranking draws more than the Engine Start Rate: If cranking draws more current than the Engine Start Rate, crank time may be less than 5 seconds. 2. Failure to wait 3 minutes between cranks: Allow the battery and charger to cool down by waiting 3 minutes before the next crank. 3. Poor clamp connection: Check the connections at the battery and frame. 4. Loose AC cord: Check the power cord and extension cord for a loose fitting plug. 5. No power at receptacle: Check for an open fuse or circuit breaker supplying the AC outlet. 6. Charger overheated: Ensure the charger vents are not blocked, wait, and try again. 7. Battery severely discharg...

Summary

WARRANTY

SAFETY

INTRODUCTION

Provides an overview of the battery charger and its manual.

SAFETY INFORMATION

Lists important precautions for operating the battery charger and batteries.

PERSONAL SAFETY INSTRUCTIONS

Details safety measures for personal protection and handling battery acid.

WARNING: RISK OF EXPLOSIVE GASES

Crucial warning about the dangers of explosive gases produced by batteries.

USING AN EXTENSION CORD

Provides guidelines for the safe and proper use of extension cords with the charger.

CHARGER LOCATION

Safety guidelines for selecting an appropriate and safe location for the charger.

BATTERY PREPARATION

Steps for preparing the battery and vehicle before charging.

CONNECTING YOUR BATTERY

BATTERY IN VEHICLE (NEGATIVE GROUNDED)

Step-by-step guide for connecting the charger to a battery in a negatively grounded vehicle.

BATTERY IN VEHICLE (POSITIVE GROUNDED)

Step-by-step guide for connecting the charger to a battery in a positively grounded vehicle.

WARNING: SPARK HAZARD

Critical warning about the risk of battery explosion from sparks.

BATTERY REMOVED FROM VEHICLE

Step-by-step guide for connecting the charger to a battery removed from the vehicle.

WARNING: SPARK HAZARD

Critical warning about the risk of battery explosion from sparks.

KNOW YOUR CHARGER

START;STOP BUTTON

Explains the function of the Start/Stop button for initiating or ending charging.

DIGITAL DISPLAY

Describes the digital display's function for showing voltage, charge percentage, or alternator status.

DISPLAY MODE BUTTON

Details the different display modes: Battery %, Alternator %, and Voltage.

RATE SELECTION BUTTON

Explains how to select the charging rate (6A, 30A/12A Boost, 80A Engine Start).

LED INDICATORS

Explains the meaning of the different LED lights (Charging, Charged/Maintaining, Reversed, Problem).

BATTERY TYPE BUTTON

Explains how to select the correct battery type (Normal, AGM, Gel) for charging.

OPERATION

CHARGING YOUR BATTERY

Step-by-step instructions for charging a battery using the charger.

BATTERY CHARGING TIMES

Provides estimated charging times for different battery sizes and rates.

AUTOMATIC VOLTAGE DETECTION

Describes the charger's ability to automatically detect battery voltage (6V or 12V).

ABORTED CHARGE

Explains what happens when charging is interrupted and how to reset it.

DESULFATION MODE

Details the desulfation mode for batteries affected by sulfation.

COMPLETION OF CHARGE

Indicates how charging completion is signaled by the green LED.

MAINTAIN MODE (FLOAT MODE MONITORING)

Explains the charger's maintain mode for keeping batteries fully charged.

MAINTAINING A BATTERY

General advice on safely maintaining batteries over extended periods.

USING THE ENGINE START FEATURE

Guide on using the charger's engine start (jump start) function.

ENGINE STARTING NOTES

Specific notes and states related to the engine start sequence.

USING THE BATTERY VOLTAGE TESTER

Instructions for using the charger's built-in battery voltage tester.

TESTER AND CHARGER

Explains the dual function of the unit as both a tester and charger.

TESTING AFTER CHARGING

How to switch between charger and tester modes.

POWER-UP AUTO START

Describes the automatic start feature when the charger is first powered on.

USING THE ALTERNATOR PERFORMANCE TESTER

Guide on using the charger to test the vehicle's alternator.

MAINTENANCE

TROUBLESHOOTING

ERROR CODES

TECHNICAL SPECIFICATIONS

Motomaster ELIMINATOR WORKSHOP 011-1979-0 Specifications

General IconGeneral
Model Number011-1979-0
ModelELIMINATOR WORKSHOP
Voltage12V
DisplayLED Indicators
Amperage10A
Battery Type CompatibilityAGM, Deep Cycle
Safety FeaturesReverse Polarity Protection, Overcharge Protection

Related product manuals