10
Getting started
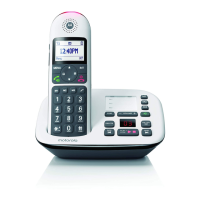
Connecting the handset and charger (for multi-pack only)
If you have purchased a multiple pack, you will need to carry out this process
for all the handsets and chargers.
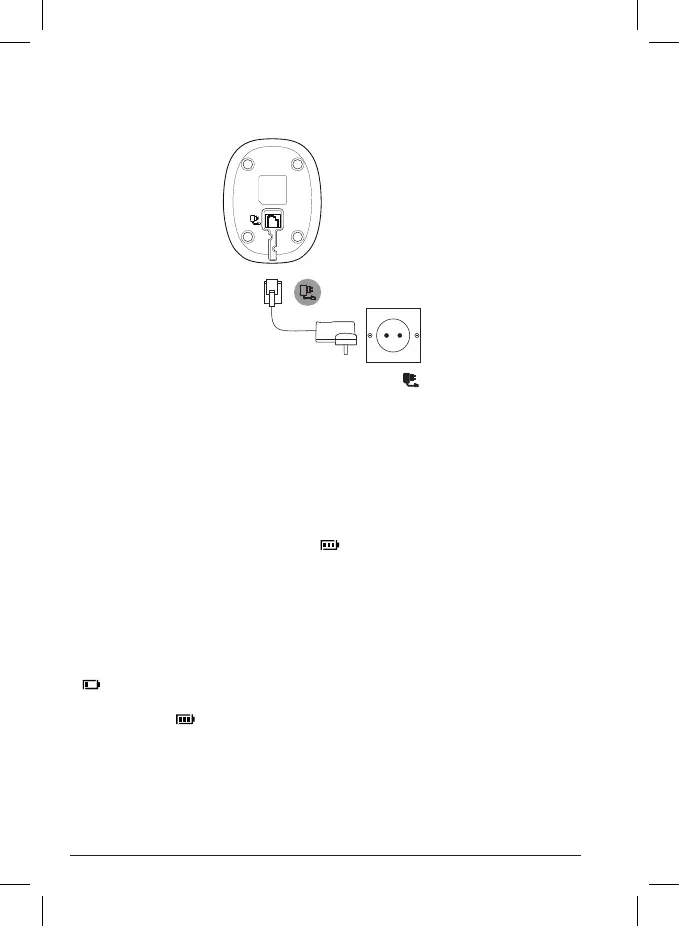
1. Plug the power adaptor into the socket marked on the underside of the
charger and plug the other end into the AC power wall socket.
2. Remove the battery cover from the back of the handset and insert the
2 x AAA Ni-MH rechargeable batteries supplied. Please note the ’+’ and
’-’ markings inside the battery compartment and insert in the correct
direction.
3. Slide the battery cover back into place.
4. If you are charging the batteries for the first time, place the handset on the
charger to charge for at least 16 hours continuously.
5. When the handset is fully charged, will appear steadily on the display.
The display will show
HANDSET
and the handset number (e.g. 2) to indicate
that it is registered to the base.
Important
Warning! Use only the approved rechargeable Ni-MH battery cells (2 x AAA
Ni-MH 300mAh rechargeable batteries) supplied with your C1CB+.
Battery low warning
If flashes on the display and you hear a warning beep every minute during a
call, you will need to recharge the handset before you can use it again.
When charging, will scroll on the display.
Battery performance
In ideal conditions, fully charged batteries should give up to 10 hours talk time
or up to 200 hours standby time on a single charge.
1
Note that new batteries do not reach their full capacity until they have been
put to normal use for several days.