58
English
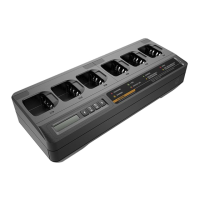
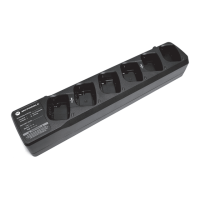
Mounting Multi-Unit Charger to Wall Bracket
1. Position the wall mount bracket in the desired position, and mark
the location of the mounting holes on the wall surface.
2. Mount bracket to wall using the appropriate mounting hardware
required for the type of wall material fixture it is being mounted to.
Drill based on the marked mounting holes on the wall surfaces.
3. Secure the wall bracket in position by installing mounting hardware
over the mounting holes on the wall bracket tightly.
Note: It is recommended to use 10-16x1-1/2” tapping screw and
washer (not included) on wood stud and solid-flat concrete/brick
wall.
4. Hang the Multi-Unit Charger on wall bracket as show in Figure 30.
Ensure the area behind the mounting surface is always
free of electrical wires, cables, and pipes before cutting,
drilling, or installing the mounting screws.
MOTOROLA, MOTO, MOTOROLA SOLUTIONS and the Stylized M logo are trademarks or registered trademarks of
Motorola Trademark Holdings, LLC and are used under license. All other trademarks are the property of their
respective owners.
© 2017 and 2018 Motorola Solutions, Inc. All rights reserved.
 Loading...