10
Chapter 5
Installation Options
5.1 Mobile Dashboard Mounting
5.1.1 Installing the Mounting Frame into the Dashboard
1. Open the radio cut-out in the dashboard to ISO 7736 specification (182mm x 53mm).
2. Insert the mounting frame into the dashboard cut-out and retain it by bending back the tabs (using
all 6 where possible). Check that the orientation of the frame is correct by ensuring that the word
"TOP" is facing upward.
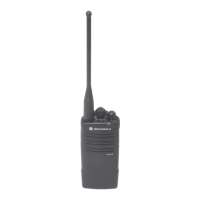
5.1.2 Inserting the Radio into the Mounting Frame (Figure 5.1)
1. Make the necessary connections to the radio for power, antenna, and accessory connector as
shown in Figure 4-1.
2. Plug in all the connectors and push the radio firmly into the mounting frame until the two springs
snap into place.
NOTE
1. The tabs are easily bent back by twisting a large flat-bladed screwdriver in the slot
behind the tabs.
2. For a more secure installation, the mounting frame should also be secured with a
minimum of one screw.
3. The demounting tool can be used as an aid to mounting as well as demounting.
TOP
Figure 5-1. Fitting the Radio into the Frame
Demounting Tool
DIN Mount
FTN6083
Fix screws here to
secure frame
 Loading...