2 Attach the battery cover by aligning it in place and slide the battery latch until it snaps into place.
3 Slide the battery latch into lock position.
3.3
Charging the Battery
Your radio is powered by a Lithium-Ion (Li-Ion) battery.
Procedure:
• To comply with warranty terms and avoid damages, charge the battery using a Motorola
Solutions charger exactly as described in the charger user guide.
NOTE: All Motorola Solutions chargers can charge only Motorola Solutions authorized
batteries. Other batteries may not charge. Motorola Solutions recommends that your
radio remains powered off while charging.
• For best performance, charge a new battery 4 to 5 hours before initial use.
Batteries charge best at room temperature.
The display shows the battery charging icon momentarily. When charging is in progress, the red LED
lights up. When charging is complete, the green LED illuminates until you detach the charger.
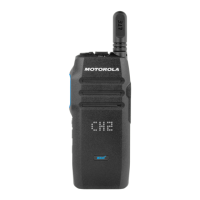
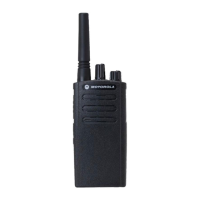
3.4
Attaching and Removing the Antenna
CAUTION: If you must replace the antenna, ensure that you use TLK 100 antennas only.
Neglecting this action damages your radio. See Authorized Accessories List on page 48 for
recommended antennas.
Prerequisites: Turn off your radio.
Procedure:
• To attach the antenna, set the antenna in the receptacle and turn clockwise.
MN005173A01-AD
Chapter 3 : Getting Started
16
 Loading...