• Fit the cutter to the router and re-fit the
router onto the CRB7.
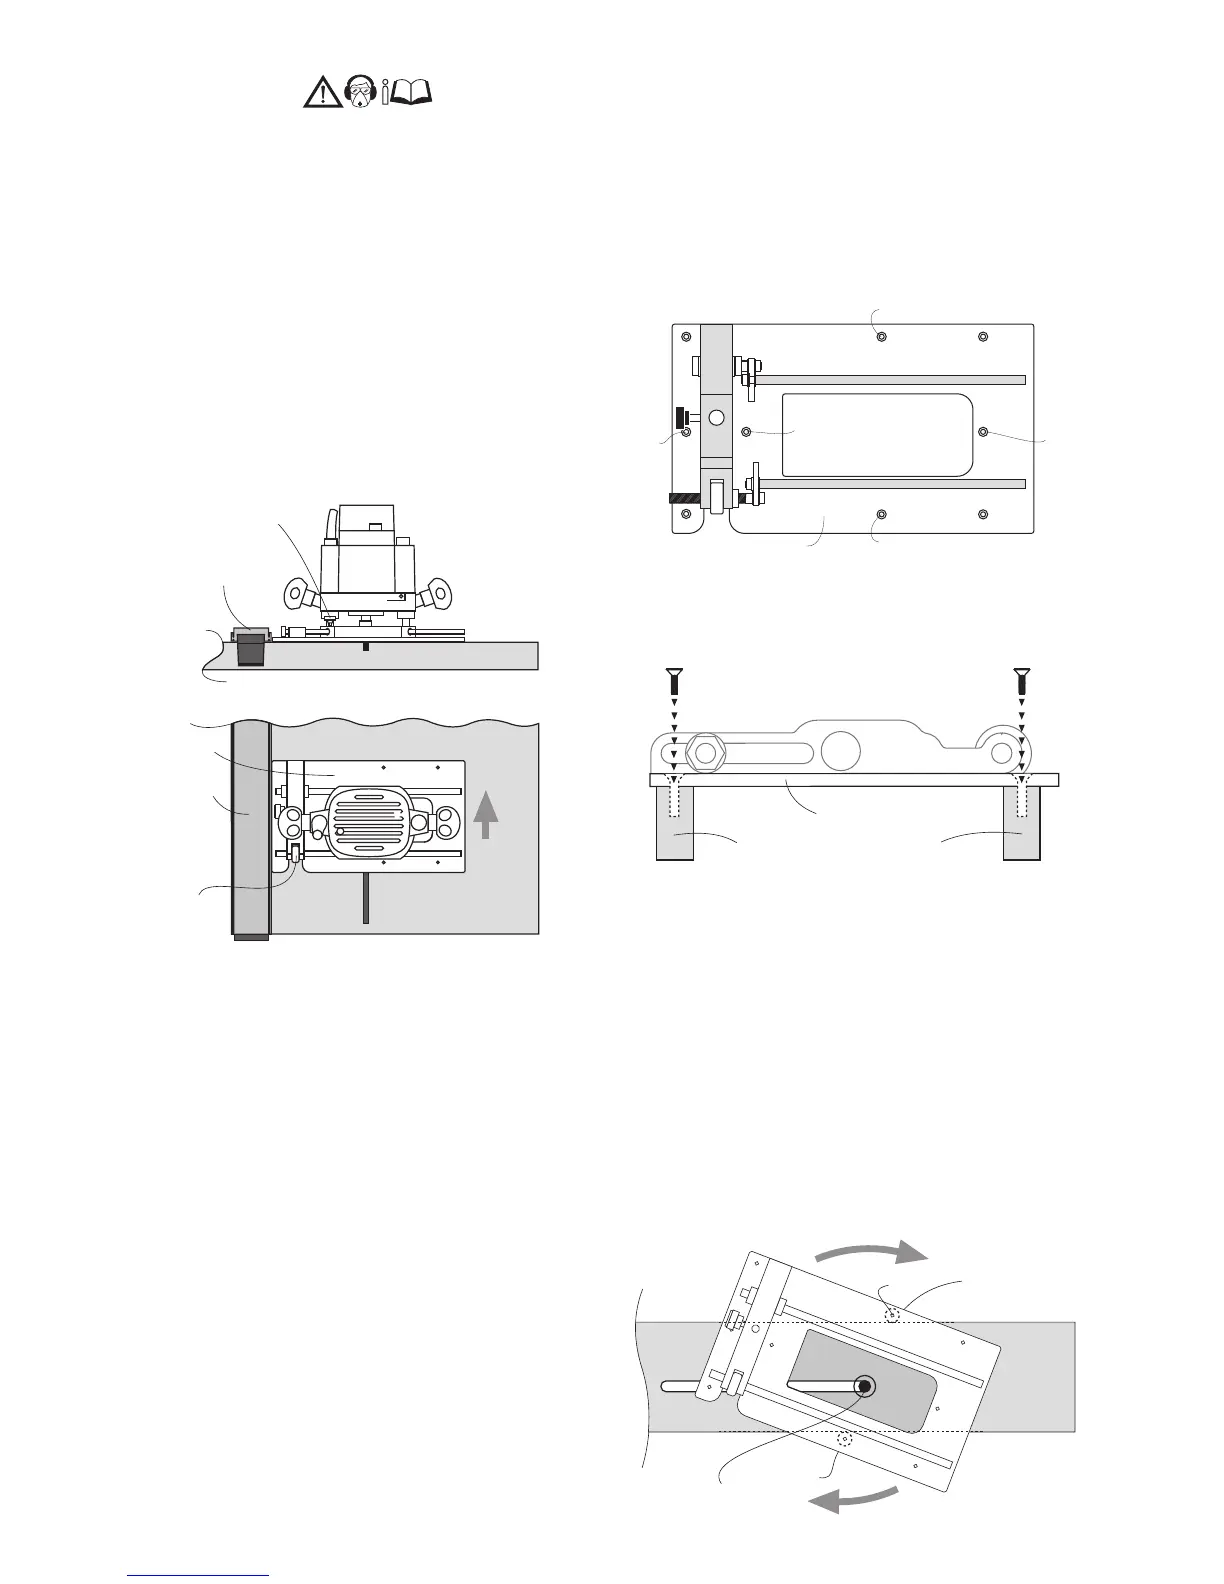
• Position the CRB7 with a mortise pillar (10)
either side of the work piece.
• Rotate the CRB7 clockwise until both mortise
pillars contact the sides of the workpiece.
• Adjust the cutter position to the mortise
markings, use the micro adjuster if required.
• Lock the router position on both guides rods
using the router wing bolts.
For a deep rebate, several light cutting
passes may be preferred.
Before use, check that the router is firmly
secured to the CRB.
Adjustable Mortising
Material widths between:
2” (50mm) > 4. 7/8” (125mm)
Fit the mortise pillars through hole locations F
Material widths between:
4 7/8” (125mm) - 8 5/8” (219mm)
Fit the mortise pillars through holes C-D or C-H
OPERATION
Adjustable Dadoing with a Clamp
Guide
• Fix the clamp guide (J) on the workpiece.
• Butt the bridge end of the CRB7 up against
the clamp guide.
• Slide the router along the guide rods to
position the cutter.
• Use the micro adjuster (4) if required.
• Lock the router position on both guides rods
using the router wing bolts (I)
Workpiece
I
J
J
4
2
Workpiece
10
2
10
C
H
2
D
F
F
Workpiece
10
10
K