TEMPO
®
/ TEMPO/PLUS
®
/ TEMPO/REMOTE
®
/ TEMPO/EXT
®
• Owner’s Manual
24
Installing the TEMPO/EXT
®
Control
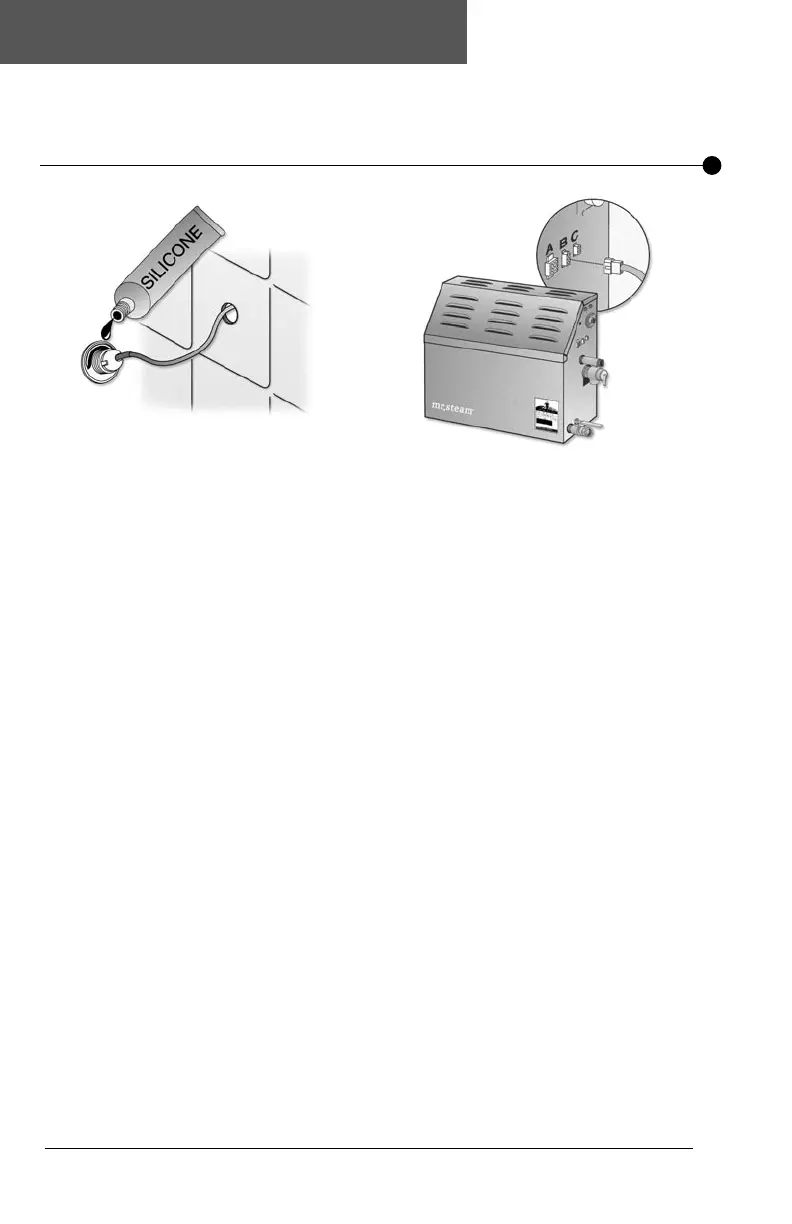
STEP 4
Apply silicone (provided with TEMPO
®
or
TEMPO/PLUS
®
control) to the hole in the wall
as required to create a moisture seal. Apply
silicone to the back of the switch as required
to seal grout lines or as required for additional
adhesion (Diagram 5).
IMPORTANT: Use care not to apply silicone to
the adhesive gasket.
STEP 5
Push cable and switch housing into the
hole rmly.
Diagram 5
STEP 6
Firmly connect the Plug & Play connector to
the steam generator connector “B” as shown
in Diagram 6.
NOTE: The connector is keyed and will only
connect in one orientation.
Diagram 6

 Loading...