Do you have a question about the MUTOH ValueCut II VC2-1300 and is the answer not in the manual?
Key safety instructions and precautions for operating the cutting plotter.
Important safety information and precautions to follow before starting installation.
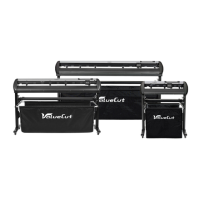
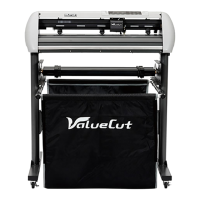
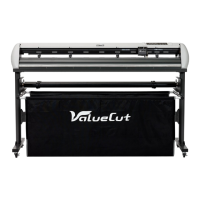
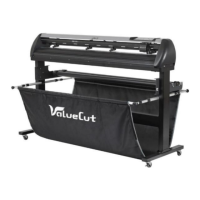
Step-by-step guide for assembling the stand and media support system.
Detailed instructions on how to install a cutting blade into the blade holder.
Guide on how to use the automatic system for detecting blade length.
Step-by-step guide on how to load sheet and roll media into the cutting plotter.
Detailed instructions for loading roll media, including flange and holder options.
How to perform a cut test and adjust cutting force and offset for optimal results.
Procedure for calibrating the media to ensure accurate registration mark detection.
Procedure for testing and adjusting AAS offset values for accurate contour cutting.
Steps to create a contour cutting job file and perform contour cutting using AAS.
Troubleshooting steps for initial power and non-operation issues.
Explanation of LCM error messages and recommended actions for each.
Troubleshooting steps for communication issues between the plotter and computer.
Troubleshooting steps for problems related to the cutting software and drivers.
Troubleshooting steps and checks to resolve issues affecting cutting quality.
Minimum PC and hardware requirements for installing FlexiSTARTER ValueCut Edition.
Step-by-step guide for installing the FlexiSTARTER ValueCut Edition software.
Guide on adding the ValueCut plotter device in the Production Manager software.
Procedure for printing cutting data of the cut contour.
Steps to execute the contour cutting process using the Cut/Plot window.
Procedure for manual alignment when AAS sensor is unable to detect marks.
Troubleshooting steps to resolve issues with sending data from FlexiSTARTER.
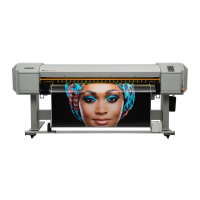
| Model | ValueCut II VC2-1300 |
|---|---|
| Software Resolution | 0.025 mm |
| Contour Cutting | Yes |
| Media Width (mm) | 1370 mm |
| Connectivity | USB |
| Interfaces | USB, Serial |
| Interface | USB |
| Dimensions | 1800 x 700 x 400 mm |
| Dimensions (mm) | 1720 x 330 x 390 |
| Repeatability | 0.1 mm |
| Power Supply | AC 100 ~ 240V ±10% , 50/60 Hz |