2
T
T
a
a
b
b
l
l
e
e
o
o
f
f
C
C
o
o
n
n
t
t
e
e
n
n
t
t
s
s
Congratulations 3
Warranty 4
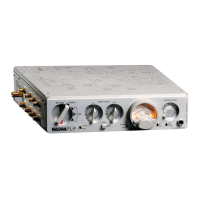
About your PL-P 5
Basic Operations 6
Battery Operation of the PL-P 6
Battery Installation 7
Connecting the PLP-CCC3 AC Power Supply 8
Vacuum Tube Identification and Location 10
Tube, Jumpers and Timer Positions 12
Burn-in Period 13
Left Panel/Input Layout 13
Front Panel/Control Layout 14
Right Panel/Output Layout 16
Advanced Operations 17
Input Customization 17
Using the Modulometer 19
Modulometer Calibration and its Use 20
Block Diagram 21
Output Customization, Tape Loop Input Adjustment 21
Hum 22
Connection of your PL-P 26
Specifications 29
Electrical 29
Physical 29
Safety/Compliance 30
Table of Contents