61
REPLACING THE FUEL FILTER
NOTE !
To ease up the air bleeding during fuel lter replacement,
the lter assembly may be lled with some fuel, only if
you are sure not to spill any.
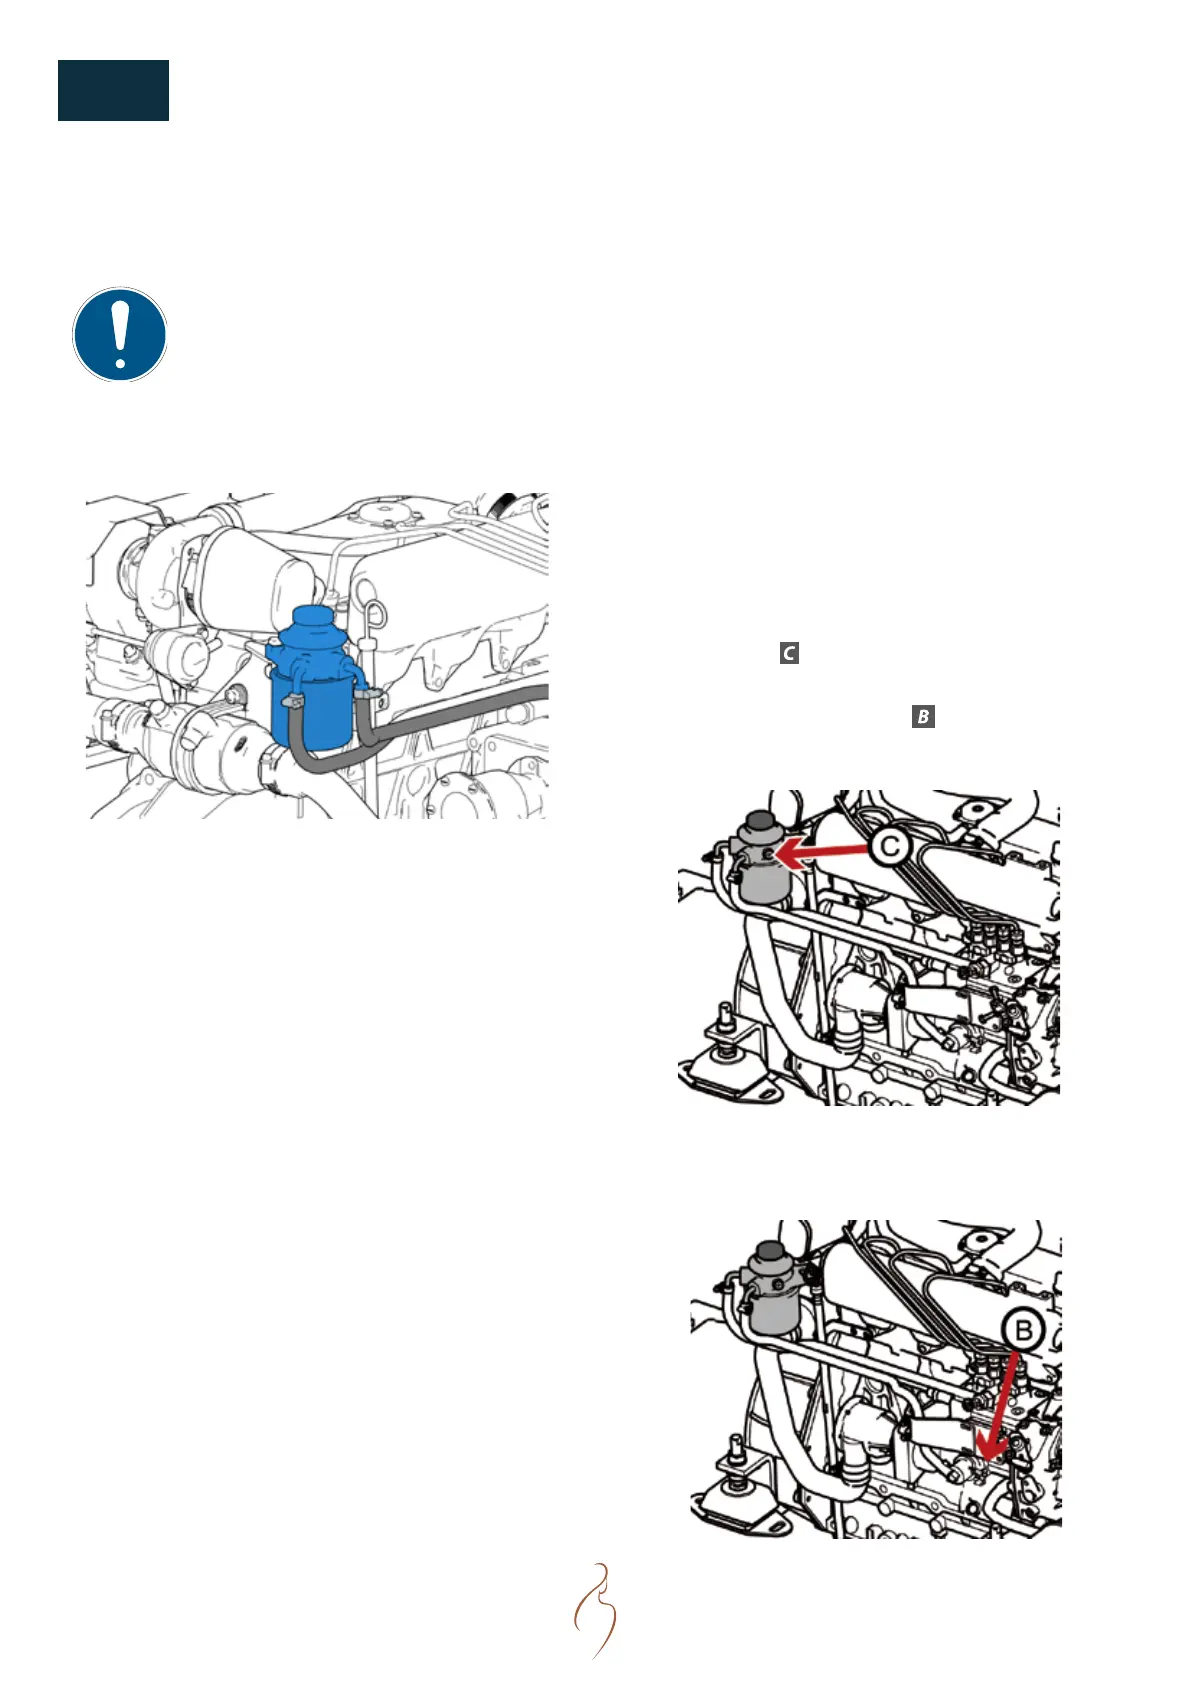
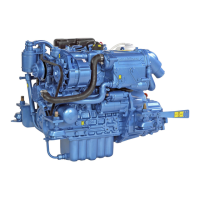
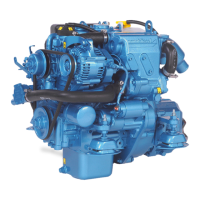
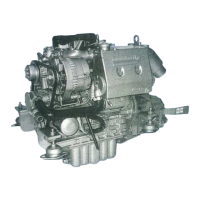
Above picture : fuel lter assembly
1. Close the fuel butterfly (control) valve. Wipe up the
holding lter bracket with a clean non flint cloth.
2. Remove the protective tank.
3. Put a plastic bag over the lter to prevent spills on
the engine.
4. Remove the fuel lter. Use a lter wrench tool if lter
is seized.
5. Check and clean the sealing surface of the lter
bracket. Apply a thin lm of fuel onto the seal.
6. Screw the new lter by hand until the seal is flush
with the matting surface. Thight up a further half
turn.
7. To bleed the air in the fuel system, see next paragraph
for complete explanations.
S08 MAINTENANCE
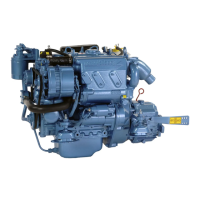
AIR BLEEDING
Bleeding the air in the fuel system might be required :
• After a maintenance operation on the fuel system.
• If the fuel tank has been emptied.
• The engine has not been started for a long time.
TO BLEED THE FUEL SYSTEM FITTED WITH THE
STANDARD MECHANICAL PUMP :
1. Fill up completely the fuel tank. Open the fuel valve.
2. To avoid spills, Dispatch a non flint cloth around the
venting screw
of the fuel lter holder and loose it
up (see picture below).
3. Pump the fuel using the lever
from bottom picture
back and forth until fuel free of air bubbles flows out
of the venting screw.
4. At this stage, you can tighten the venting screw.
5. Pump a few more times to make sure to prime
completely the system.