NAPCO Gemini C-Series Control Panel Programming Instructions--Volume 1
NAPCO Security Group
Programming Instructions, Volume 1 Page 31
(Direct Entry)
(Press YES or NO)
(Press YES or NO)
(Direct Entry)
(Direct Entry)
(Direct Entry)
(Press YES or NO)
Auto Bypass Re-entry Zones (Seen during initial configuration only) (Not evaluated by
UL)
Enter the zone numbers of zones to be Auto Bypass Re-entry zones.
Valid entries are from 01 to 96. Directly enter each zone number, including leading ze-
ros.
Press U to save and then repeat for any additional zone(s), Press the NEXT button to
proceed.
Auto Bypass Re-entry Zones allow the system to be armed with the zone faulted but
come back into the system (armed) when the zone is subsequently closed.
Enable No EOLR Zones (Seen during initial configuration only)
Press NEXT to program all zones except 24 Hr & Fire zones for No End Of Line Resis-
tor. Press PRIOR to continue.
Do not program this feature for UL Installations.
Enable Telco Line Fault Test?
Press NEXT to enable Telco Line Fault Test.
Press PRIOR to continue. NOTE: If enabled, a Telco Line Fault Test Delay of 60 sec.
will automatically be programmed.
Enable Burg Bell Chirp on Keyfob?
Press the NEXT button to enable Burg Bell Chirp on KeyFob Arm / Disarm.
Press the PRIOR button to continue.
NOTE: The Burg Bell will chirp once on Keyfob Arm and twice on Keyfob Disarm.
Number of Fire Keypads in Area 1
Enter the total number of Fire Keypads to be installed in Area 1.
Valid entries from 01-07. Directly enter the number of keypads, including leading zeros.
Press
U to save. Press the NEXT button to proceed.
Number of Keypads in Area 2
Enter the total number of Keypads to be installed in Area 2.
Valid entries are from 00 to 15. Directly enter the number of keypads, including leading
zeros.
Press
U to save. Press the NEXT button to proceed. NOTE: Area 2 keypads must have
zones in Area 2, otherwise the keypad will indicate "Out Of System". System allows u
p
to fifteen (15) system keypads maximum, with a maximum of seven (7) GEMC-
FK1 Fire keypads allowed only in Area 1. The maximum number of Burglary
keypads allowed decreases as Fire keypads (or GEM-ACM modules) are added
to the system.
Central Station Receiver 1 Telephone Number
Enter telephone number of up to 16 digits.
Press 1 through 9 for digits 1–9; D0 for a zero and 0 for a
blank (•).
Press D1 through D5 for letters B–F, respectively.
Dialing pause (3 sec.) = "D" (D4); Dial-Tone Detection = "E" (D5).
Press U to save and press the NEXT button to proceed.
NOTE: Central Station Receiver 2 and 3 Telephone Numbers must be entered in Di-
rect Address Programming. See CS Receiver Options.
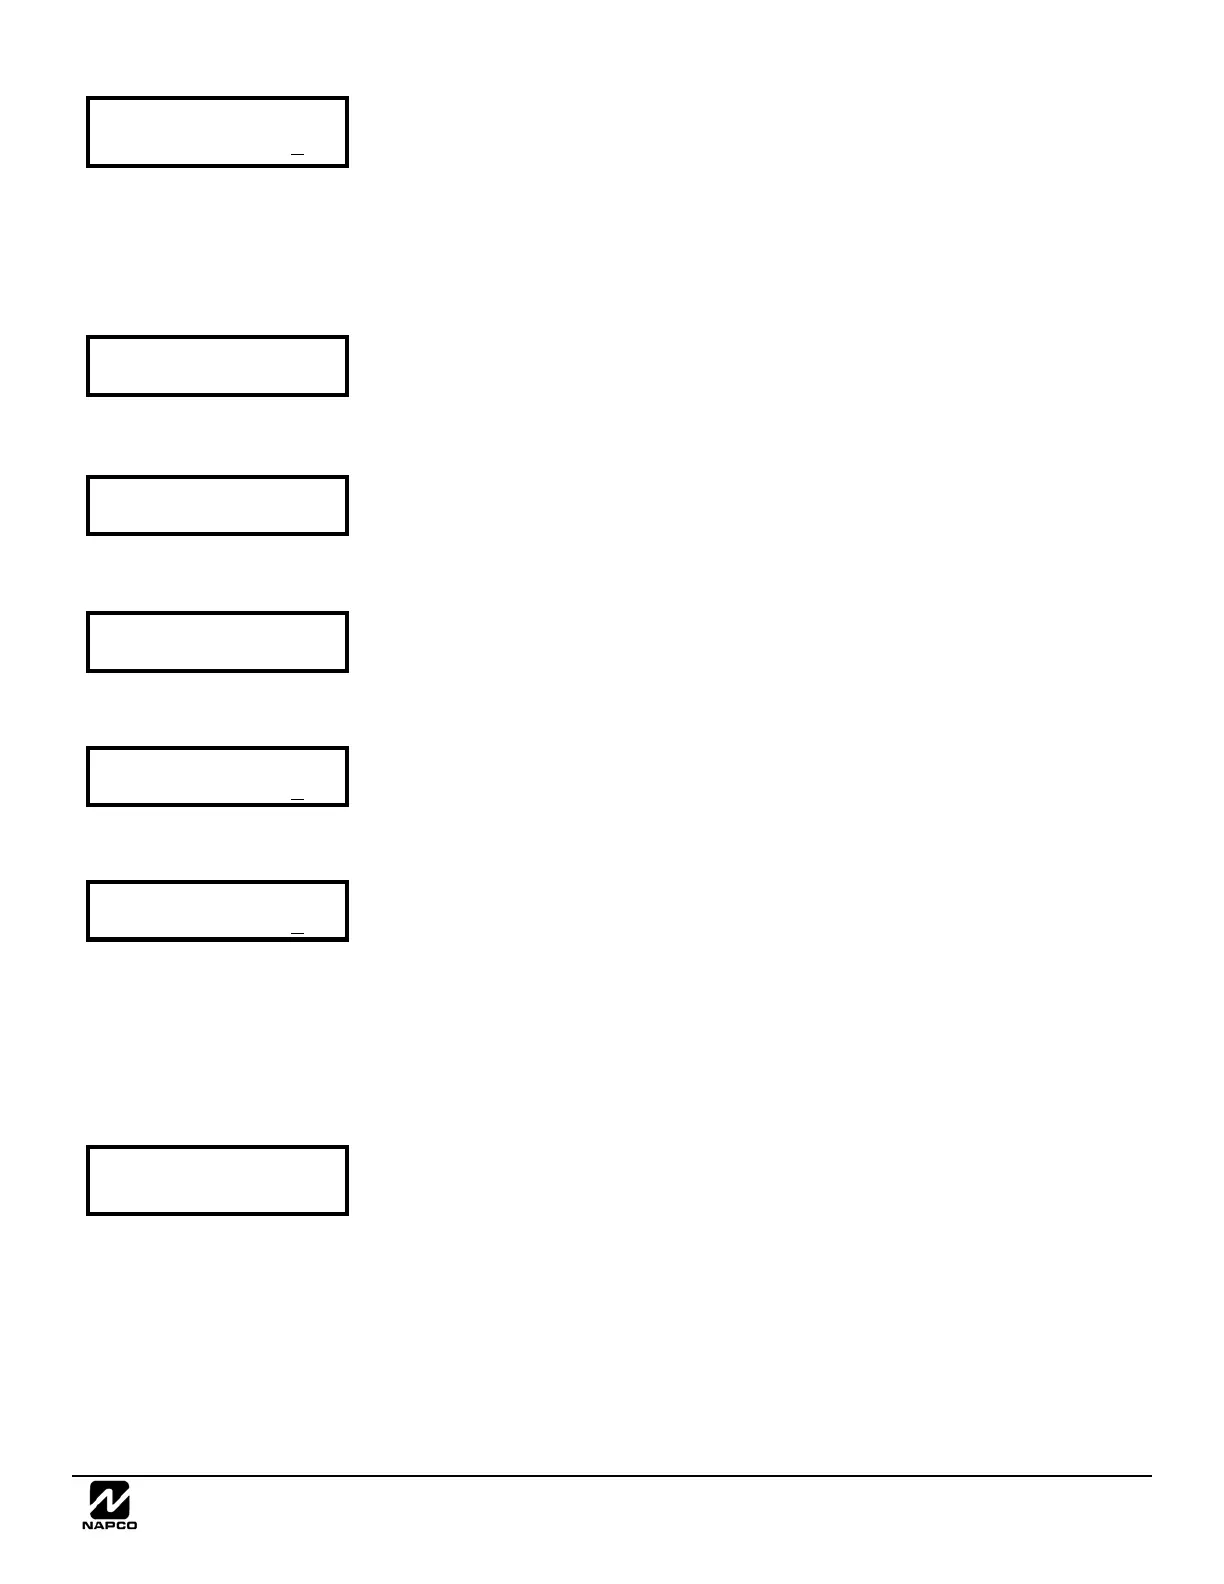
Auto Byp REnt Zn
Enter Zone # 00
Enable No EOLR
Zones Y/N
Enable Telco
Line Test? Y/N
Enable Burg Out
Chirp? Y/N
# Area 1 Keypads
Enter # KPs 01
# Area 2 Keypads
Enter # KPs 00
Central Phone #
_
 Loading...