Do you have a question about the Napoleon Prestige Pro PR0665-3 and is the answer not in the manual?
Lists the necessary tools for assembling the Prestige Pro grill, noting they are not included.
Details the initial steps for preparing and assembling the base of the grill.
Guides the user through attaching the primary components of the grill unit.
Instructions for securely connecting the main grill head to its assembled base.
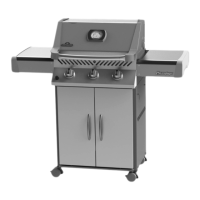
Covers the final steps to complete the assembly of the grill.
Illustrates the process of installing the burner tubes into the grill.
Details how to properly secure the heat diffusers or flavorizer bars.
Instructions for attaching the control panel to the grill.
Guides on connecting the gas supply and related components.
Shows the placement and installation of the cooking grates.
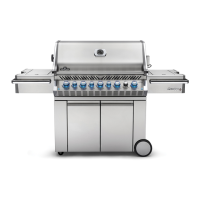
Illustrates the installation of the warming rack.
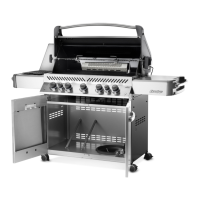
Instructions for attaching the main lid of the grill.
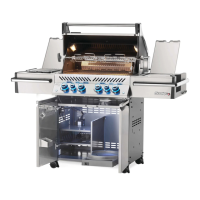
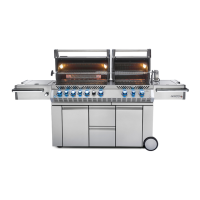
Details on connecting the side burner assembly.
Information on connecting the power supply to the rotisserie motor.
| Rotisserie Burner | Yes |
|---|---|
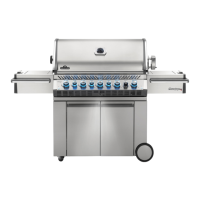
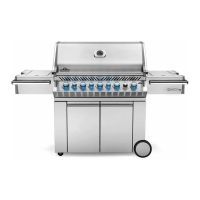
| Material | Stainless Steel |
| Infrared Burner | Yes |
| Side Burner | Yes |
| Cooking Area | 665 sq. in. |
| BTU Output | 60, 000 BTU |
| Fuel Type | Natural Gas or Propane |
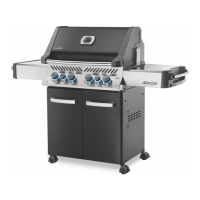
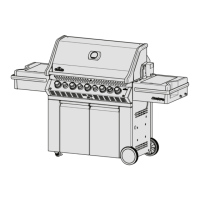
| Type | Freestanding Gas Grill |
| Ignition Type | JETFIRE™ Ignition System |