Do you have a question about the Napoleon PRESTIGE PRO PRO825 and is the answer not in the manual?
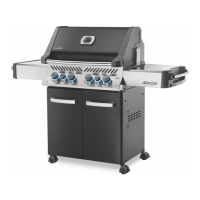
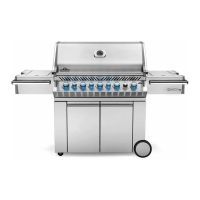
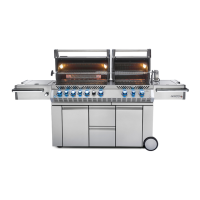
Instructions for attaching side panels and doors to the main grill body.
Guidance on securing the main grill unit onto its supporting base structure.
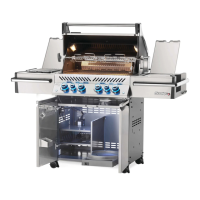
Details on fitting internal shelves, drawers, and other components.
Instructions for affixing the back panel to the assembled grill.
Steps for installing the primary burner assembly and related internal parts.
Guidance on placing cooking grates and heat distribution plates.
Instructions for mounting the upper warming racks.
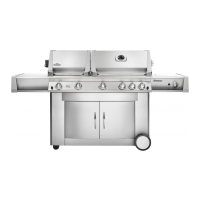
Details on attaching the side utility shelves.
Steps for attaching the control panel and connecting the gas supply.
Initial steps for preparing the main grill body before assembly.
Instructions for assembling and attaching the base support structure.
Details for mounting the side panels onto the grill.
Guidance on fitting cooking grates and the warming rack.
Instructions for lifting and placing the grill onto its base.
Concluding steps for final assembly and securing components.
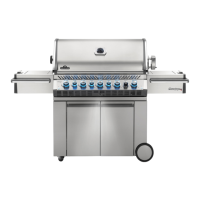
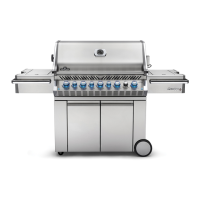
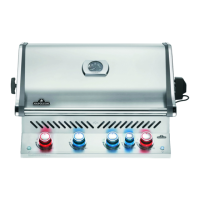
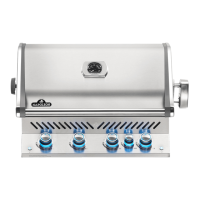
| Rotisserie Burner | Yes |
|---|---|
| Infrared Searing Burner | Yes |
| Material | Stainless Steel |
| Side Burner | Yes |
| Fuel Type | Liquid Propane or Natural Gas |
| Rotisserie Kit | Included |