Do you have a question about the Napoleon PRESTIGE PRO PRO665 and is the answer not in the manual?
Diagram showing assembly of the main grill body structure with side panels and frame components.
Illustrates the process of attaching side shelves to the main grill unit, likely using fasteners.
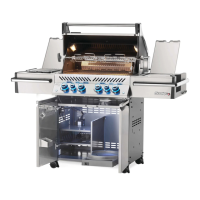
Shows the installation of front panels or doors and base components for the grill.
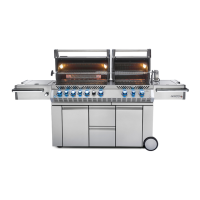
Depicts the installation of internal components such as burners and heat deflectors.
Illustrates the process of installing the warming rack inside the grill.
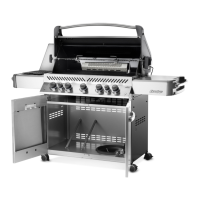
Shows the assembly or attachment of the side burner unit to the grill.
Diagram showing the attachment or positioning of the grill lid.
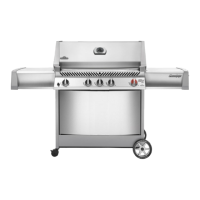
Illustrates the assembly of the grill's base structure, including wheels.
Shows the installation of the drip pan or accessory drawer.
Depicts the installation of the main cooking grates.
Visual representation of included tools and accessories for assembly or use.
Lists and illustrates the tools necessary for the grill assembly process.
Detailed diagram for assembling the initial frame and side panels.
Shows the process of attaching the grill lid and hood assembly.
Illustrates the assembly of the grill's base structure and wheels.
Depicts the installation of burners, heat diffusers, and cooking grates.
Shows the attachment of the side burner and side shelves.
Illustrates the installation of the drip pan and access panels.
Diagrams showing final checks and assembly completion.
Illustrates placing the protective cover on the assembled grill.
| Type | Gas Grill |
|---|---|
| Cooking Area | 665 sq. in. |
| Burners | 4 |
| Material | Stainless Steel |
| Infrared Burner | Yes |
| Side Burner | Yes |
| Rotisserie | Yes |
| Ignition | Electronic Ignition |
| Warranty | Limited Lifetime Warranty |