112
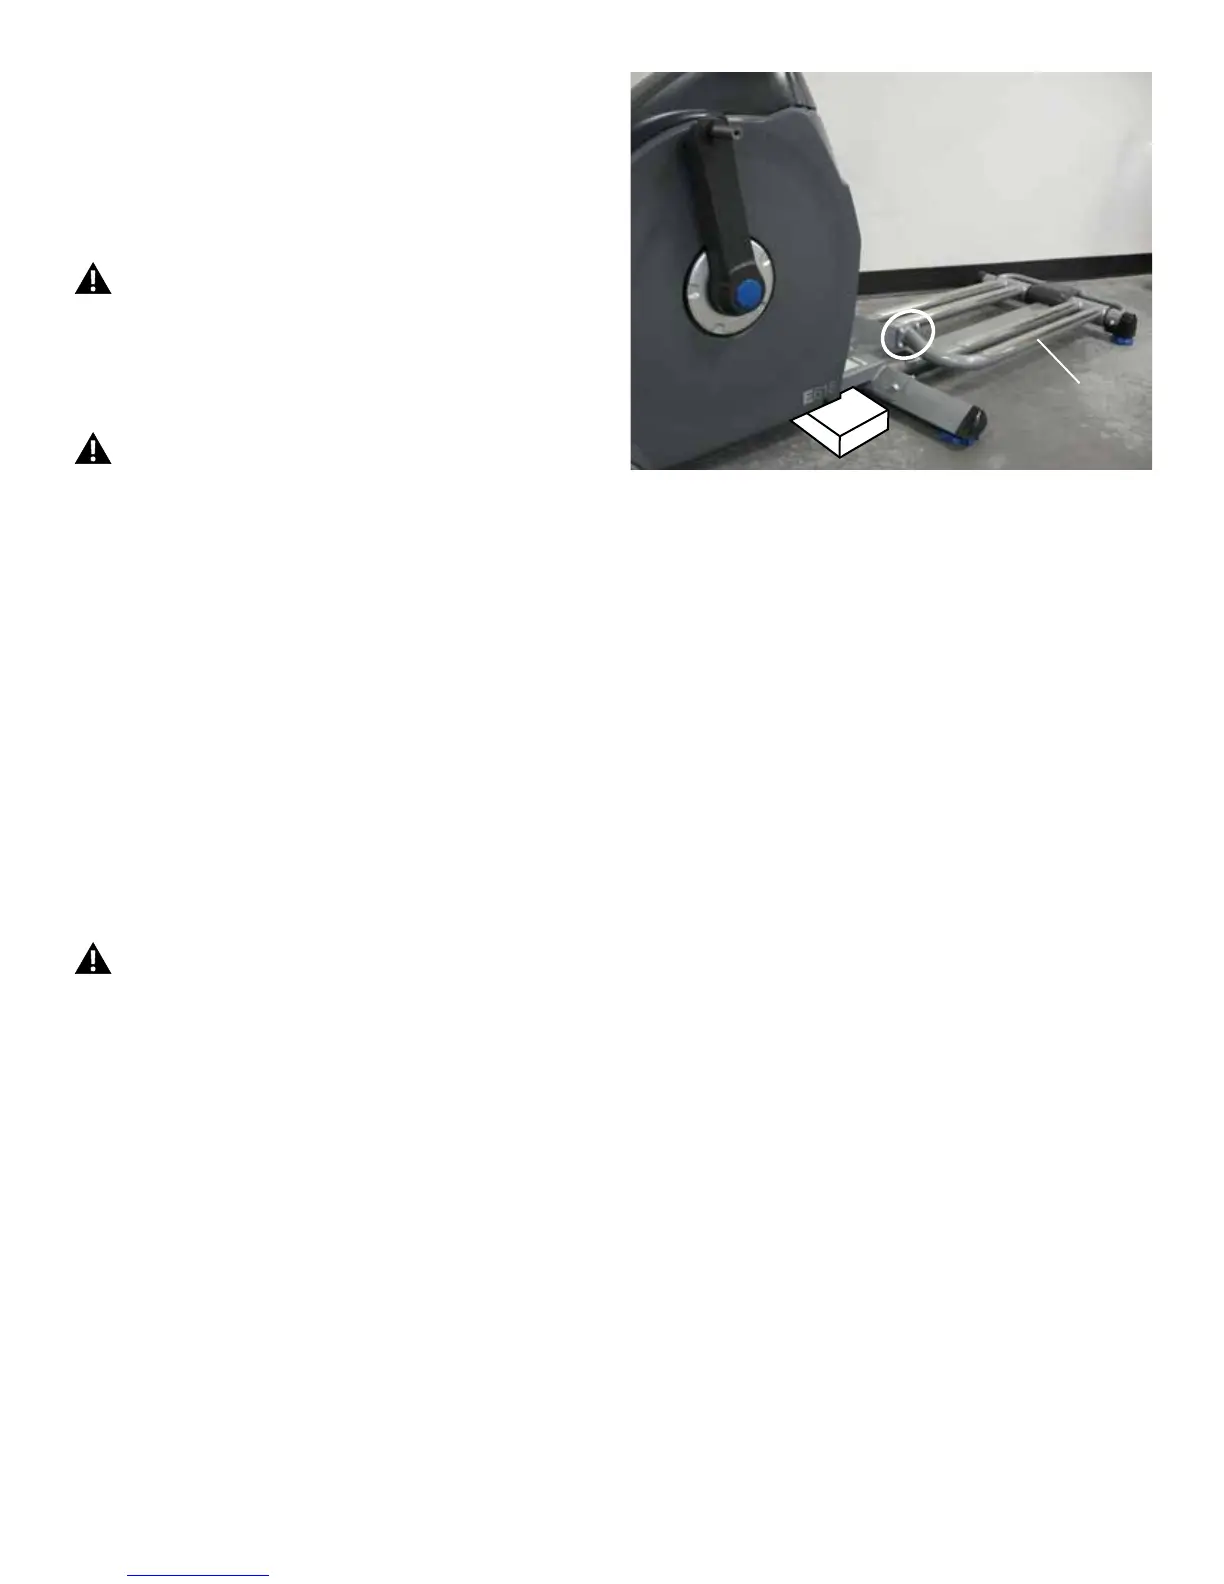
10.Placeastaticobject(likeabookorbox)underthebackofthemain
frame but not under the Rail Assembly. The static object (*) should not be
compressible.
11.Usinga6mmhexwrenchanda13mmwrench,removethe4indicated
screws that attach the Rail Assembly to the Frame Assembly.
Be aware that the Frame Assembly may be unstable and
slightly top heavy.
12. Remove the old Rail Assembly and replace with the new one.
Some components of the equipment can be heavy or
awkward. Enlist the service of a second person when you do
maintenance steps involving these components. Do not try to
do heavy or awkward steps on your own.
NOTICE: This step may require two people.
13. Installation is the reverse procedure.
Note: Remove the plastic scratch guard strips from the Rails. If neces-
sary, apply silicone lubricant to a cloth and wipe the Rails to eliminate
roller noise.
14. Dispose of the old parts.
15. Inspect your machine to ensure that all hardware is tight and
components are properly assembled.
Do not use until the machine has been fully assembled and
inspected for correct performance in accordance with the
Owner’s Manual.
Rail Assembly
*

 Loading...