73
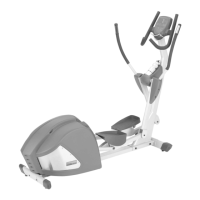
8. Using a 14mm socket and ratchet, remove the Lock Nut from the Crank
Arm.
9. Thread the Crank Puller into the Crank Arm. When the Crank Puller is
in the correct position, only 1-2 threads on the outer portion (CP2) of the
Crank Puller should show.
Note: BesuretheendoftheBolt(CP1)oftheCrankPullerisushwith
the Nut (CP2) as shown, before use.
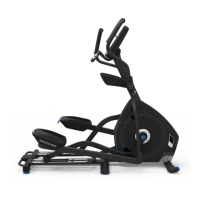
10. Using a wrench, turn the inner portion (CP3) of the Crank Puller
clockwise. The Crank Arm will slide off as it is tightened.
Note: Be advised that it may take a lot of force to get the Crank Puller to
start to slide off the Crank Arm.
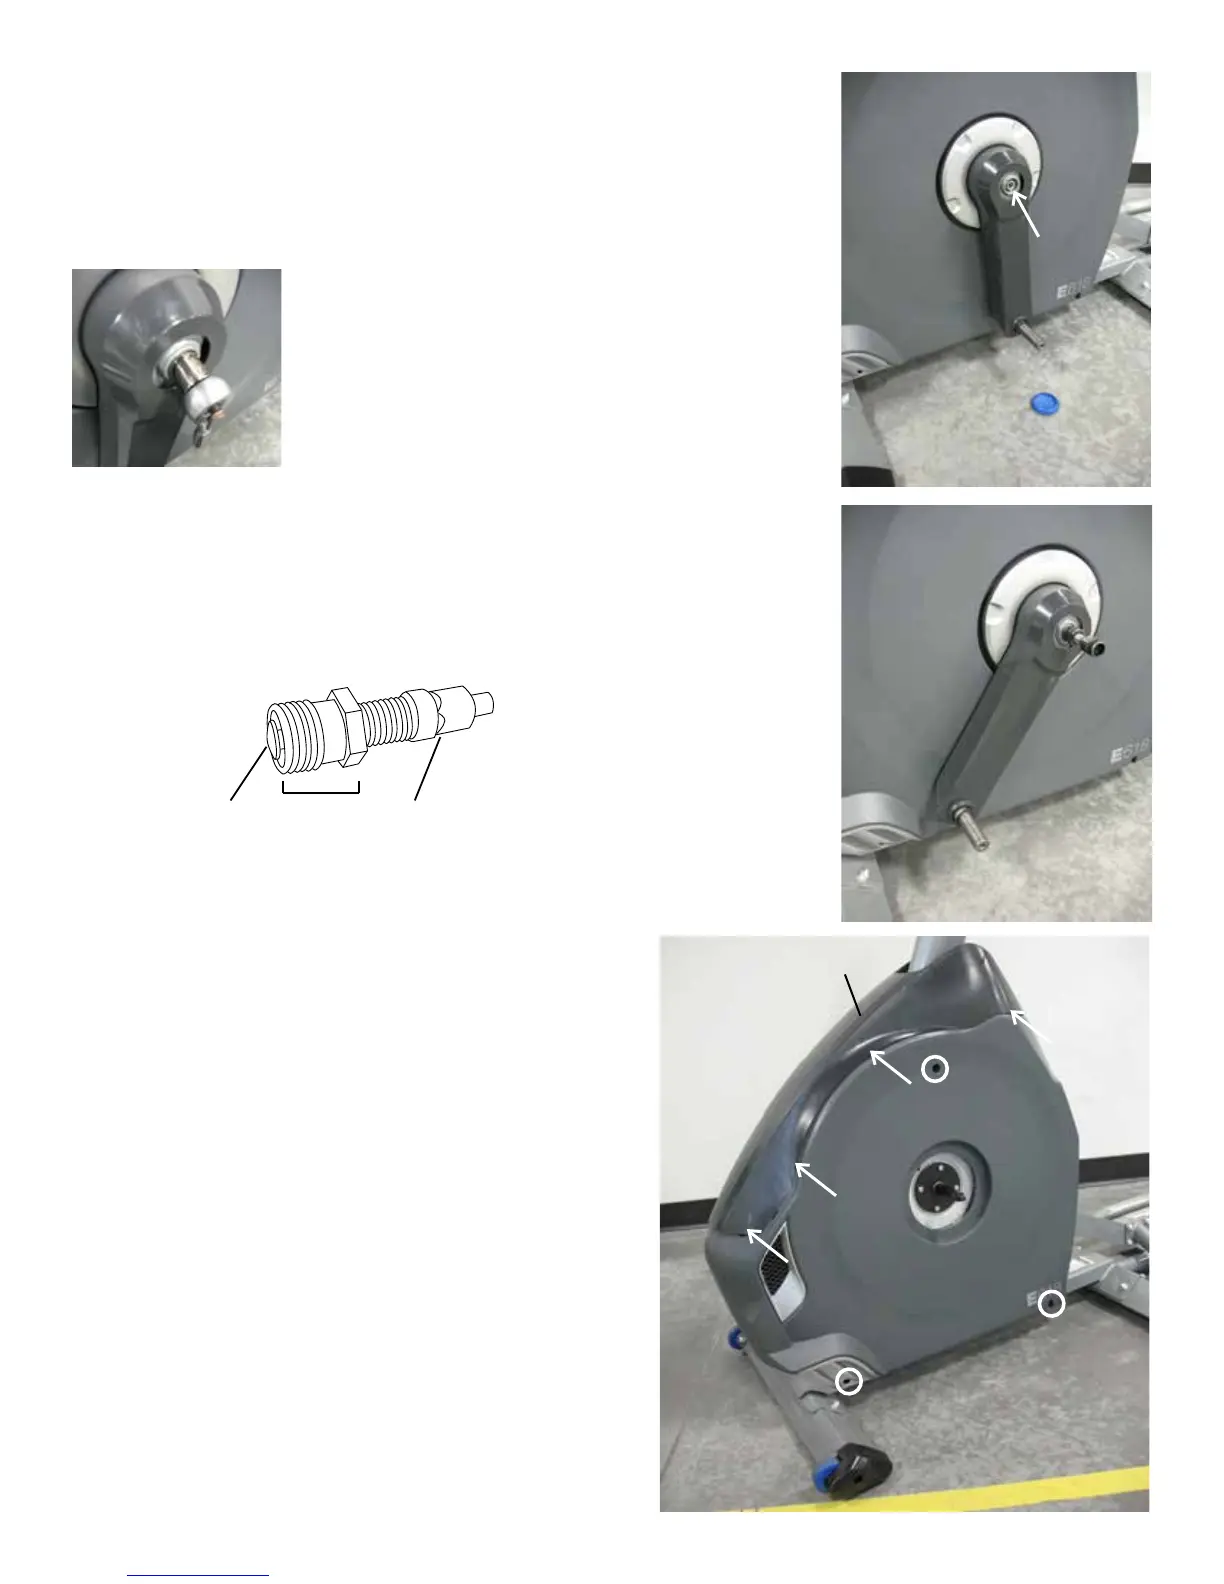
11. Using a #2 Phillips screwdriver, remove the 7 indicated screws (*) from
theLeftShroudandremovethem.Removethebottomscrewsrst,and
then the top screws. Slowly remove the Left Shroud.
NOTICE: Be sure not to crimp any cables.
12. Bend the edges of the Top Shroud to disengage the inside tabs from
the Main Assembly, and slide the Shroud Cap and Upper Shroud up the
Mast.
13. Using a #2 Phillips screwdriver, remove the 7 indicated screws (arrows
indicate screws below the Upper Shroud) that secure the Left Shroud.
Removethelowerscrewsrst.SlowlyremovetheLeftShroud.
CP1 CP2 CP3
Upper Shroud
 Loading...