© Pro Advantage by NDC. All rights reserved
PS-733 Rev 00-3/10 10/23
How to run continuous tests:
The Pro Advantage Urine Analyzer has an optional continuous testing mode which allows the user to run
consecutive tests without returning to the main menu. After the Pro Advantage Urine Analyzer has finished
displaying the results on the LCD screen, the analyzer will then accept another test strip. The analyzer will again
start its count down from 60 seconds. The user will then place another sample on the strip bed to begin testing.
The analyzer will beep once again and recognize the strip placed on the strip bed. At 14 seconds remaining in the
testing period the analyzer will move the strip bed into the analyzer, to begin reading the values of each
parameter.
If the user doesn’t have enough time to dip the strip into the next patient sample and place the strip on the strip
bed, the user can also press the “YES” key any time during the testing time to restart the testing time at 60
seconds.
How to enter Patient ID:
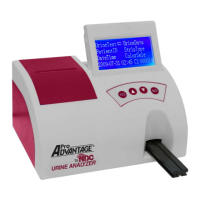
1. In order to enter the information for a new patient, use the selection keys to highlight Patient ID from the Main
Menu and press the “YES” key (see Fig. 8).
2. Once selected, the machine will highlight the first digit of the 6 digit patient ID (see Fig. 9).
3. Use the selection keys to choose a numeric digit from 0 – 9.
4. Press the “YES” key to highlight the second digit of the Patient ID
5. Continue to repeat steps 3 and 4 to finish entering the 6 digit Patient ID
Once the Patient ID is selected you may choose to enter the urine color by highlighting Color Selection (see How
to enter urine color on this page. If you choose not to select the urine color select Urine Test to test your patient
sample.
Fig. 8: Patient ID Selection Fig. 9: Entering Patient ID
How to enter urine color:
The urine sample must be visually observed and then the appropriate color selected
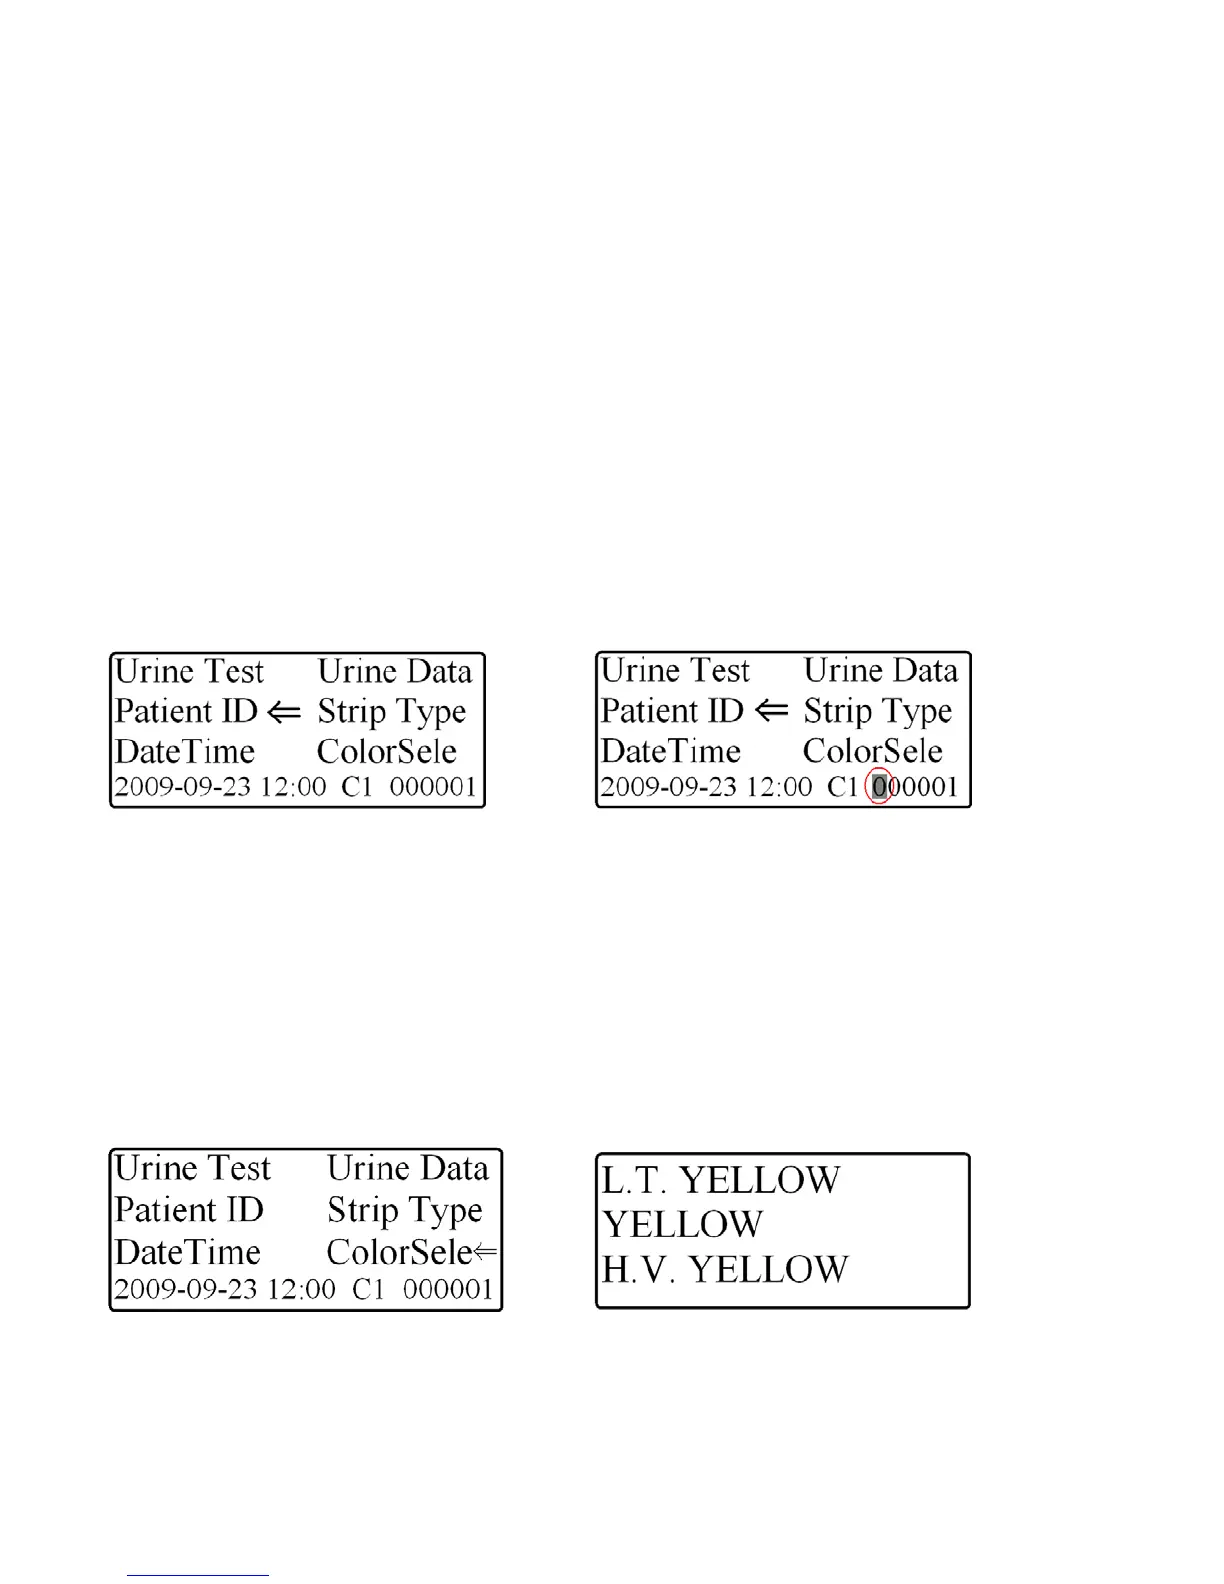
1. In order to enter the urine color for a new sample, use the selection keys to highlight Color Selection from the
Main Menu and press the “YES” key (see Fig.10).
2. Once selected, the machine will change to the Color Selection screen (see Fig. 11).
3. Use the selection keys to highlight a color that accurately describes the color of the patient urine sample.
4. Press the “YES” key to select the color of the patient sample and the analyzer will return to the Main Menu
If the color is “Yellow”, highlight “Yellow” with the selection keys and press the “YES” key
Once the urine color is selected you may choose to enter the Patient ID (see How to enter Patient ID on this
page) or choose to immediately run a patient sample by choosing Urine Test to test your patient sample.
Fig. 10: Color Selection Fig. 11: Color Selection Screen