© Pro Advantage by NDC. All rights reserved
PS-733 Rev 00-3/10 7/23
1. Analyzer Installation
Contents
1. Carefully remove the contents of the container and check for noticeable damage to the contents of the analyzer. If
there is noticeable damage, please contact the shipping company immediately after receipt.
2. Check for the following items:
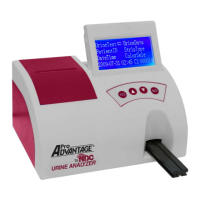
a. Pro Advantage Urine Analyzer
b. Thermal Paper
c. AC Power Supply
Note: If the power supply is not the type that is needed, please contact your local technical support
provider/distributor.
d. Manual
e. How To Instructions
Set Up
Analyzer Installation
Place the Pro Advantage Urine Analyzer on a level, flat surface The best temperature for using this
where temperature and humidity conditions are consistent analyzer is -20ºC to 70ºC (-4ºF to 158ºF)
Plugging Analyzer In
Plug the proper end of the power supply into the back of the analyzer . Plug the opposite end into the wall outlet.
Connecting to a PC
The instrument can transmit results to a computer via the serial port (RS232 connection) located on the back of
the analyzer. This requires a 9-pin serial cable that can be purchased separately at an electronics store or from
your Local Technical Support Providers and Distributors
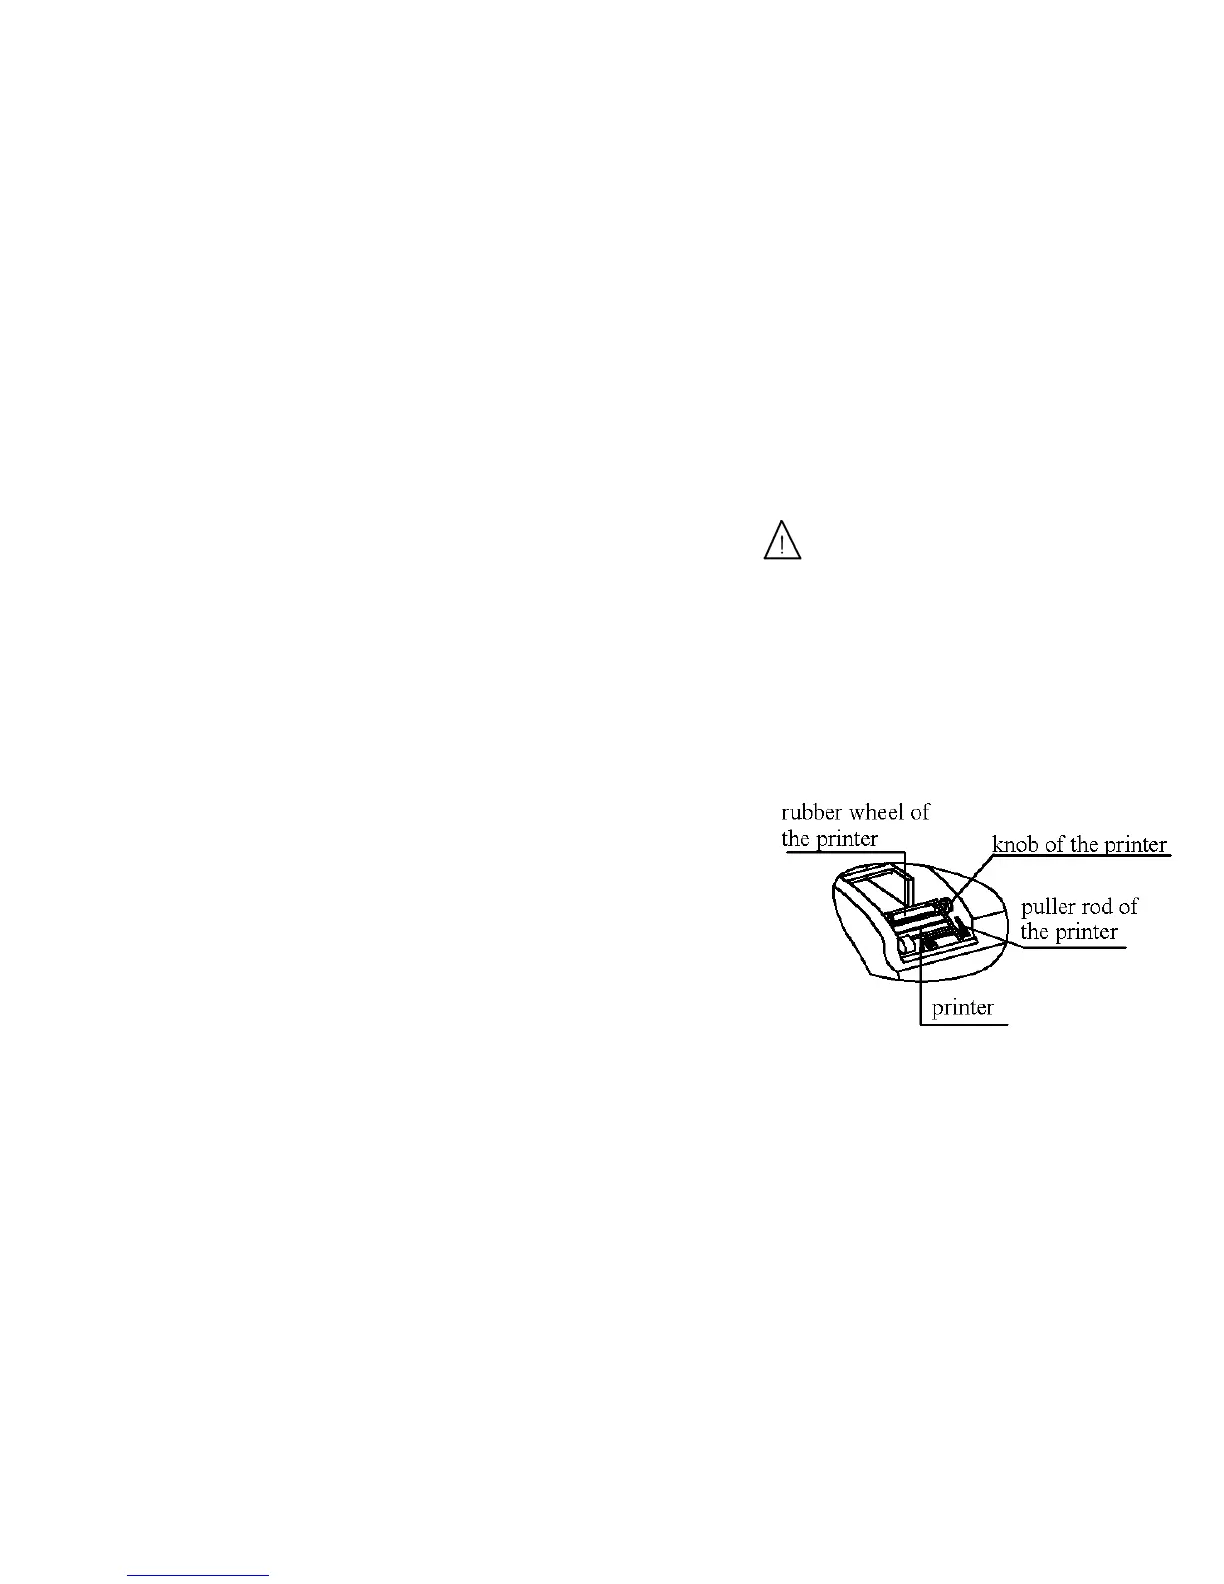
Loading the Printer Paper or Label Roll
1. Remove the printer cover by pulling up on the tab.
2. Open the thermal paper roll compartment cover by
pressing down on its tab and pulling away from the instrument.
3. Lift the pull rod arm at the bottom of the printer head,
into the upright position, in order to release the paper
4. Place the new thermal paper roll into the slot with the paper
unrolling from underneath and toward the front of the analyzer
5. Feed the paper through the printer head. Once you have approximately
3-4 inches (or 8 - 10 cm) of paper through the printer head then
push down the paper holding arm down in to the closed position.
6. Feed the end of the thermal paper roll through the printer cover.
Turning on the instrument
Locate the On/Off switch on the back of the analyzer. Flip the switch into the “On” position.
Turning off the instrument
Locate the On/Off switch on the back of the analyzer. Ensure there are no strips inside the analyzer before
switching the analyzer tothe “Off” position