15 / 40
Set up and Installation | 15
4.2 Installation
Mounting Brackets
See ZEROWIRE® G2 Accessory Kits by Display [}32].
Installation (mounted displays)
NOTE!
This installation requires two people: one to support the display, and one to perform the in-
stallation.
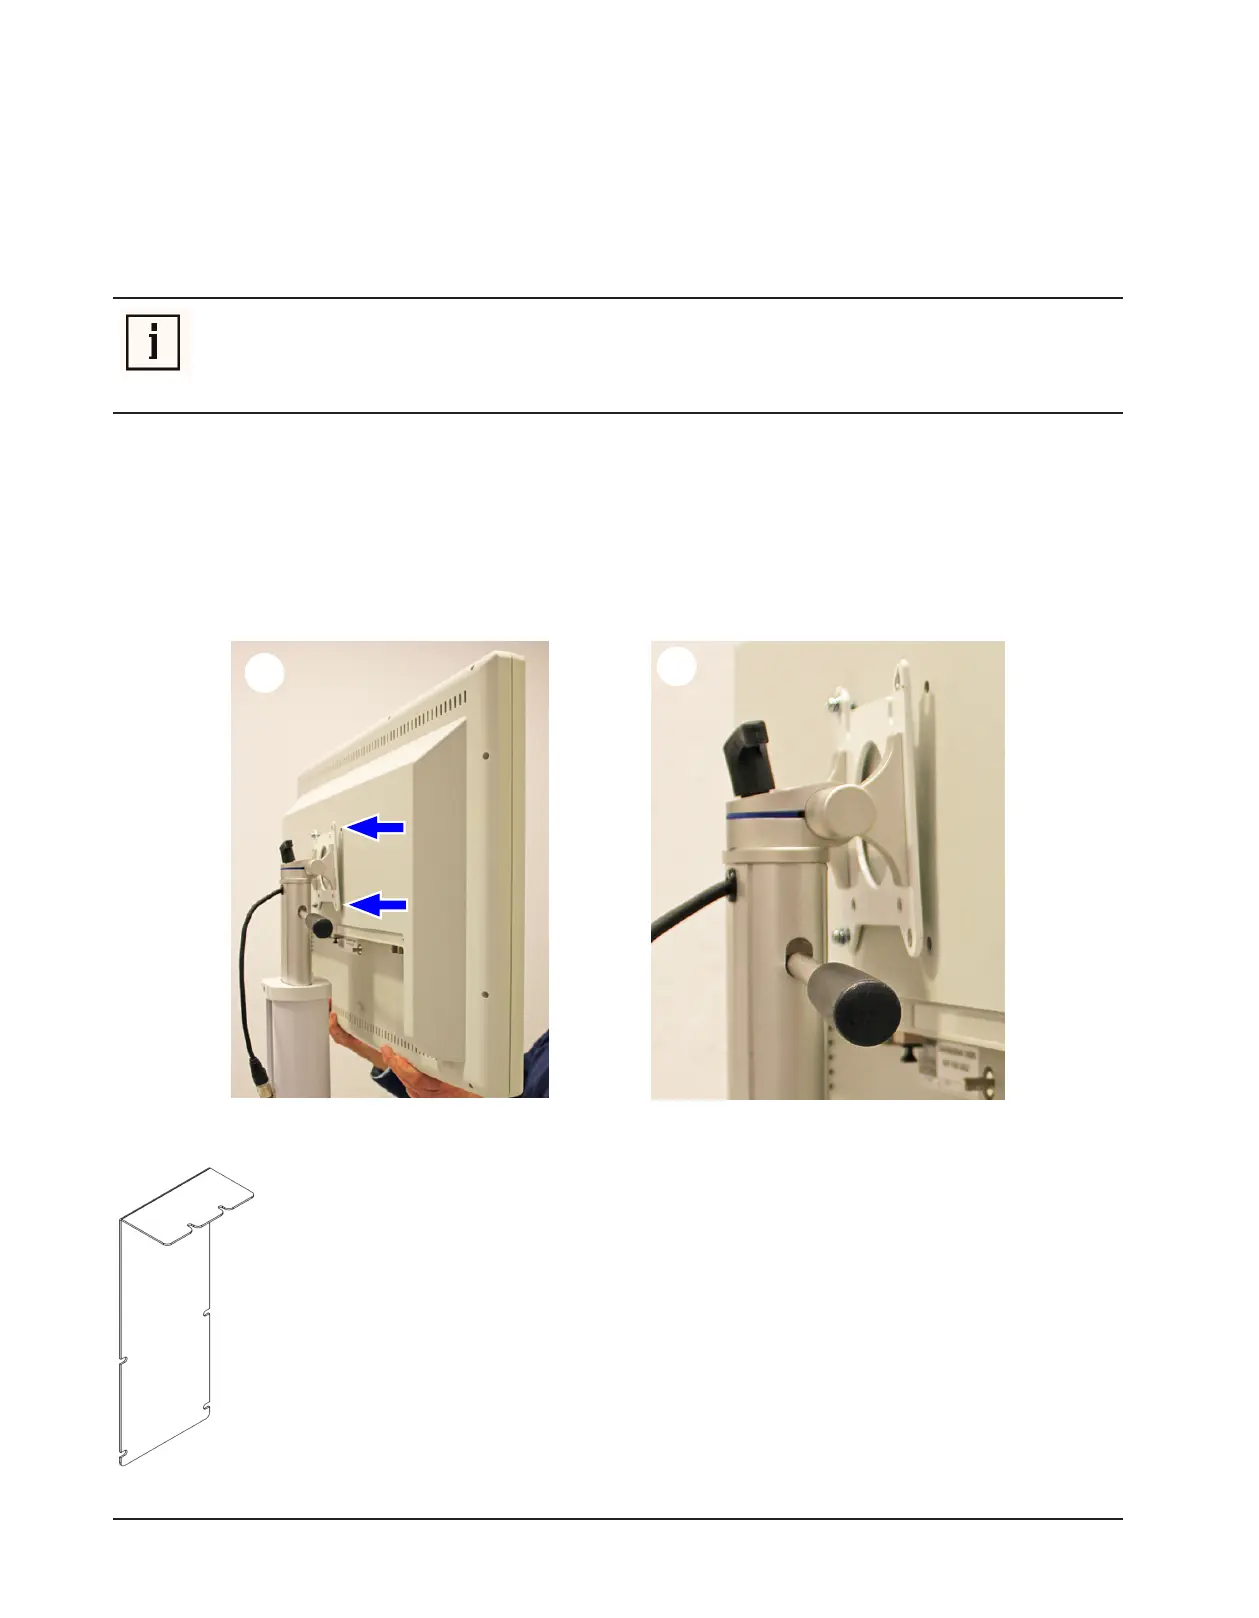
Replace the left-side mounting screws with two of the provided longer length mounting screws. See
A
in
graphic Installation back view – mounting screws [}15].
Tighten the provided left-side screws only 2-3 turns.
Remove the two right-side screws from the VESA mount. See
B
in graphic Installation back view – mounting
screws [}15].
Installation back view – mounting screws
With the mounting blade facing the front of the display, slide the step bracket between
the VESA mount and the back of the display until notches labeled for the display you
are working with fit over the two left-hand screws. See
C
in graphic Installation back
view – step bracket and modules [}16].
Replace the right-hand screws with the provided screws.
Tighten all screws.
 Loading...