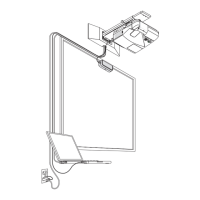
5. Mount the Touch Module at the Top of the Screen
• Built-inmagnetsareloadedontherearfaceofthetouchmoduleasthefactorydefault
setting. No need to secure the touch module by screws on a screen or a white board that
attracts magnets.
• Forusingthetouchmoduleonascreenorawhiteboardthatdoesnotattractmagnets,
remove the built-in magnet from the rear face of the touch module and secure the touch
module with commercially available screws.
• Usecommerciallyavailablescrews(2pcs)innominaldiameter3mm.Prepareboltsthat
are appropriate for your circumstances.
• Projecttheadjustmentscreeninthesoftwareprogram.Thecenterpositionadjustmentline
would be displayed, Align this with the centering line on the touch module.
• Refertopage5aboutthetouchmodulemountingproceduresbythe tableprojection
mount unit.
Note:
• DonotconnecttheUSBcablebeforemountingthetouchmoduleontothescreen.
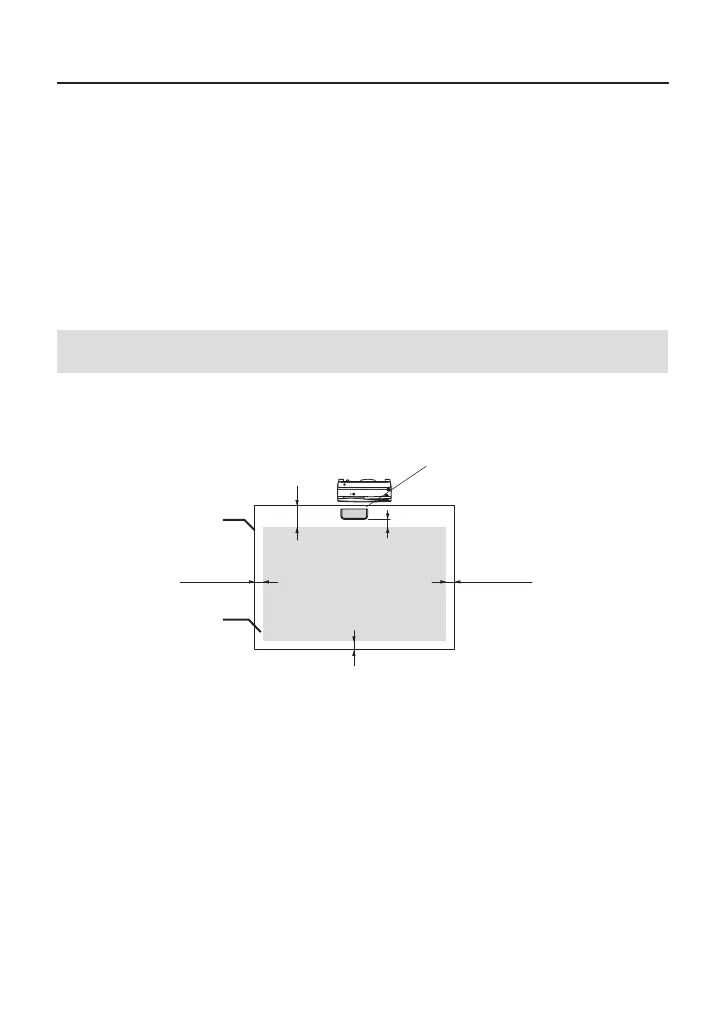
[1] Decide the position to mount the touch module referring the below picture.
Touch module
Over 25 mm / 1 inch
Over 25 mm / 1 inch
25mm - 100mm
*
/ 1 - 4 inches
Over 100 mm / 4 inches
Screen
Projection area
Over 25 mm / 1 inch
* Pay attention to mount not to cut into the projection light.
[2] Mount the touch module onto the screen.
Mounting by the built-in magnets
• Puttherearfaceofthetouchmoduleontoascreenorawhiteboardsincethetouchmodule
has built-in magnets on its rear face as the factory default setting.
• Incase,mountingthetouchmodulebythebuilt-inmagnets,takeappropriatecountermeasure
from falling down. Prepare the commercially available Kensington security wire and connect it
to the security slot on the touch module.
 Loading...