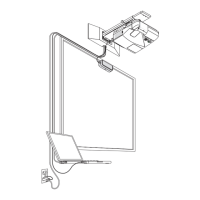
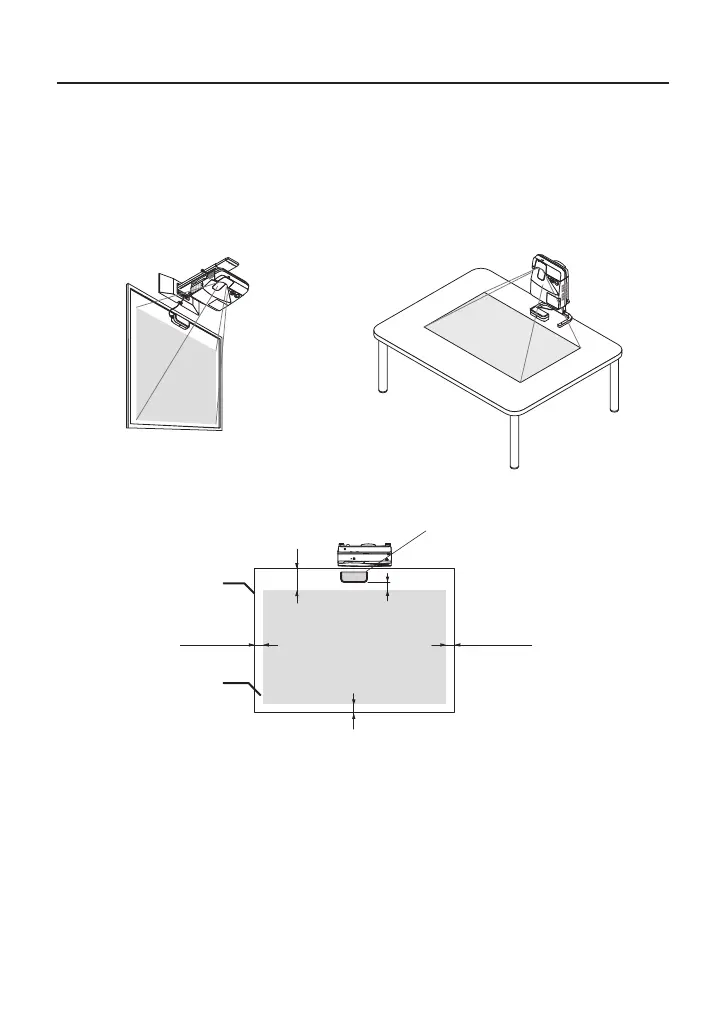
Location to Mount the Touch Module and Mounting Procedure
• Thetouchmoduleisnotusedoutdoorandintheareadirectsunlightorstronglightstrikes
the screen surface. Operation in bright circumstance as beside a window, near a fi lament
lamp, or a halogen lamp issues much infrared light may cause of malfunction.
• Mountthetouchmoduleontoascreenofwhichsurfacedeflectioniswithin8mm.For
smooth operations, recommend to use a screen which surface defl ection is within 3mm.
• Thetouchmoduleusablescreensizeisfrom60”to100”.
• Forusingthetouchmodule,installtheprojectorbyawallmountunit,aceilingmountunit,
or a table mount unit. If the projector installed on a desktop, the touch module cannot be
used.
• Mountthetouchmoduleatthepositionasthebelowillustrationconsideringtheimagepro-
jection area.
Touch module
Over 100 mm / 4 inches
Screen
Projection area
Over 25 mm / 1 inch
Over 25 mm / 1 inch
Over 25 mm / 1 inch
25mm - 100mm
*
/ 1 - 4 inches
* Pay attention to mount not to cut into the projection light.
• Forsecuringthetouchmodule,usethebuilt-inmagnetorcommerciallyavailablescrews.
• Forusingcommerciallyavailablescrews,preparetwo(2)boltsofwhichnominaldiameteris
3mm. Choose an appropriate bolt to your circumstances.
 Loading...