Remove Entry from Group
Phonebook Options Menu
*
Press (Phonebook) to display the phonebook.
Press (Up) or (Down) navigation key to highlight the entry to delete from a group.
Press MENU (Options Menu),5,and 2 to display a decision screen stating, “Remove this entry from group name?” (See Flag.)
Press Softkey 1 (Yes) to delete the entry from the group or press Softkey 2 (No) to cancel the deletion and return to
phonebook.
A confirmation screen displays stating, “Entry removed from group name.”
Group Options Menu
While viewing the list of phonebook entries assigned to a displayed Group, a phonebook entry may be removed from the displayed
Group.
*
Press (Phonebook) to display the Phone (entries in SIM phonebook cannot be allocated to a group).
Press MENU (Options Menu),5,and 3 to display the Group list screen.
Press (Up) or (Down) navigation key to highlight a Group name and press (Select). The Group name with a list of
assigned phonebook entries displays.
Press (Up) or (Down) navigation key to highlight the entry to remove from a group.
Press MENU (Options Menu) and 4 to remove the entry from the group (entry remains in the phone memory but no longer
assigned to a group).
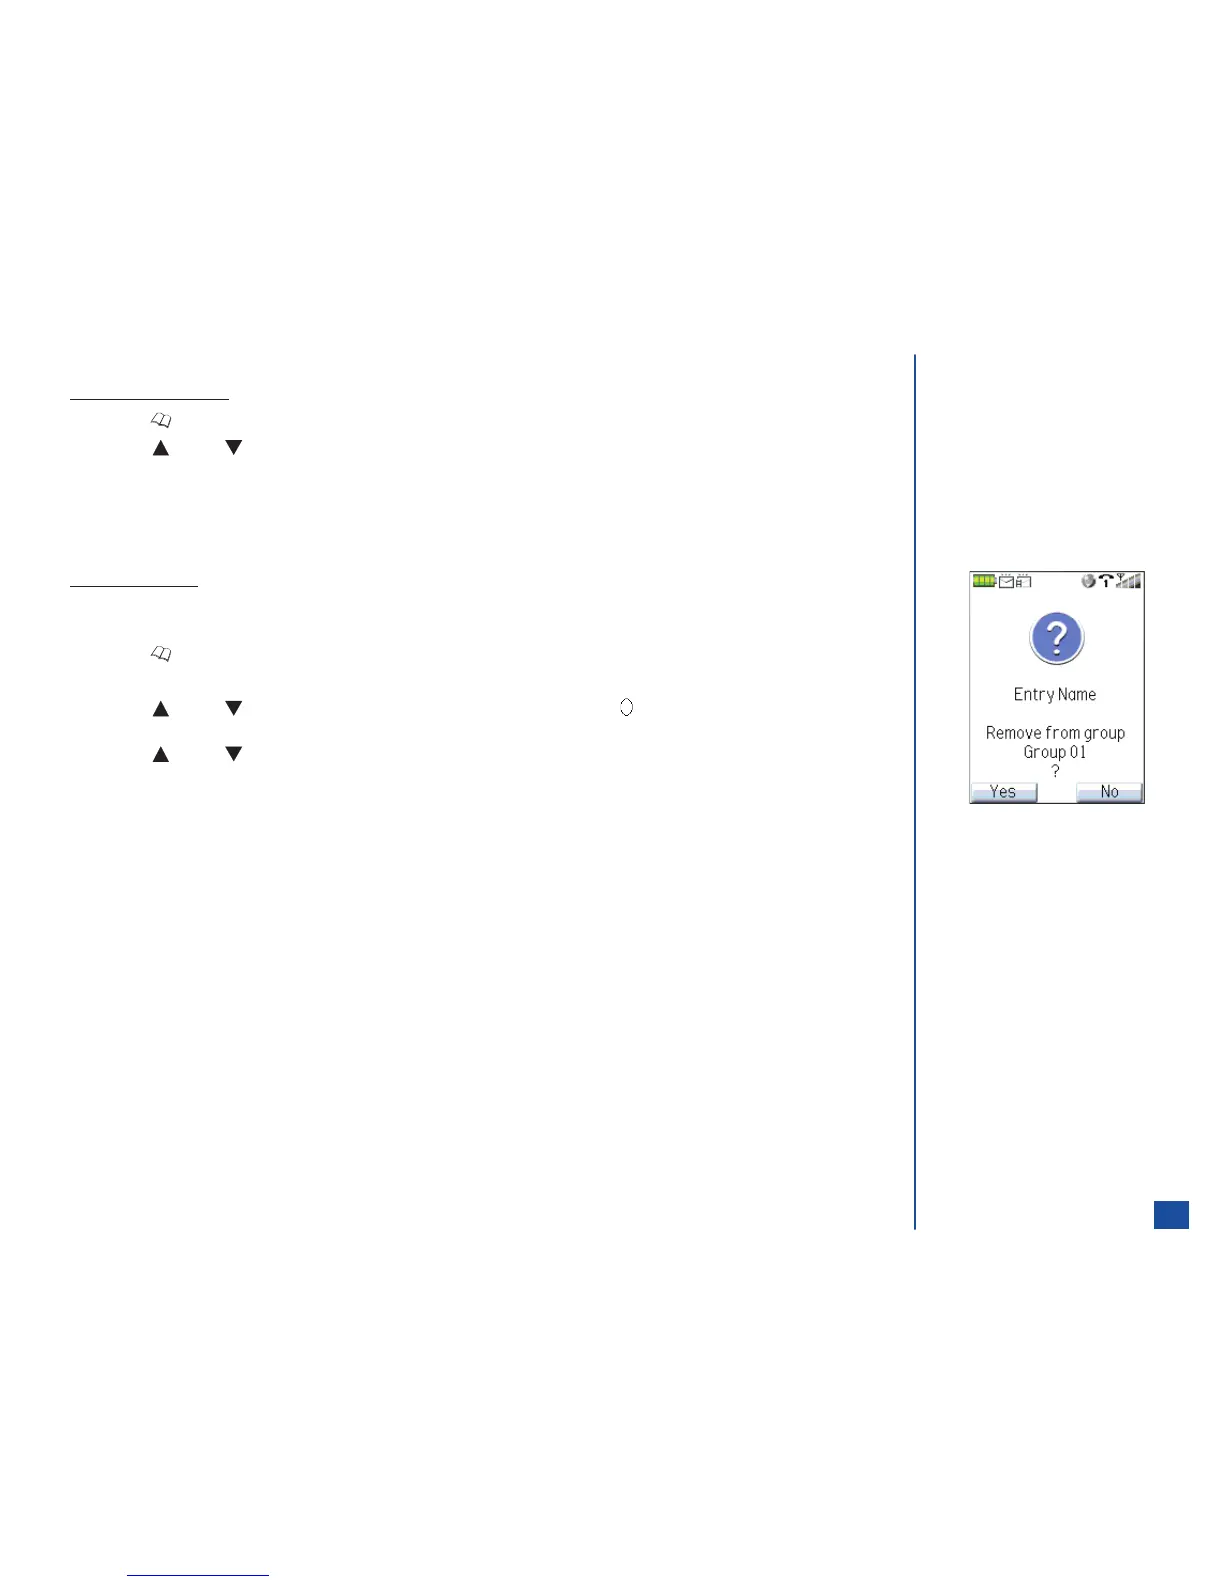
A decision screen displays stating, “Remove from group name?”
Press Softkey 1 (Yes) to remove the entry or press Softkey 2 (No) to cancel the removal and return to the Group list screen.
A confirmation screen displays stating, “Entry removed from group name.”
O
The “Remove from group” option is
disabled (grayed out) if an entry has
not been allocated to a group.
115