5-13
1.4. Power ON
1) Connect an AC power cable to the unit being inspected.
2) Connect the VG-819 cable to the unit being inspected. Any input connector is acceptable.
3) Turn on the POWER switch of the VG-819 to generate an output of Signal 17.
4) There is a vacation switch (a seesaw switch) at the left side of the unit being inspected. Confirm that this
switch is set at the “
” side. Press the POWER key at the right end of the front to turn on the unit being
inspected.
5) The LED is then lit in green and a screen is displayed.
1.5. Inspection
1.5.1. Inspection on LCD brightness and contrast
1) Enter Signal 17 through INPUT. The screen display is made in all white.
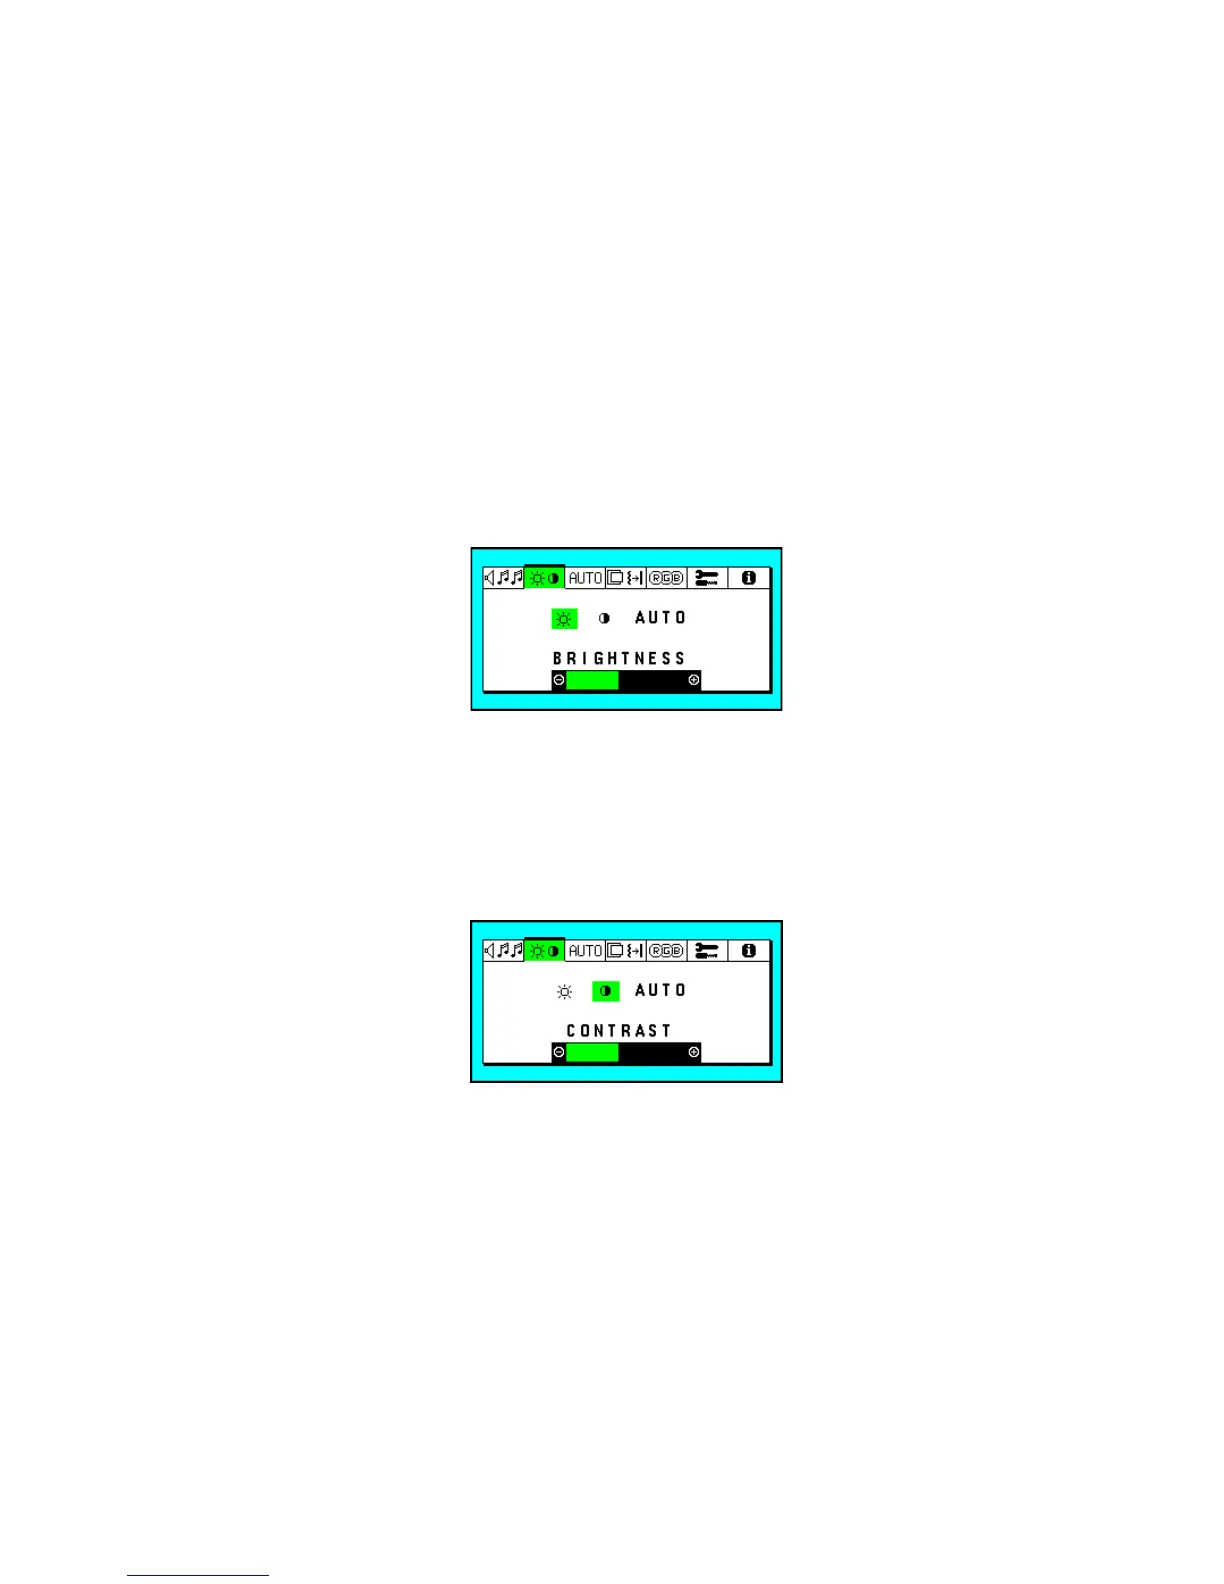
2) Display the BRIGHTNESS/CONTRAST tag of the OSM menu.
3) Get BRIGHTNESS highlighted with the3and4keys.
Brightness adjust menu
4) Confirm that the green bar is changed by the operation of the (-) and (+) keys, and that the screen
brightness is changed.
5) Confirm that the highlight display is for BRIGHTNESS. Press the RESET key. Then, the confirmation
screen is displayed. Press the NEXT key to make resetting. (The BRIGHTNESS bar is returned fully
to the right.)
6) Use the3and4keys to obtain CONTRAST displayed in the highlight mode.
Contrast adjust menu
7) Confirm that the green bar is changed and the screen contrast is also changed when the (-) and (+)
keys are operated.