10
User Manual
•
Neogen ANSR reader and software
6. ANSR stand-alone operation
6.1 Set up
To operate the reader without the use of a computer or a network
connection, plug the reader into an appropriate power outlet. Turn
the reader on by pressing the rectangular power button located on
the lower left corner of the reader’s front panel for 2–3 seconds.
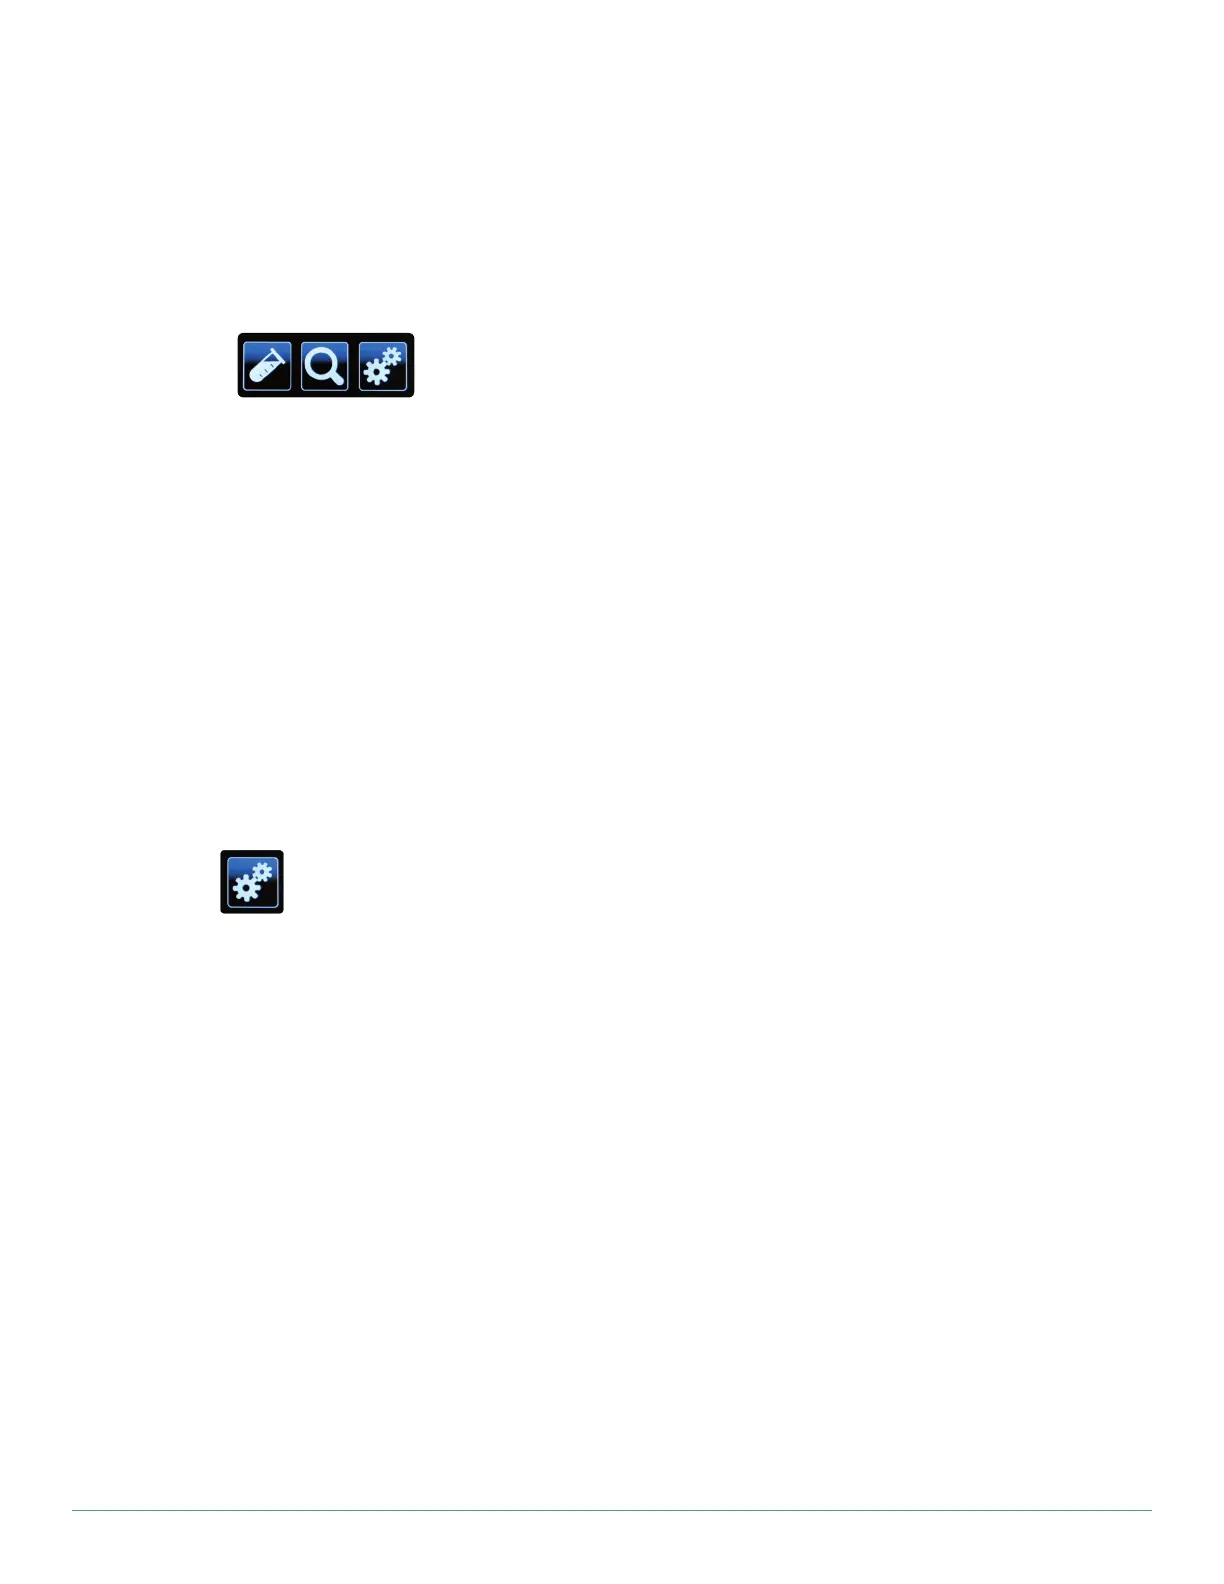
The reader will take about 2 minutes to boot. Once ready to use, the
screen will display three icons: a test tube (Run test), a magnifying
glass (Search), and gears (Settings).The reader is now ready for use.
6.2 Printer set up
1. Touch the gears (Settings) icon on the Home screen.
2. Touch the down arrow followed by the Printer Set up icon.
3. Using the touch screen key pad, enter the IP address of the de-
sired printer and press the green check mark to confirm.
6.3 Remote mode
To switch from stand-alone operation to operation with a computer
(remote mode), users must ensure remote mode is activated prior to
attaching the reader to a computer. For instructions on how to set up
the reader for use in remote mode, see Section 5.
1. Touch the magnifying glass (Settings) icon on the Home screen.
2. Touch Remote mode. Touch the box in the lower right corner
next to Bootup into remote mode. The next time the reader is
turned on, it will be in remote mode.
6.4 Settings
About this device
This option provides information about the instrument name, ID, ap-
plication version, IP address, MAC address, OS version, kernel version
and light channel information.
1. To access About this device, touch the gears (Settings) icon
on the Home screen.
2. Select About this device. The information will be displayed.
Help info
1. To access Help info, touch the gears (Settings) icon on the
Home screen.
2. Select Help info. The information will be displayed.
Audio
This option allows the user to change the volume of the reader’s tones.
1. To access Audio settings, touch the gears (Settings) icon on
the Home screen.
2. Touch the Audio icon.
3. Use the up and down arrows to adjust the reader’s tones for
the touch screen and for alerts (0–low, 5–high). Press Test to
hear the sound. To confirm the selection, press the green check
mark.
Brightness
This option allows the user to adjust the brightness of the touch screen.
1. To access Brightness settings, touch the gears (Settings) icon
on the Home screen.
2. Touch the Brightness icon.
3. Using the white up and down arrows, adjust the brightness of
the screen to the desired level (30–low, 100–high). The screen
brightness will change as the user touches the arrows. Touch
the green check mark to confirm the selection.
6.5 Administrator settings
Administrator settings are password protected. For the password,
please contact a Neogen Technical Services representative.
Import and export
1. Touch the gears (Settings) icon on the Home screen.
2. Touch the Administrator settings icon. Enter the password and
touch the green check mark to confirm.
3. Select Import and export functions. Plug in a USB drive to the
port located on the back of the reader.
4. Touch the Export test results icon. This will export results as a
.json file that can only be read using the ANSR software.
5. The reader will ask if a copy of the exported results should re-
main on the reader or be deleted. Make the appropriate choice
and touch the green check mark to confirm.
Export data log
This option exports a folder named with .json files (which only can be
opened using ANSR software) and .csv files, which can be opened in
Microsoft Excel.
1. Touch the gears (Settings) icon on the Home screen.
2. Touch the Administrator settings icon. Enter the password
and press the green check mark to confirm.
3. Select Import and export functions. Plug in a USB drive to the
port located on the back of the reader.
4. Select the Export data log icon. The reader will export a folder
containing a .json file and a .csv file.
Import test types
To import a new test type, please contact Neogen Technical Services.
Time and date
This setting allows the user to adjust the date and time on the reader.
1. Touch the gears (Settings) icon on the Home screen.
2. Touch the Administrator settings icon. Enter the password
and press the green check mark to confirm.
3. Select Time and date.
4. Use the touch screen to select the item to be changed (e.g., a.m.
or p.m., the month, the hour) and use the white up and down
arrows to scroll through the options until the desired informa-
tion is reached.
5. Select the green checkmark to save the time and date settings.
 Loading...