19
ENGLISH
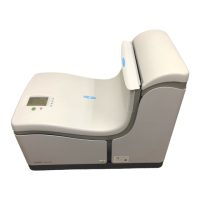
1. From the Main Menu 2/3 screen, select “Insert
position”. The Insert position screen will appear.
2. Select or to adjust the insert position to
the left or the right.
3. Select to load a new envelope
into the insert position
4. Recheck the insert position, and adjust as
required.
5. Select to confirm the changed settings (Main menu 2/3 will be displayed), or
press the escape button to return to the previous screen without changing the
settings.
6. If necessary adjust the “envelope insert fingers”:
- Open the top cover.
- Adjust the outer fingers D approximately 5 - 10 mm (0.2 till 0.4”) from the edges of
the envelopes.
- Loosen the knurled knobs C.
- Adjust the fingers A so that the tip is approximately 5 mm (0.2”) inside the
envelope.
- Tighten the knurled knobs C.
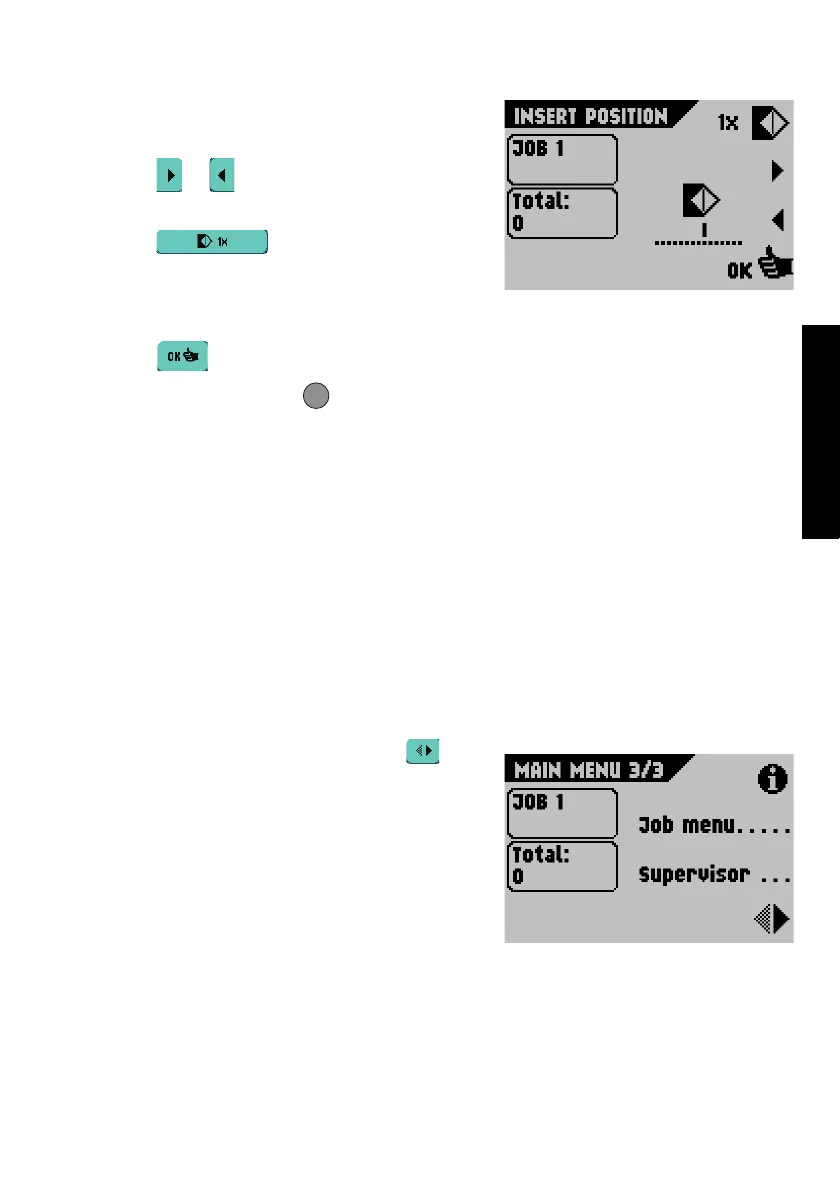
Main Menu 3/3 screen
• From the Main Menu 2/3 screen, select to
display the Main Menu 3/3 screen.
This screen also shows:
-the selected job number
- the counter, showing the total number of
envelopes that have been processed using this
job.
ESC
 Loading...