EasyManua.ls Logo

Neptune Technology E-Coder)R900i User Manual

Neptune Technology E-Coder)R900i
52 pages
To Next Page IconTo Next Page
To Previous Page IconTo Previous Page
Page #20 background image
6 E-Coder)R900i Installation and Maintenance Guide
4 Activating and Reading the E-Coder)R900i
How to Activate LCD Using the Light Sensor
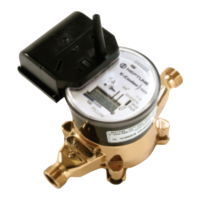
The light sensor is recessed under the small round hole near the center of the dial face. The
hole is marked with a flashlight graphic. See Figure 4.
Figure 4 Light Sensor for E-Coder)R900i Pit
The light sensor activates the LCD display for
several minutes when the unit is exposed to a
light source. For example, a unit mounted in
an inside location would turn on the LCD for
several minutes after the room light is turned
on. A unit mounted in an outside pit would
turn on the LCD for several minutes after the
pit lid is opened exposing the unit to daylight.
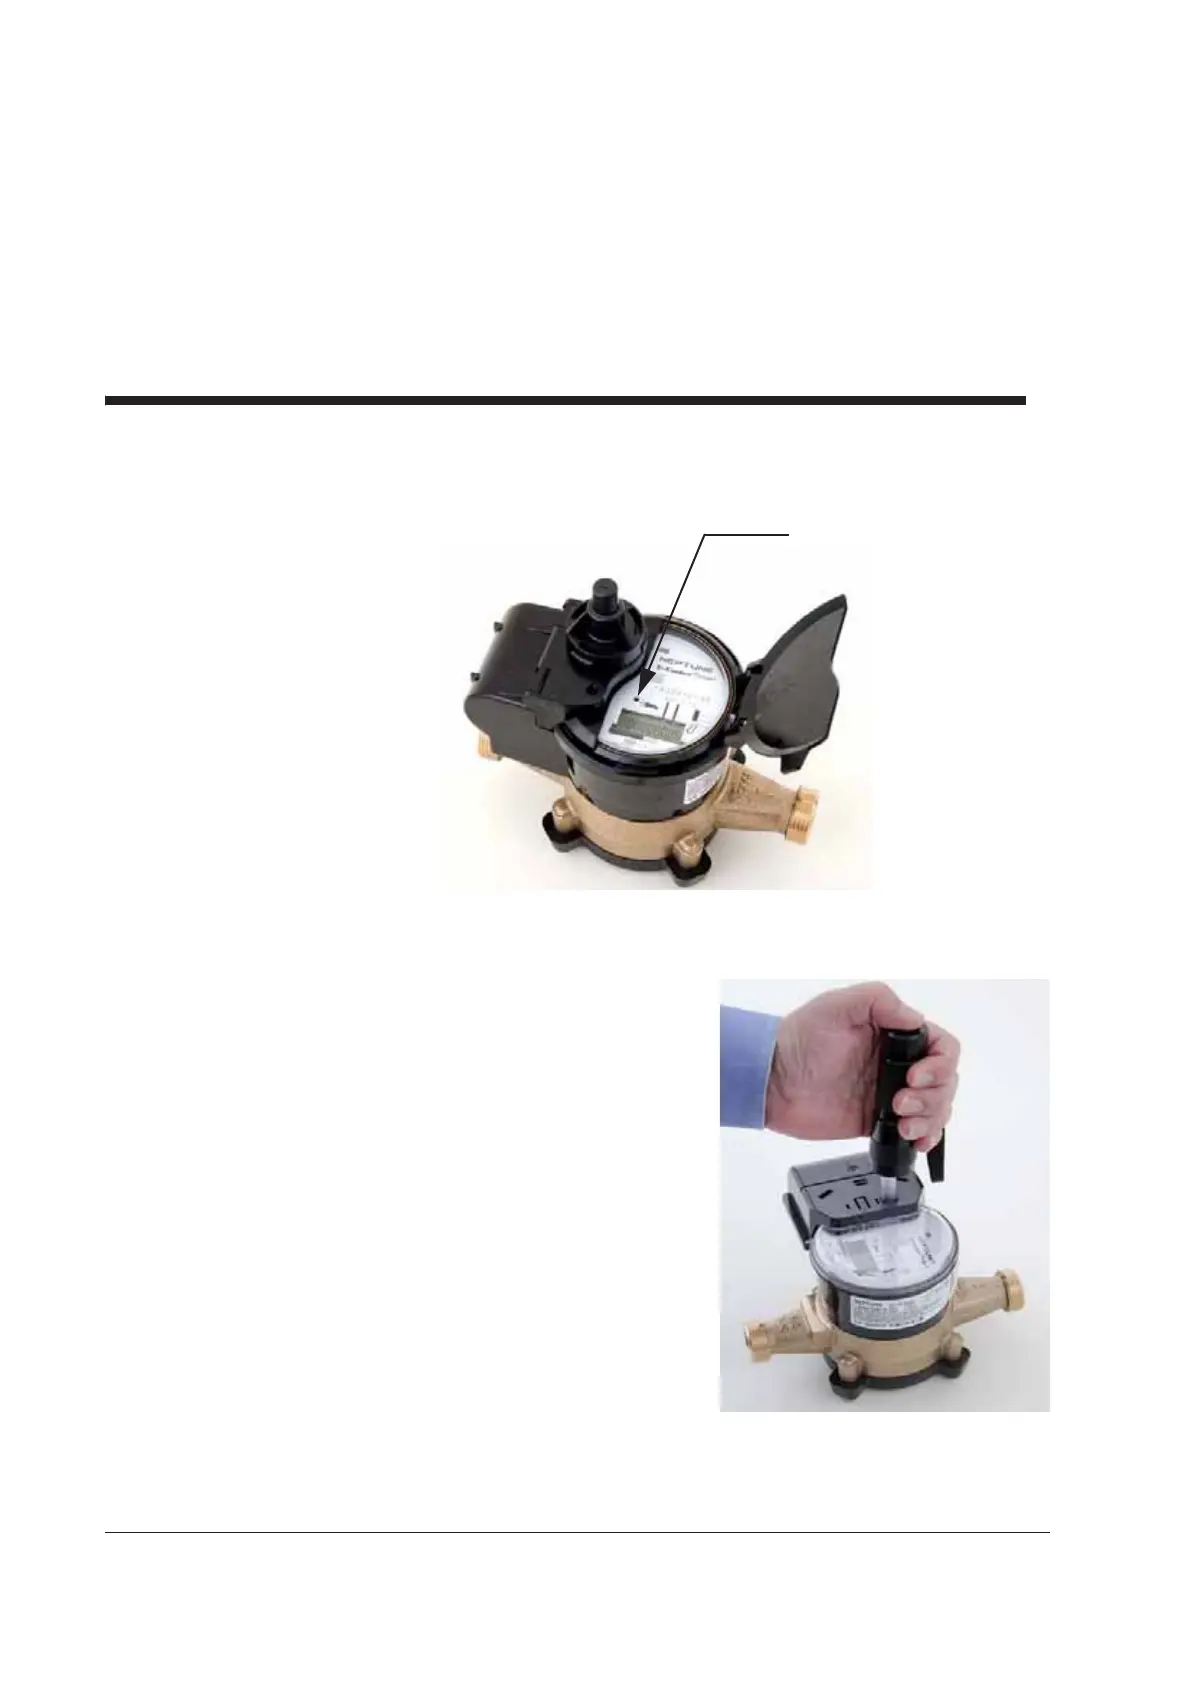
If the LCD is currently off, the LCD may be
reactivated by covering the dial plate with
your hand for about two seconds. In bright
sunlight, it may be necessary to close the
cover or the pit lid momentarily. If the LCD
does not reactivate as expected, try shining a
flashlight on the light sensor.
Figure 5 Activating E-Coder)R900i Inside
Light sensor

Table of Contents

Question and Answer IconNeed help?

Do you have a question about the Neptune Technology E-Coder)R900i and is the answer not in the manual?

Neptune Technology E-Coder)R900i Specifications

General IconGeneral
ModelE-Coder)R900i
Radio Frequency900 MHz
Data StorageInternal Memory
ManufacturerNeptune Technology Group
Environmental RatingIP68
Power SupplyInternal Battery
CompatibilityCompatible with Neptune water meters

Summary

Product Description

General Installation Guidelines

Safety and Preliminary Checks

Details safety procedures and pre-installation checks for a safe and successful installation.

Activating and Reading the E-Coder)R900i

How to Activate LCD Using the Light Sensor

Instructions on how to use the light sensor to activate the LCD display.

How to Read

Guidance on interpreting meter icons and LCD displays for reading information.

Installing the Inside Version

Installing the E-Coder)R900i Inside Version MIU

Step-by-step instructions for installing the MIU in an indoor setting.

New Meter Installation

Steps for installing the E-Coder)R900i on a new service line.

Retrofit Meter Installation

Instructions for replacing an existing register head with the E-Coder)R900i.

Testing the E-Coder)R900i Inside Installation

Procedure to verify the MIU is functioning correctly after installation.

Installing the Pit Version

Installing the E-Coder)R900i Pit Version MIU

Step-by-step instructions for installing the MIU in an outdoor pit setting.

Testing the E-Coder)R900i Pit Installation

Procedure to verify the MIU is functioning correctly after pit installation.

Data Logging Extraction Steps

Maintenance and Troubleshooting

Replacing the MIU Battery (E-Coder)R900i Inside Version)

Step-by-step guide for replacing the battery in the inside version MIU.

Replacing the MIU Battery (E-Coder)R900i Pit Version)

Step-by-step guide for replacing the battery in the pit version MIU.