32
NETAJET
™
4G INSTALLATION MANUAL
SYSTEM OPERATION
NOTE
The following procedure describes the operations that should be performed, regardless of the type
of controller in use. For the operation of a specific controller interface, see the enclosed Controller
Manual.
Preparations for running the NetaJet
™
4G
For NetaJet™ 4G with a controller (onboard or external):
Run the controller and enter preliminary general settings (see the enclosed Controller Manual).
Ensure that the INPUT for protection against lack of pressure in the system is connected to the controller
and defined. Set a delay of 15 seconds (see the enclosed Controller Manual).
Connect all the elements (valves, pumps, filters, sensors, etc.) to the controller (see the enclosed Controller
Manual).
Manual test of controller outputs
Perform the test to make sure that all the elements (valves, pumps, filters, sensors, etc.) function properly
upon command from the controller.
Run the test using the controller's TEST menu (see the enclosed Controller Manual).
Set the relay status of the dosing channels to MANUAL
and make sure that the irrigation program is not
defined
(see the enclosed Controller Manual)
.
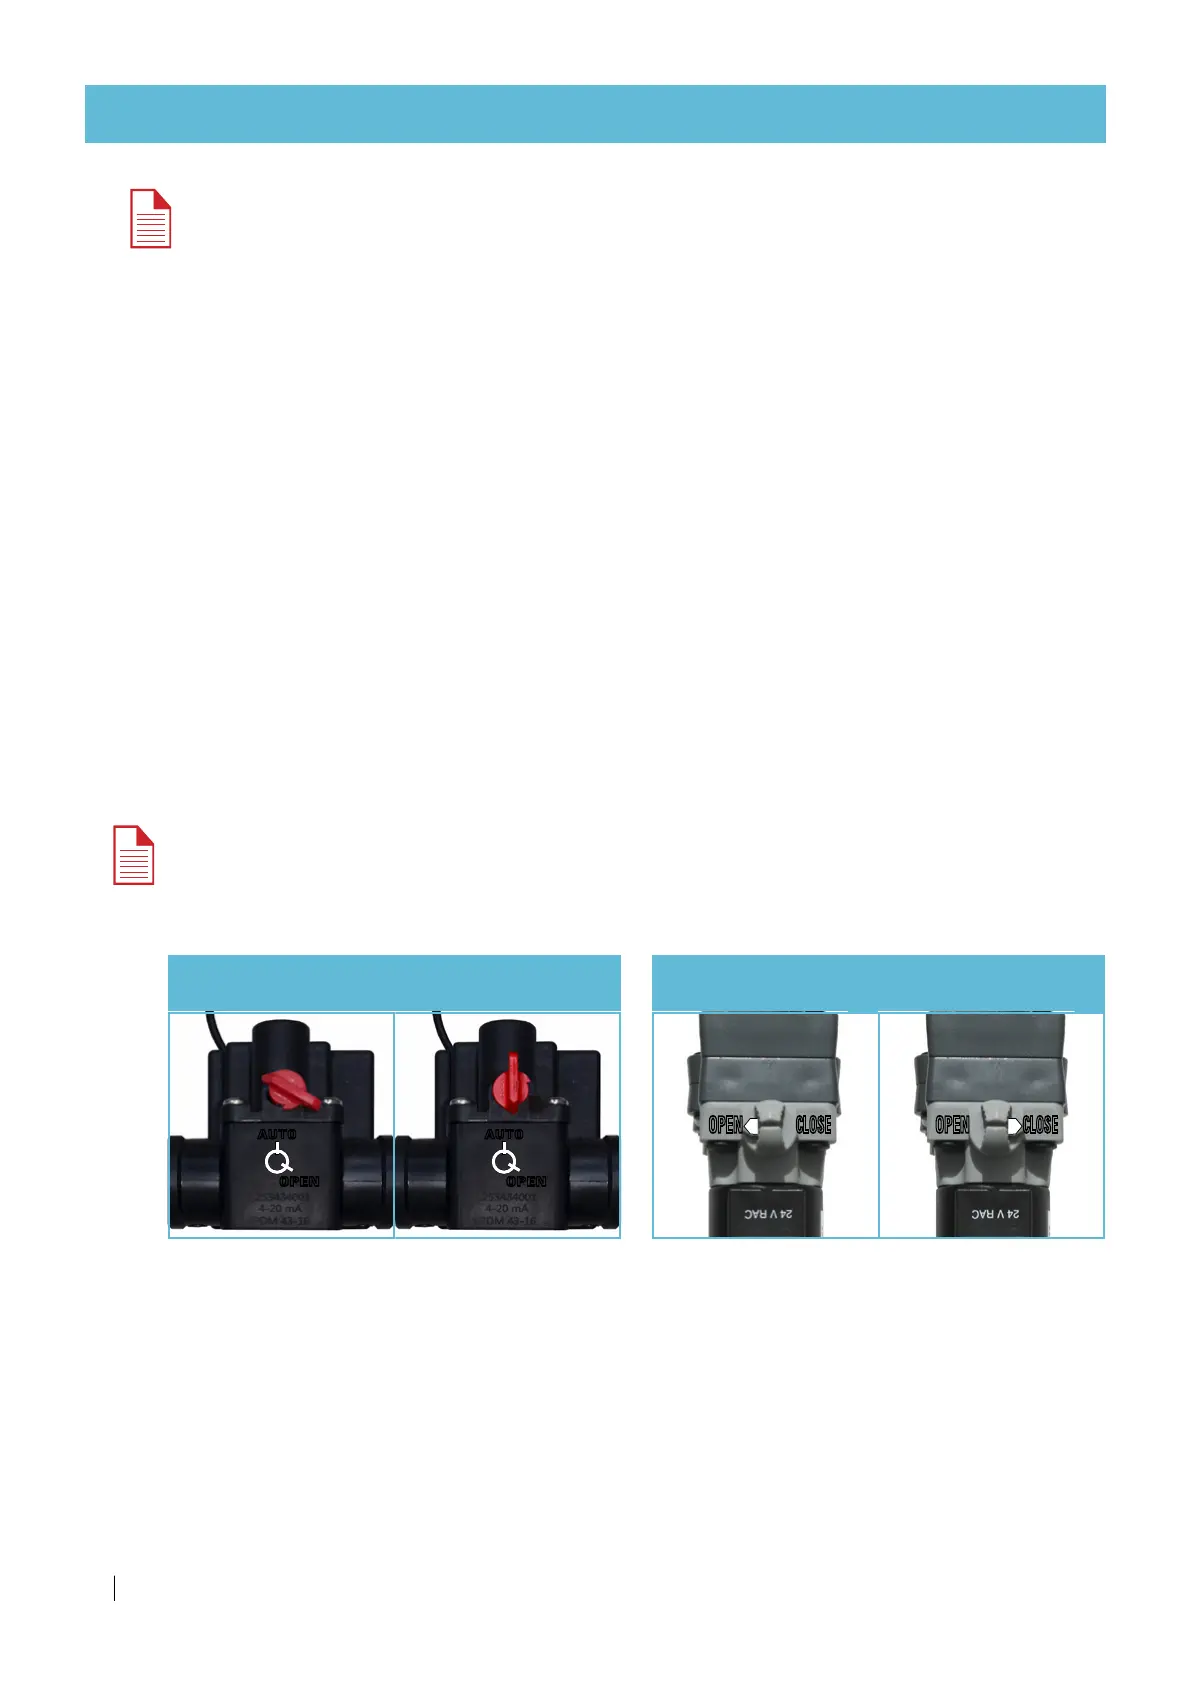
• When using a digital dosing valve (S22),
make sure the dosing valve selector is in the
CLOSED position.
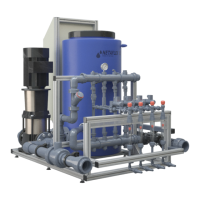
• When using an analog dosing valve,
make sure the dosing valve selector is in the
AUTO position.
CLOSE
Controlled operation
OPEN
CLOSE
OPEN
Manual operation
OPEN
CLOSE
AUTO
Controlled operation
OPEN
AUTO
OPEN
Manual operation
OPEN
AUTO
NOTE
To check that the dosing channels are working:
Analog dosing channel
Suction should be visible in the Rotameter.
Digital dosing channel
When the OPEN command from the controller is given - the LED on the dosing valve is lit.
 Loading...