5. Wait until the router is ready.
6. Connect a computer to the router.
For more information about how to set up your router, see the documentation that came with your router.
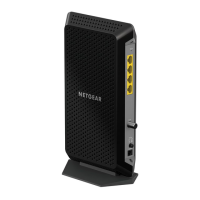
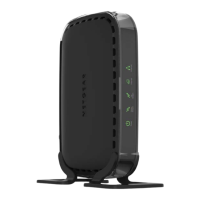
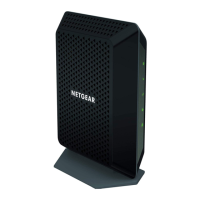
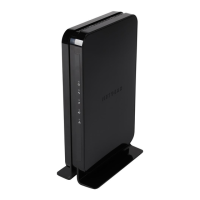
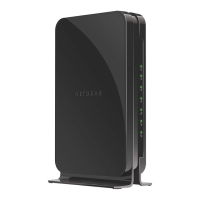
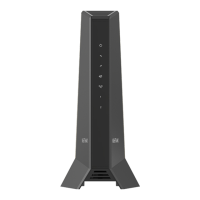
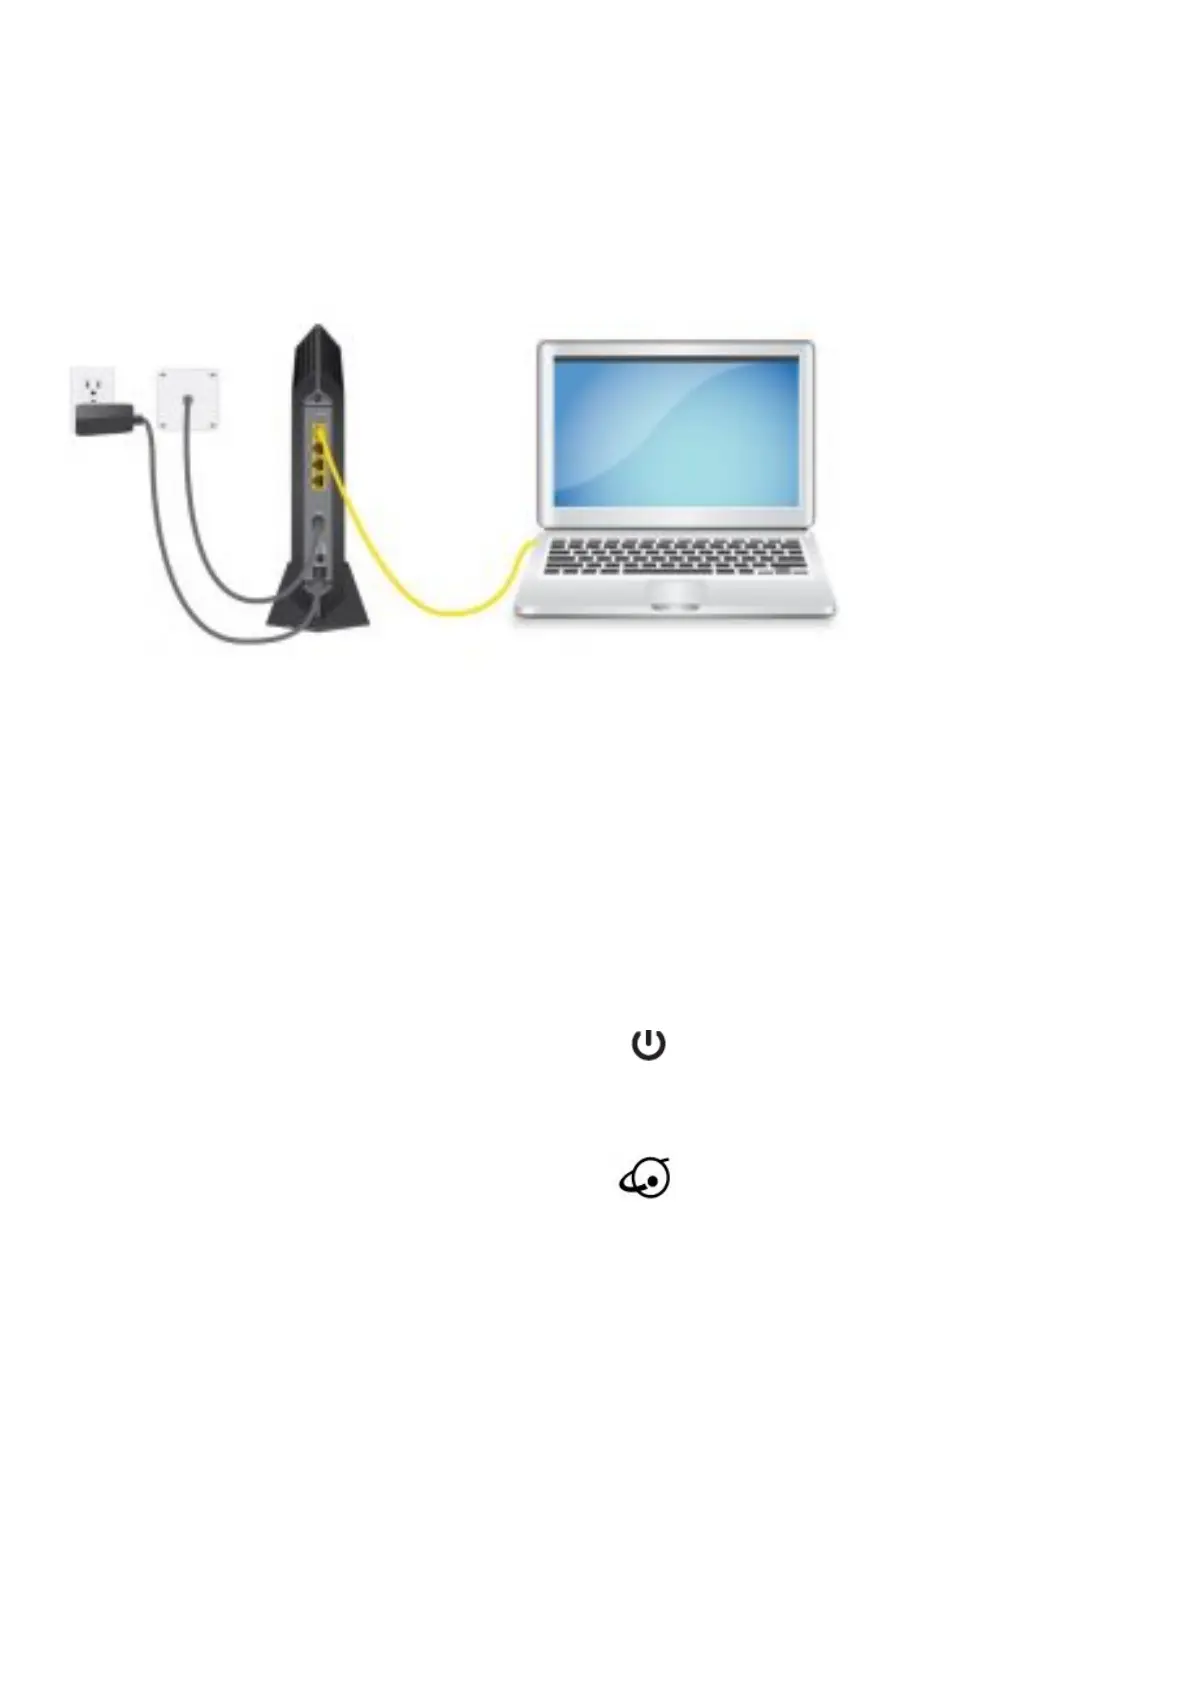
Set Up the Hardware
1. Collect your cable Internet provider information.
Collect your cable account number, account phone number, and login information (your email address or user
name and password).
2. Turn off and disconnect existing modems and routers.
If you are replacing a modem that is currently connected in your home, unplug the modem and plug the new
cable modem into the same outlet.
3. Connect a coaxial cable.
Use a coaxial cable to connect the cable port on the cable modem to a cable wall outlet. Make sure that the
cable is tightly connected. Note: If Comcast XFINITY is your cable
Internet provider, Comcast XFINITY recommends connecting your cable modem directly to a cable wall outlet.
4. Connect the power adapter.
Connect the power adapter to the cable modem and plug the power adapter
into an electrical outlet.
When the startup procedure is complete, the Power LED lights green.
If the Power LED does not light, make sure that the Power On/Off button is in the On position.
5. Wait for the cable modem to come online.
This process might take up to 10 minutes.
When the cable modem comes online, the Online LED stops blinking and lights solid green.
6. Connect a computer to the cable modem.
Use an Ethernet cable to connect a computer to the LAN port on the cable modem.
Reboot the computer.
Note: Your cable modem comes with a plug that covers the LAN 2, 3, and 4 ports. You can remove the plug to
connect a router that supports Ethernet port aggregation. For more information, see the cable modem’s user
manual.
7. Activate your Internet service.
For information about how to activate your Internet service, see Activate Your Internet Service on the other side
of this quick start guide.
After you install and activate the cable modem, you can disconnect the computer and connect a router to the cable
modem. For more information, see Connect a Router on the other side of this quick start guide.
Support
 Loading...