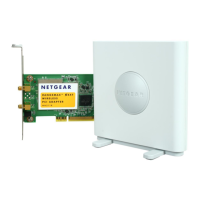
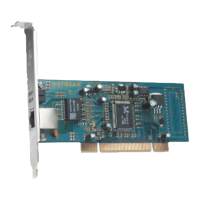
User Manual for the NETGEAR 10/100/1000 Mbps Gigabit Ethernet Adapter GA311
3-10 Basic Setup
Moving the GA311 to a Different Slot in Windows XP, 2000,
Me, or 98SE
Windows automatically detects the installation and removal of hardware. To move a GA311
Gigabit Ethernet Adapter to a different slot in the same system, you need to do the following:
1. Shut down the system and remove the card from the PCI slot.
2. Install the card in its new PCI slot.
3. When the system is powered on, reinstall the driver software. See “Basic Installation
Instructions” on page 3-3 for more information.
Moving the GA311 to a Different Slot in Windows NT 4.0
Before moving your GA311 Gigabit Ethernet Adapter to a different slot in the same system, you
must first remove the card driver software. After removing the driver software, you can move the
card to a different slot and reinstall the driver software.
To remove the driver software:
1. Start your Windows NT 4.0 system and log in. You must have Network Administrator
privileges to remove the driver software.
2. On the Windows taskbar, click the Start button, point to Settings, and then click Control Panel.
3. Double-click the Network icon. The Network dialog box opens.
4. Click on the Adapter tab. Any previously installed driver is listed in the Network Adapters list.
5. Click on the network card you want to remove, and then click Remove. Repeat step 5 for each
network card that you want to remove.
6. Click Close.
7. When prompted to restart your computer, click No.
8. Shut down your computer.
Install the network card in a new slot and then install the network drivers by following the
instructions in “For Windows NT 4.0 Users Installing a GA311” on page 3-7.
 Loading...
